


Choosing the best campervan solar panel comes down to one number you have to work out first: how much power you actually use in a day, in the worst month you intend to be out in. Get that right and the panel almost picks itself. Get it wrong and no amount of roof space will save you, because a panel rated at 100 watts does not deliver 100 watts in a Canadian November.
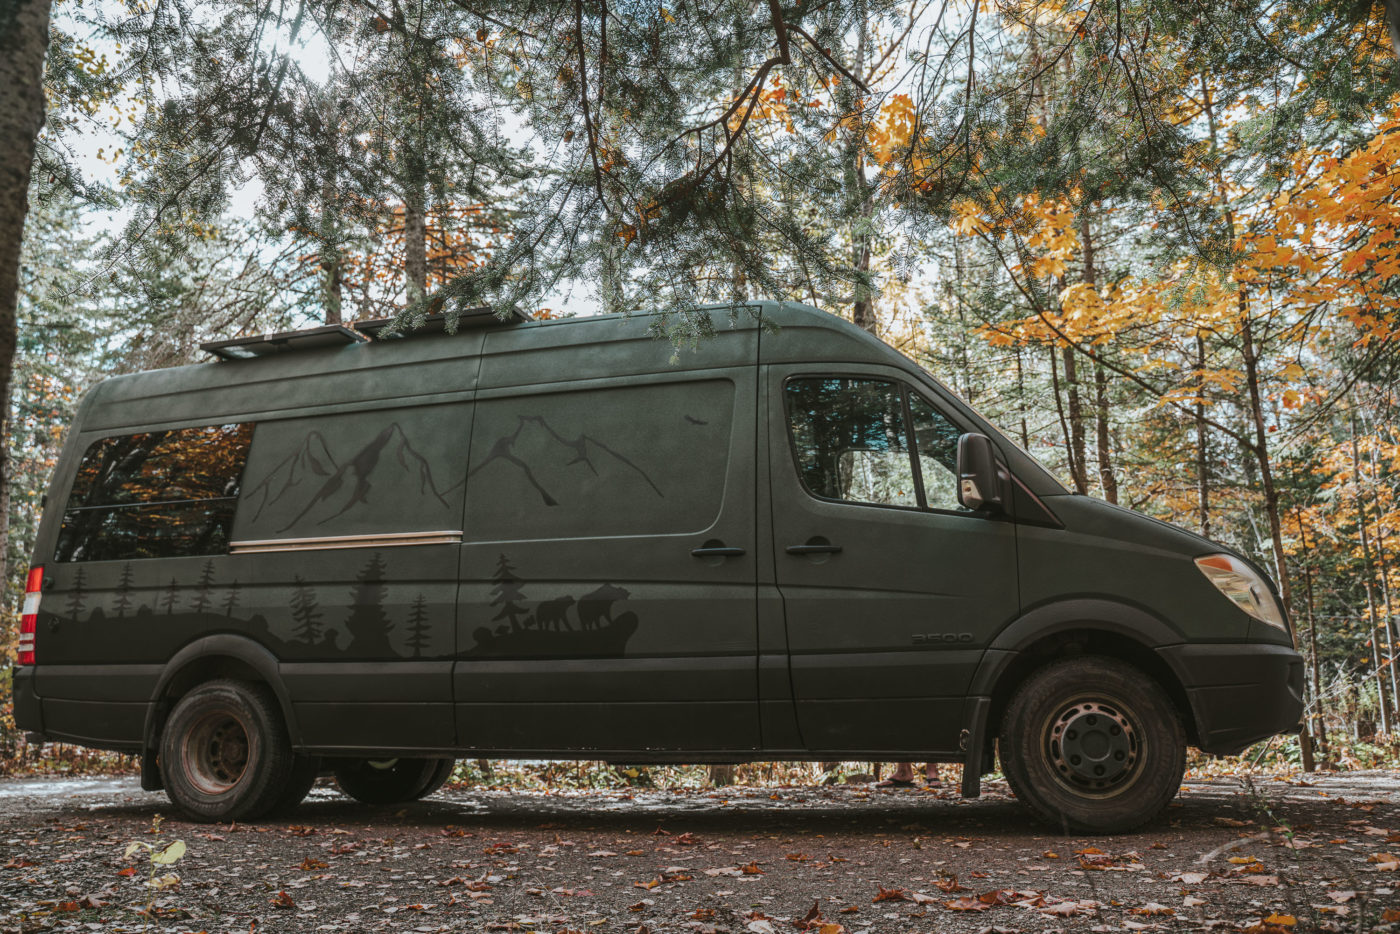
We have run two vans on solar, so choosing the best campervan solar panel is a question we have answered twice with different answers. Benji, the Sprinter we converted ourselves in Canada, carried 2 x 300W into a 400Ah lithium bank. Tilly, in Australia, ran 200W and got by on it easily, because Australian sun is a different proposition entirely. Both of those numbers are correct and they are four times apart, which is the whole problem with the question “how much solar do I need for a campervan”.
Key Takeaways
- Size for your worst month, not your best one. A 200W array in Queensland and a 200W array in a Canadian November are not the same system.
- Most van builds land between 200W and 600W. Weekends away, 200W. Working remotely with a fridge, 400W and up.
- The panel is the cheap part. Battery capacity and a decent MPPT controller matter more than the badge on the glass.
- Rigid or flexible is a roof-shape decision, not a quality one. Flexible for curves and stealth, rigid for output and lifespan.
- Caravans and motorhomes have more roof than vans, which usually means the constraint is vents and hatches rather than area.
How Much Solar Do You Actually Need?
Before any product, this is the question underneath almost every best campervan solar panel search, and it is worth answering before any product. The calculation is simple arithmetic and it takes about ten minutes.
Sizing a Campervan Solar System
| Step 1 | List every device and what it draws in watt-hours per day |
| Step 2 | Add them up for your daily total |
| Step 3 | Divide by realistic sun hours for your worst month |
| Step 4 | Add 30 to 50 percent as a buffer |
| Weekend use, no fridge | Roughly 100 to 200W |
| Fridge plus laptops, warm climate | Roughly 200 to 400W |
| Full-time, four seasons, high latitude | 400 to 600W and a large battery bank |
| Battery rule of thumb | Around 100Ah of storage per 200W of panel |
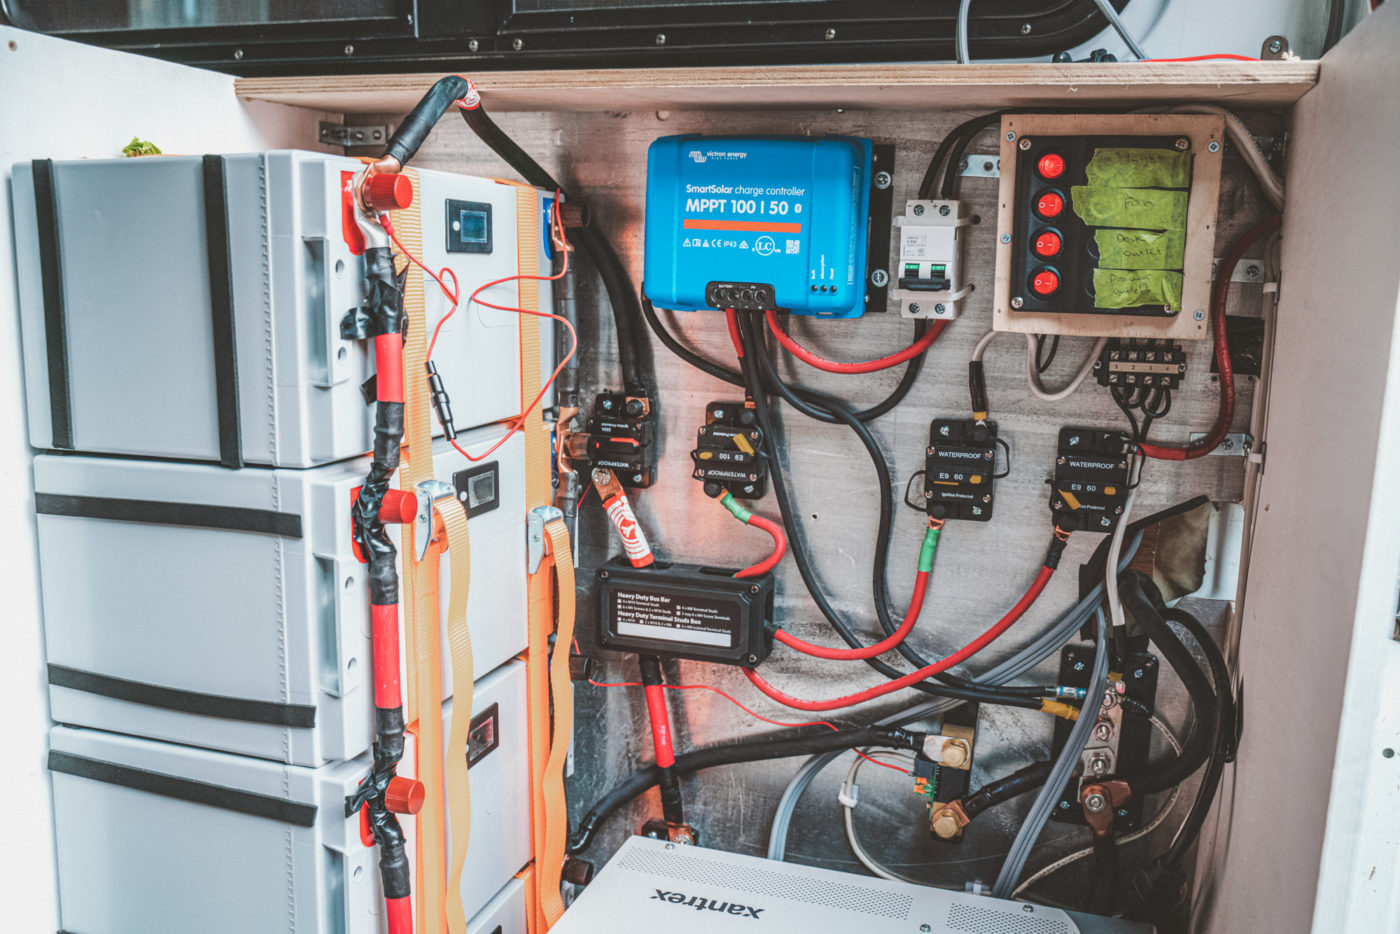
A worked example is more useful than a formula, so here is ours. When we audited Benji before the build we came out at a 400 amp-hour, 600 watt system, and that was sized to run a fridge, two laptops, lights, a water pump, an InstaPot, an induction cooktop, a toaster oven and a Nespresso machine through a 2000W pure sine inverter. The full parts list is in our Sprinter conversion build, including the Victron MPPT 100/50 controller and the four lithium batteries.
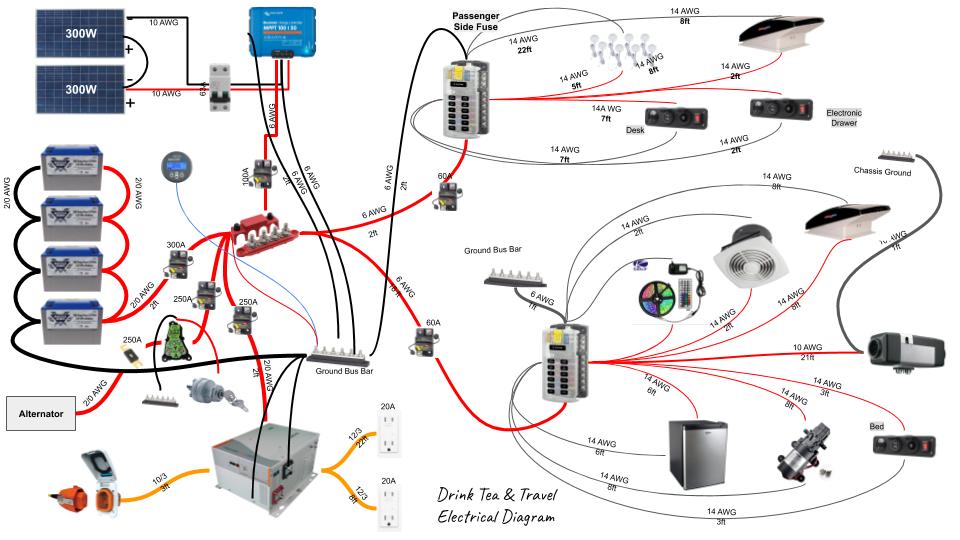
Two honest caveats on that number. First, we over-built deliberately, because cooking on electricity rather than gas is a large load and we wanted the option. Second, 600W in Canada behaves like considerably less than 600W in Australia. Tilly ran 200W and never struggled, and the difference is latitude and cloud rather than anything about the panels.
Will 100W Run a Campervan Fridge?
This is the single most-asked question in the category and it deserves a direct answer: on its own, in summer, at low latitude, just about. Anywhere else, no.
A typical 12V compressor fridge draws somewhere around 30 to 60 amp-hours a day depending on ambient temperature and how often you open it. A 100W panel in good conditions might return 30 amp-hours. That is a system running at break-even on its best day with nothing left for lights, phones or a laptop, and it goes backwards the moment the weather turns. If a fridge is in the build, start at 200W and be happier at 300W. Our campervan fridge guide covers the draw side of that equation properly.
Controllers, Cable and the Parts That Actually Decide It
Panels are the cheapest and most visible part of a solar system, which is why they get all the attention. What determines whether the system works is behind them.
The charge controller is the first thing to get right. An MPPT controller converts excess panel voltage into usable charging current; a cheaper PWM controller simply clamps it and throws the difference away. On a 12V system with a 400W array that difference is roughly a fifth to a third of your harvest, every day, forever. We used a Victron MPPT 100/50 and would use it again without thinking about it.
Cable gauge is the mistake nobody talks about. Undersized cable between the roof and the controller drops voltage, and a voltage drop is output you paid for and never receive. The runs are short in a van and the cost difference between adequate and generous cable is small, so be generous.
Fusing is not optional. Every leg of the system needs appropriate protection, and a solar array on a metal roof with a lithium bank underneath is not the place to improvise. If any of this is unfamiliar, our guide to van conversion companies covers the option of having the electrical system done professionally, which is a defensible choice.
Rigid, Flexible or Portable?
This is a roof decision rather than a quality one, and it is worth being clear that all three types work. Choose on shape, weight and how permanent you want the install to be.
Rigid panels are the default. Better output per watt, longer life, and they sit on brackets with an air gap that keeps them cooler and therefore more efficient. They are heavier and visible from outside.
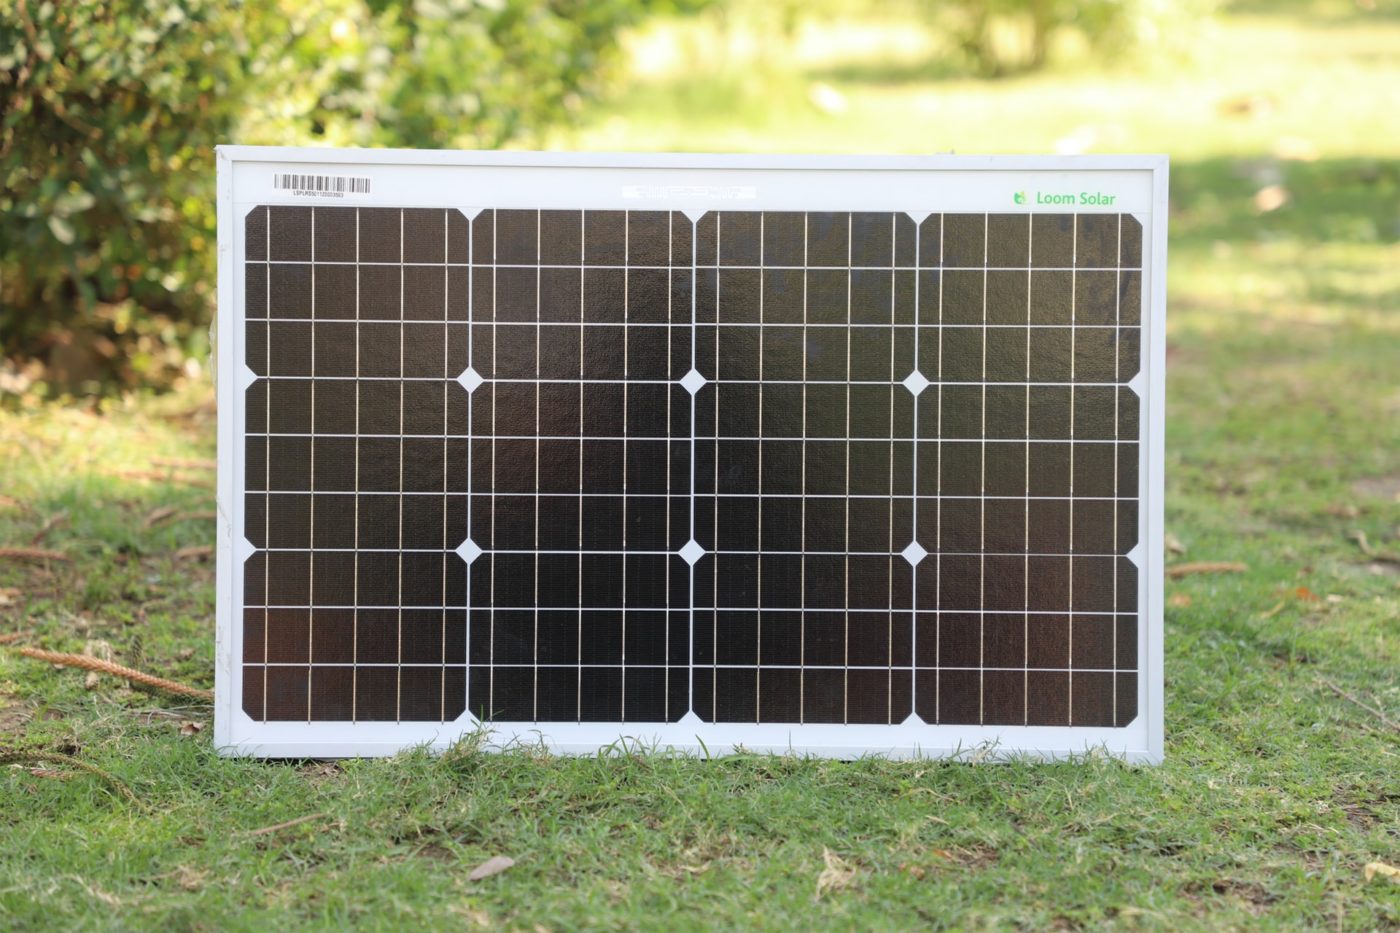
Flexible panels bond straight to a curved roof, weigh very little and are almost invisible from the ground, which matters if you park in cities. The trade-off is real: they run hotter because there is no air gap under them, and they generally do not last as long as rigid panels.
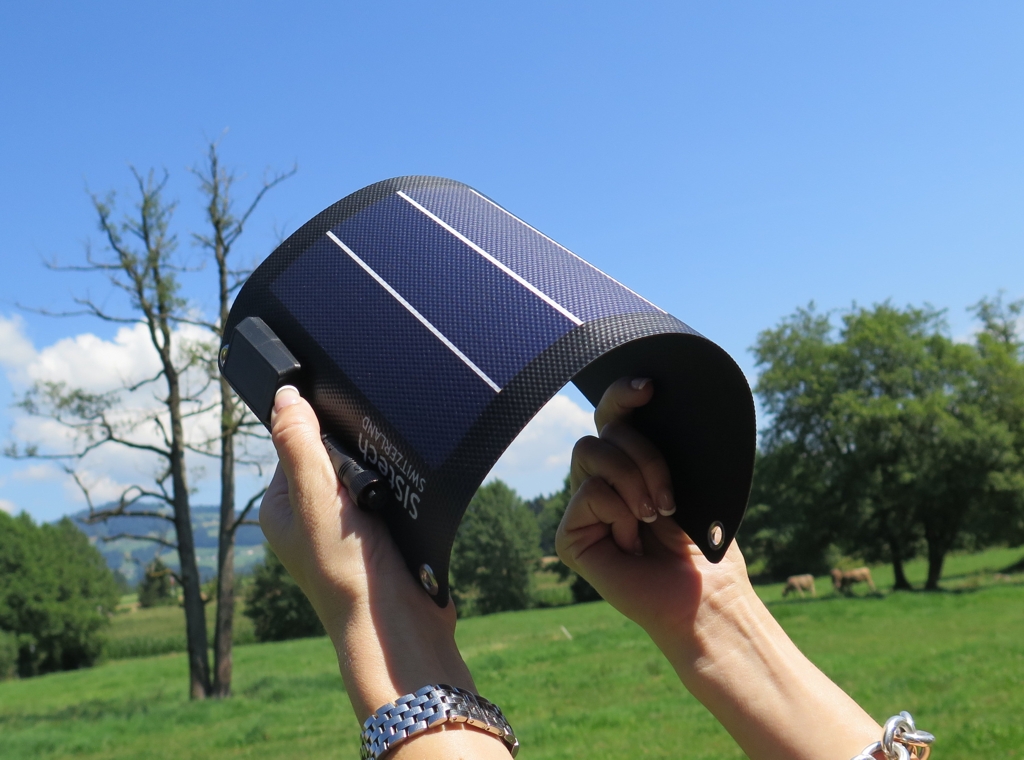
Portable and foldable panels stay in a locker and come out when you park. They let you chase the sun while the van sits in shade, which is genuinely useful in forest campgrounds. They are also one more thing to set up, put away and not have stolen.
The Best Campervan Solar Panels
These are the best campervan solar panel options we have recommended and continued to stand behind, checked and still available as of August 2026. Prices move constantly so the useful columns are wattage, type and what each one suits.
| Panel | Type | Best for |
|---|---|---|
| Renogy 200W Kit with MPPT | Rigid kit | The straightforward first build |
| WindyNation 400W Polycrystalline | Rigid, large | Full-time living, four seasons |
| Newpowa 200W Monocrystalline | Rigid | Best output per unit of roof |
| ALLPOWERS 100W Flexible | Flexible | Curved roofs and stealth builds |
| Renogy 100W Foldable | Portable | Chasing sun from a shaded pitch |
| HQST 100W Polycrystalline | Rigid, budget | Topping up an existing array |
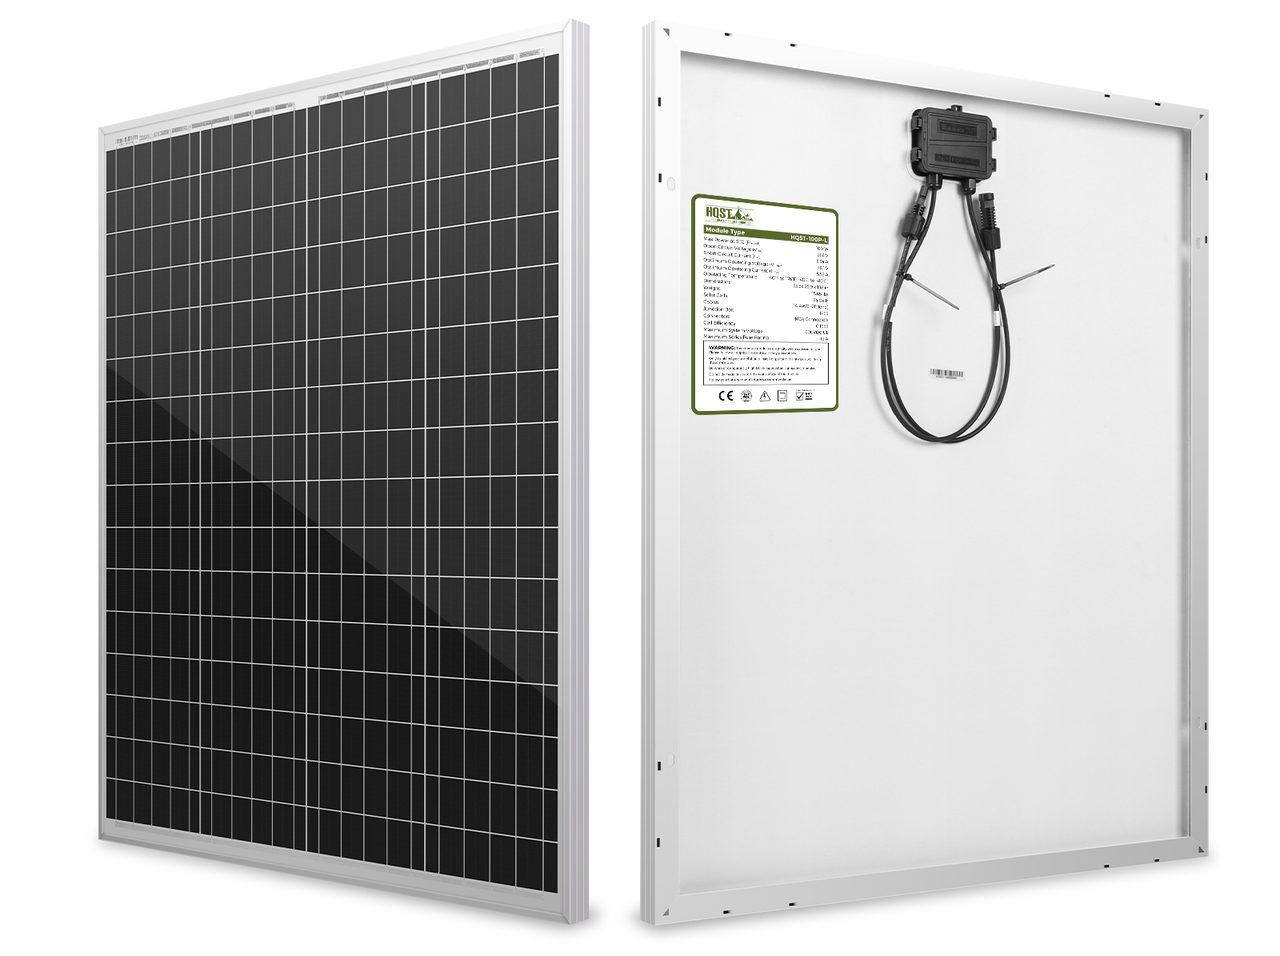
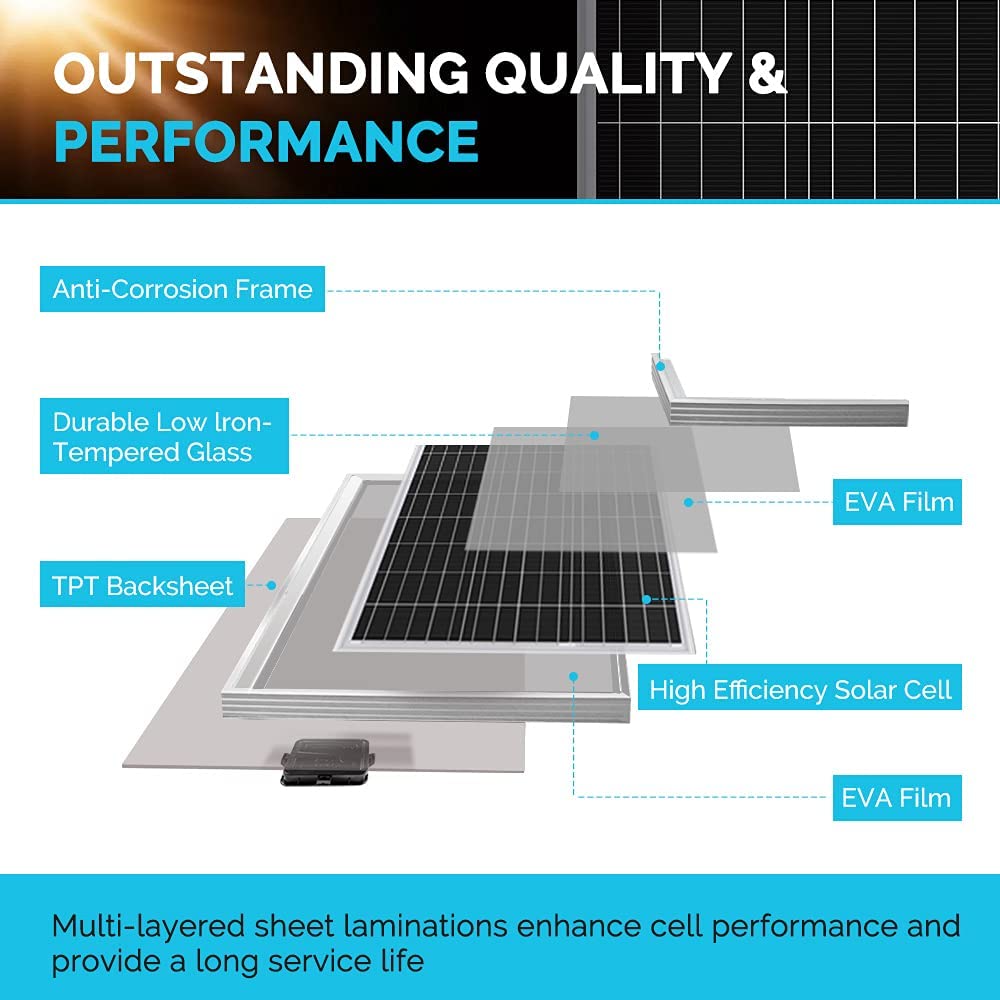
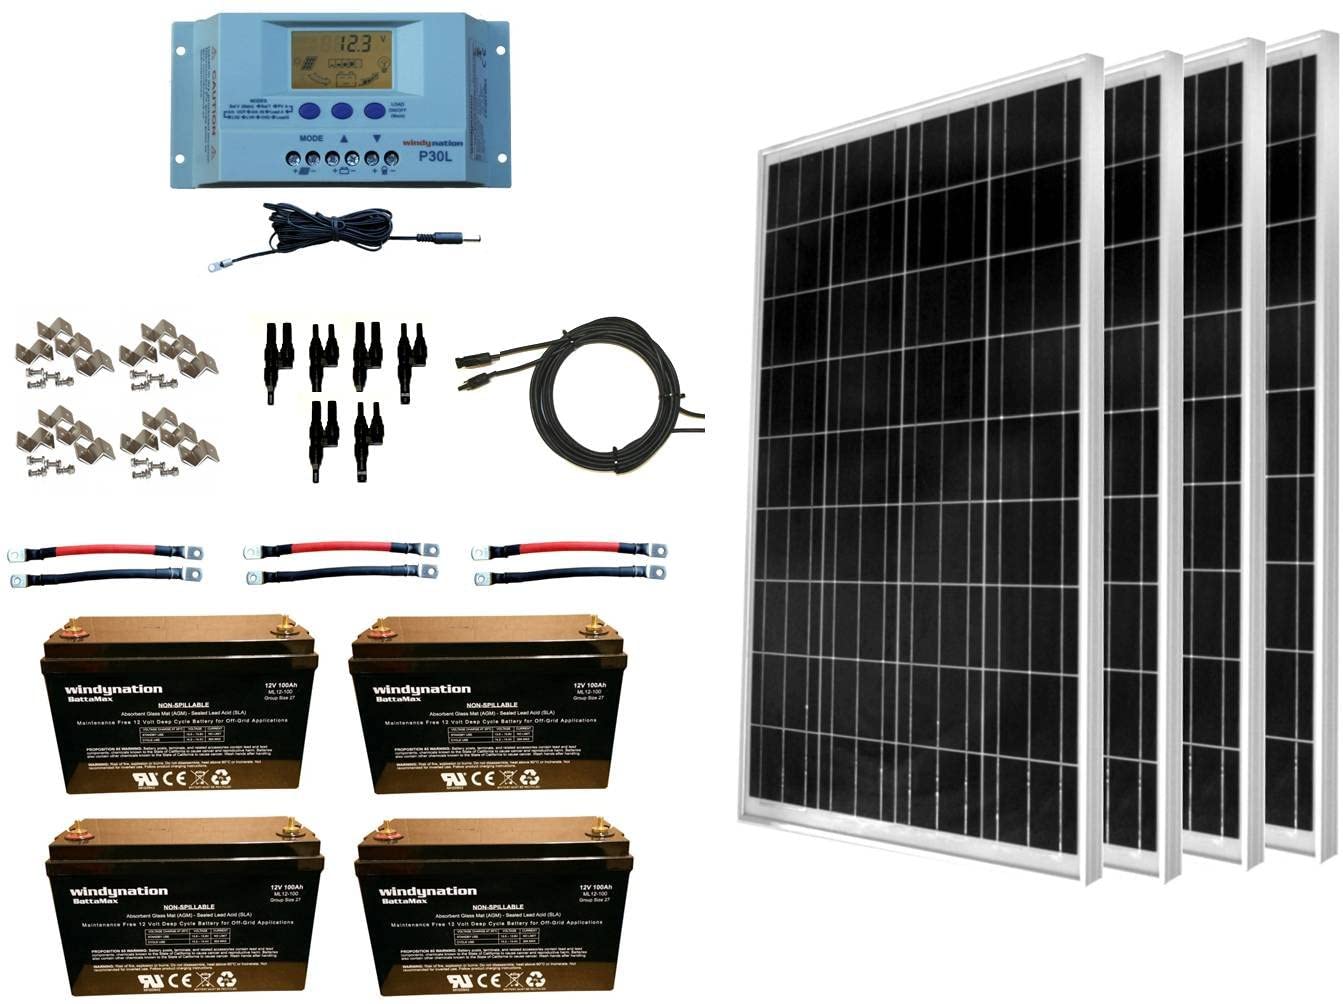
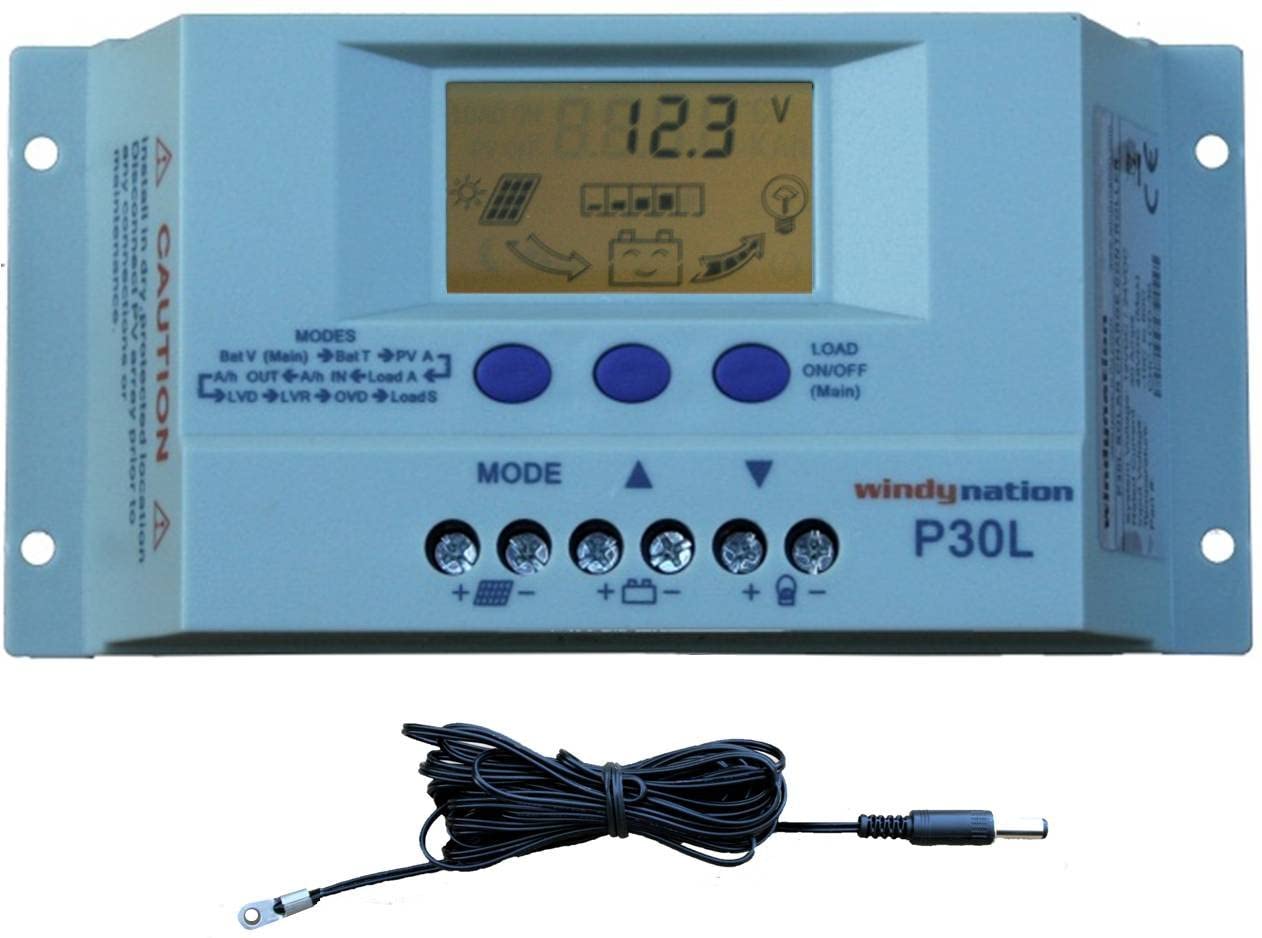
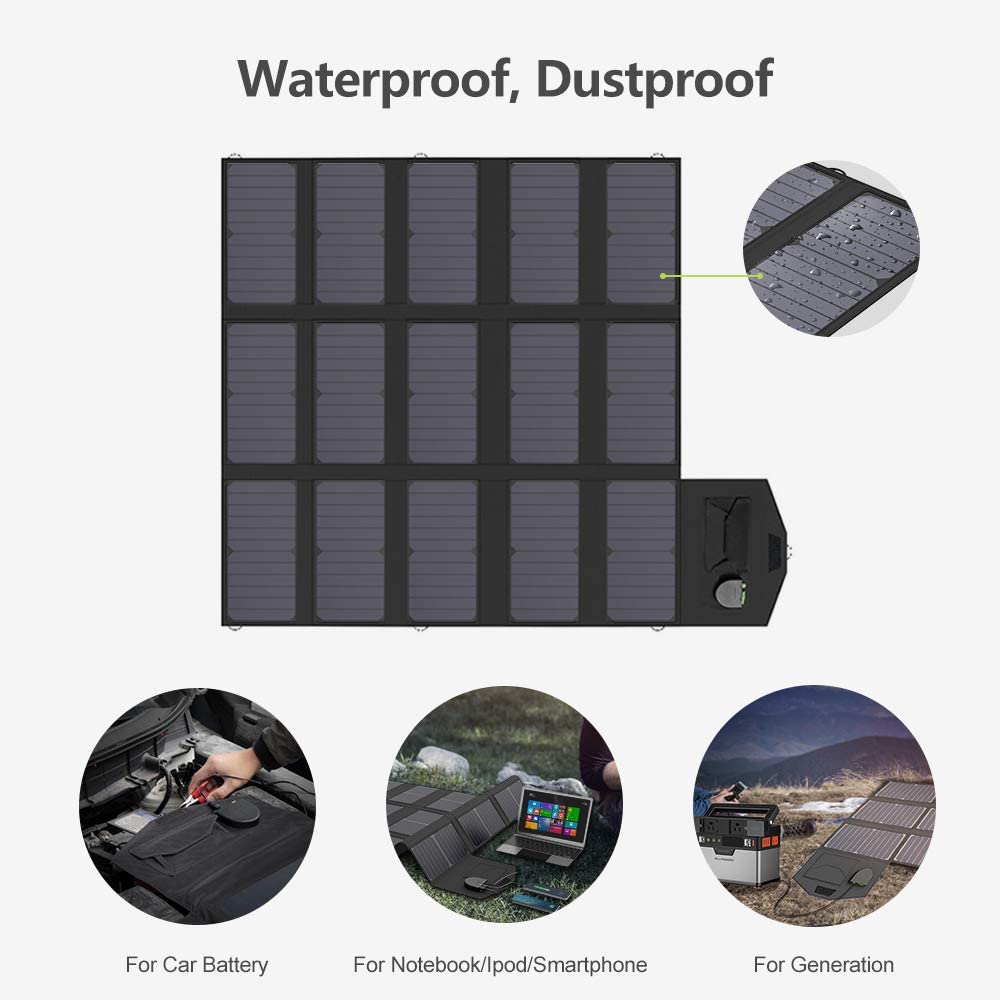
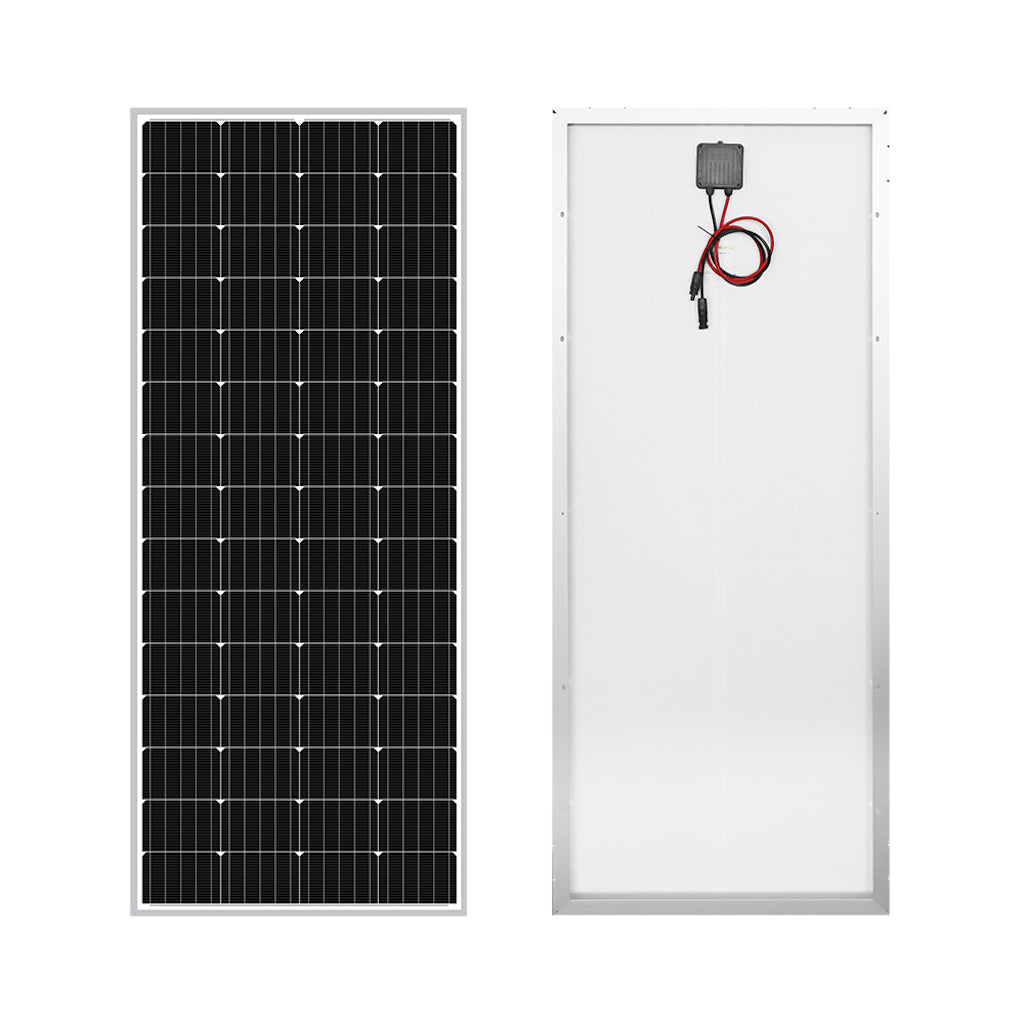


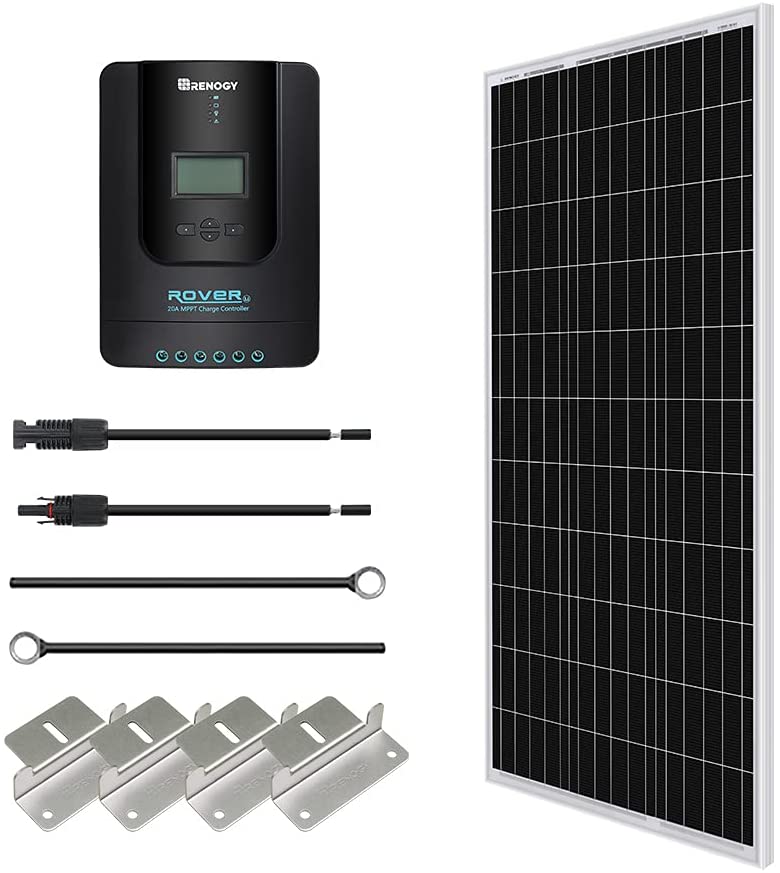
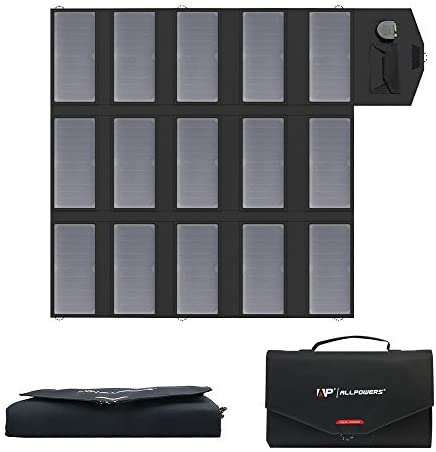
If you are starting from nothing, a kit is the easier path. A Renogy 200W kit arrives with a charge controller matched to the panels and the cabling to connect them, which removes the two mistakes people most commonly make: an undersized controller and the wrong cable gauge. Buying components separately is cheaper per watt and worth it once you know what you are doing.
For a bigger array, the WindyNation 400W set is the sensible jump for full-time living, and the Newpowa 200W monocrystalline is the one to pick when roof space is the binding constraint rather than budget, because monocrystalline gives you more watts per square metre.
Caravans, Motorhomes and RVs
A caravan or motorhome poses a different problem from a van, even though the panels are identical. You usually have more roof, so total area stops being the limit. What limits you instead is the furniture already up there: vents, air conditioners, sky-lights, aerials and hatches, all of which cast shade.
Shade matters more than most people expect. A panel that is partly shaded does not lose a proportional amount of output; depending on how the cells are wired it can drop far more than the shaded fraction. That argues for several smaller panels arranged around the obstacles rather than one large one fitted awkwardly between them, and for an MPPT controller that handles mismatched input well.
Mounting and Installation
How a panel is fixed to the roof matters for output as well as for whether it stays there. Rigid panels sit on brackets with an air gap underneath, and that gap is doing real work: a hot panel is a less efficient panel, and a few centimetres of airflow measurably improves summer output.
Orientation matters less than people expect on a vehicle, because you rarely get to park facing the optimal direction and a flat-mounted panel collects reasonably well from a wide arc. What matters much more is shade. Park under a tree and a large array behaves like a small one.
We positioned Benji’s two 300W panels sideways across the roof and attached them to the roof slide using aluminium corner brackets and bolts, sealed properly. The one piece of advice worth passing on: plan the roof layout before you cut anything, because vents, fans and hatches are far harder to move than panels are. Our gallery of Sprinter conversions is a useful way to see how other builds solved the same puzzle, and the insulation guide matters here too, since a better-insulated van draws less power to stay comfortable.
What Ours Actually Delivered
Rated output is measured in laboratory conditions that your roof will never see. Real output depends on latitude, season, cloud, panel temperature and how flat the panel lies.
Through a Canadian summer, 600W on Benji comfortably covered everything including cooking, and we rarely thought about power at all. Through November on Vancouver Island the same array struggled, and we ran the engine or found shore power more often than we would have liked. In Australia, Tilly’s 200W handled a fridge and the usual devices without drama for months. Same technology, three very different experiences, and the variable is sunlight rather than hardware.
There is a seasonal asymmetry worth planning around. In midsummer at high latitude the days are so long that even a modest array is generating for fifteen or sixteen hours, and the problem becomes storing it rather than collecting it. In midwinter the same roof at the same latitude might see four usable hours through cloud. The array that is embarrassingly over-specified in July is the one that just about copes in November.
The practical lesson is the one in the Takeaways: size for the worst month you intend to be out in. If that month is a Canadian November, no realistic roof array will cover you and you should plan for shore power or a DC-DC charger from the alternator. If it is an Australian winter, you need far less than you might expect. Solar irradiance data by latitude is the sober way to check before you spend.
Panels are the visible part of a van electrical system and usually the cheapest. The controller, battery bank, inverter and cable gauge decide whether it actually works, and they are where the money goes.
Our full Sprinter build lists every component we used, what it cost and what we would change. It is the fastest way to sanity-check a parts list before you order.
What It Costs
Panel prices have fallen a long way and continue to. As a rough shape at the time of writing, a 100W rigid panel is the cheapest entry point, a 200W kit with a controller included is the most common first purchase, and a 400W array is a meaningful step up in both cost and roof space.
The part that surprises people is the ratio. In our build the panels were a relatively small share of the electrical budget; the lithium batteries and the inverter cost considerably more. If money is tight, the sequence that gets the most usable power is a modest array, a good controller and as much battery as you can afford, rather than a large array feeding a small bank. Our full conversion cost breakdown has the actual figures.
One more thing worth budgeting for: a DC-DC charger from the alternator. It is not solar, but on any trip where you drive most days it will put more into the batteries than the roof does, and it turns a marginal system into a comfortable one. Between the two, we would fit a smaller array and a DC-DC charger over a larger array alone.
Frequently Asked Questions
How many solar panels do I need for a campervan?
Most van builds land between 200W and 600W. A weekend van with lights and phone charging manages on 100 to 200W. A van with a fridge and laptops wants 200 to 400W. Full-time living at higher latitudes wants 400 to 600W plus a large battery bank. Size for your worst month rather than your best.
Will a 100W solar panel run a campervan fridge?
In summer at low latitude, roughly break-even on a good day. A 12V compressor fridge uses about 30 to 60 amp-hours daily and a 100W panel returns around 30 amp-hours in good conditions, leaving nothing for anything else. If a fridge is in the build, start at 200W.
What size solar panel do I need for a 12V leisure battery?
A useful rule of thumb is around 100 amp-hours of battery storage for every 200W of panel. Our own van ran 600W of panel into 400Ah of lithium, which is close to that ratio and was sized for electric cooking as well as the usual loads.
Are flexible solar panels good for a van roof?
They are good for curved roofs, low weight and a stealthy profile. They run hotter than rigid panels because there is no air gap beneath them, and they generally have a shorter life. Choose them for shape and discretion rather than for output.
Can you live in a campervan on solar alone?
In a sunny climate with a well-sized system, yes. At high latitudes in winter, no. Most full-timers pair solar with a DC-DC charger from the alternator so that driving also charges the batteries, and use shore power occasionally in the darkest months.
Is a solar kit better than buying components separately?
A kit is better for a first build because the controller and cabling are matched to the panels, which removes the two most common mistakes. Buying separately is cheaper per watt and gives you better components, and it suits anyone who already understands the system.
How much solar do you need for full-time van life?
Plan for 400W minimum and 600W if you cook on electricity or work remotely through winter. Battery capacity matters as much as panel wattage, and a way to charge from the alternator matters more than either in a bad week.
Do caravans and motorhomes need a different setup?
The panels are the same but the layout problem is different. Larger roofs are usually cluttered with vents, hatches and air conditioners, so several smaller panels arranged around the obstacles often beat one big panel, and partial shading hurts output more than people expect.
Final Thoughts
The honest summary is that choosing the best campervan solar panel is easy to over-think and easy to under-buy at the same time. The panel brand matters far less than the arithmetic: what you use in a day, how much sun your worst month actually delivers, and whether the battery bank can carry you through the gap.
We got a lot of use out of 600W in Canada and needed only 200W in Australia, and neither number would have been right in the other place. Work out your own daily total, be pessimistic about sun hours, add a buffer, and buy the array that answers it. Then spend the leftover budget on batteries rather than on more roof.
If you are still assembling the rest of the van, the van life essentials list and our campervan accessories guide cover what goes in around the electrical system, choosing a base vehicle covers the decision upstream of all of it, and our van life hacks and the portable air conditioning guide cover the two things most likely to change your power budget after the build is finished.
What size array are you running, and does it cover you through winter? Tell us in the comments, we answer every one.

Leave a Reply