Without a doubt, the question on everyone’s mind when they see a beautiful camper van conversion is “how much does it cost?!” These amazing homes on wheels rival high-end condos and must have the price tag to match, right? The reality is that van builds vary dramatically and van conversion costs can range anywhere from $1k to $50k+.
*This post may contain affiliate links, as a result, we may receive a small commission (at no extra cost to you) on any bookings/purchases you make through the links in this post. As an Amazon Associate, we earn from qualifying purchases. Read our full disclosure
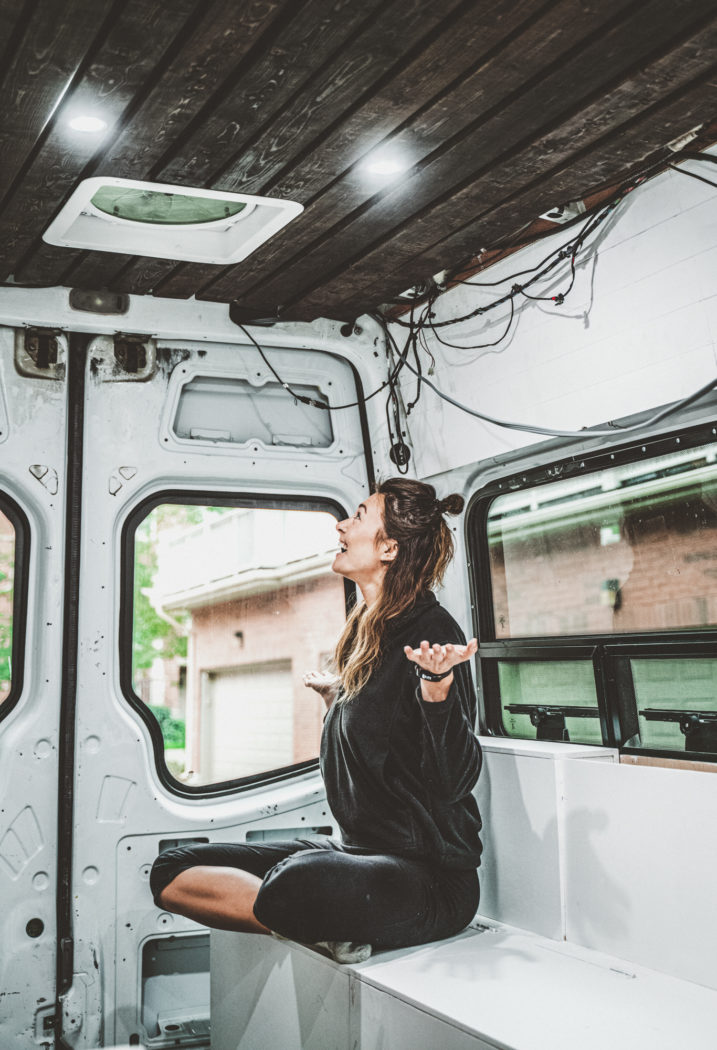
When we started converting our camper van, Benji, we did a ton of research on camper van builds. We wanted to establish a budget to create our dream van home without breaking the bank.
If you have the tools and know-how, you can keep costs down by doing the build yourself. But if you’re not keen on getting your hands dirty, there are lots of great van conversion companies out there who are experts at the conversion process.
Traveling Soon? Here is a list of our favourite travel providers and accessories to help get you ready for your upcoming trip!
So how much does a van conversion cost? Below, we share the breakdown of our costs!
How Much Does it Cost to Convert a Sprinter Van?
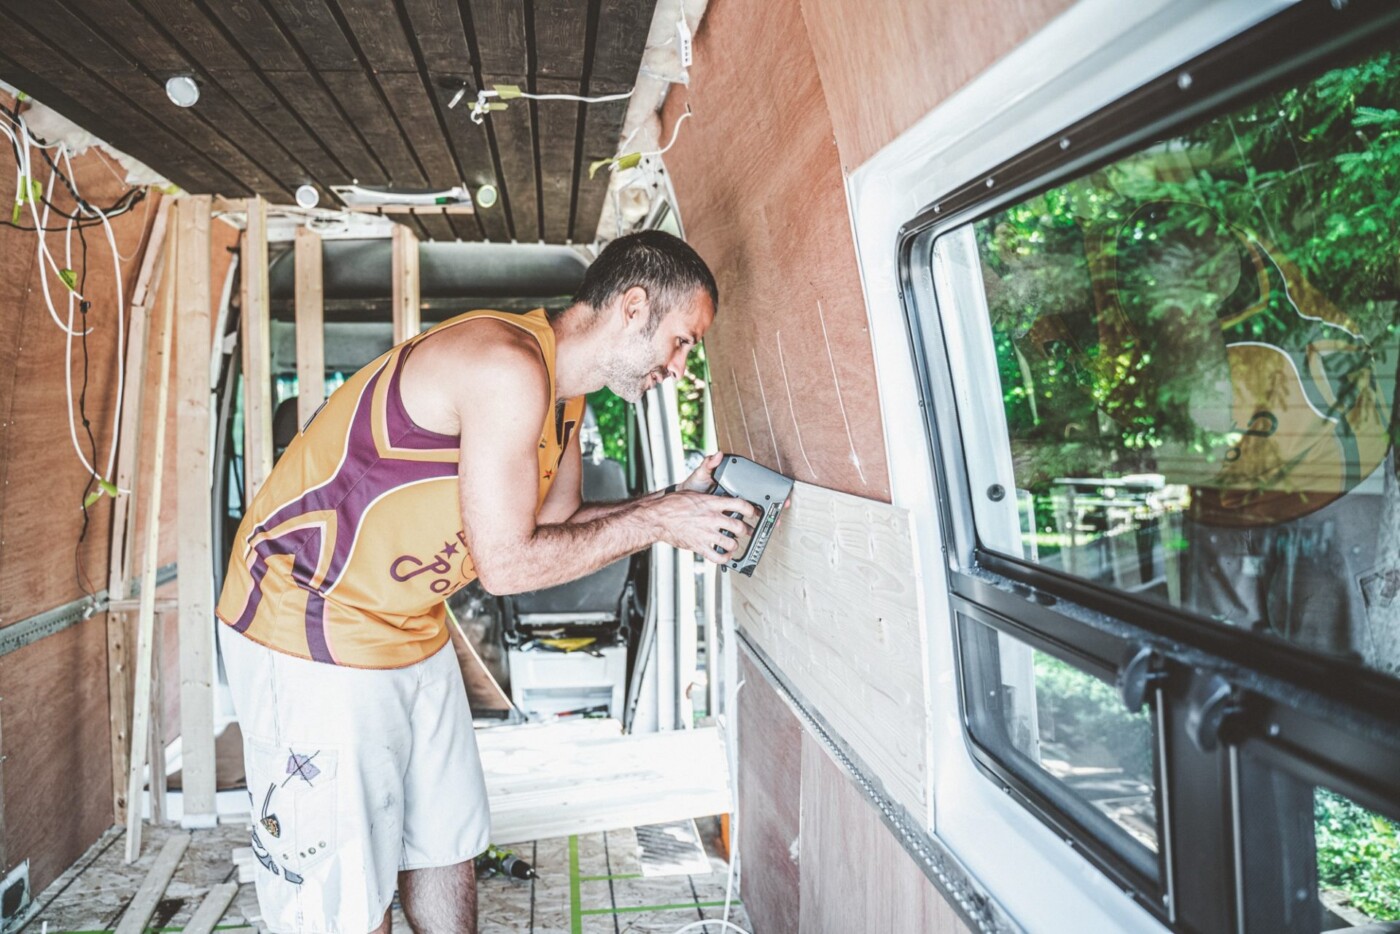
DIY Van Conversion
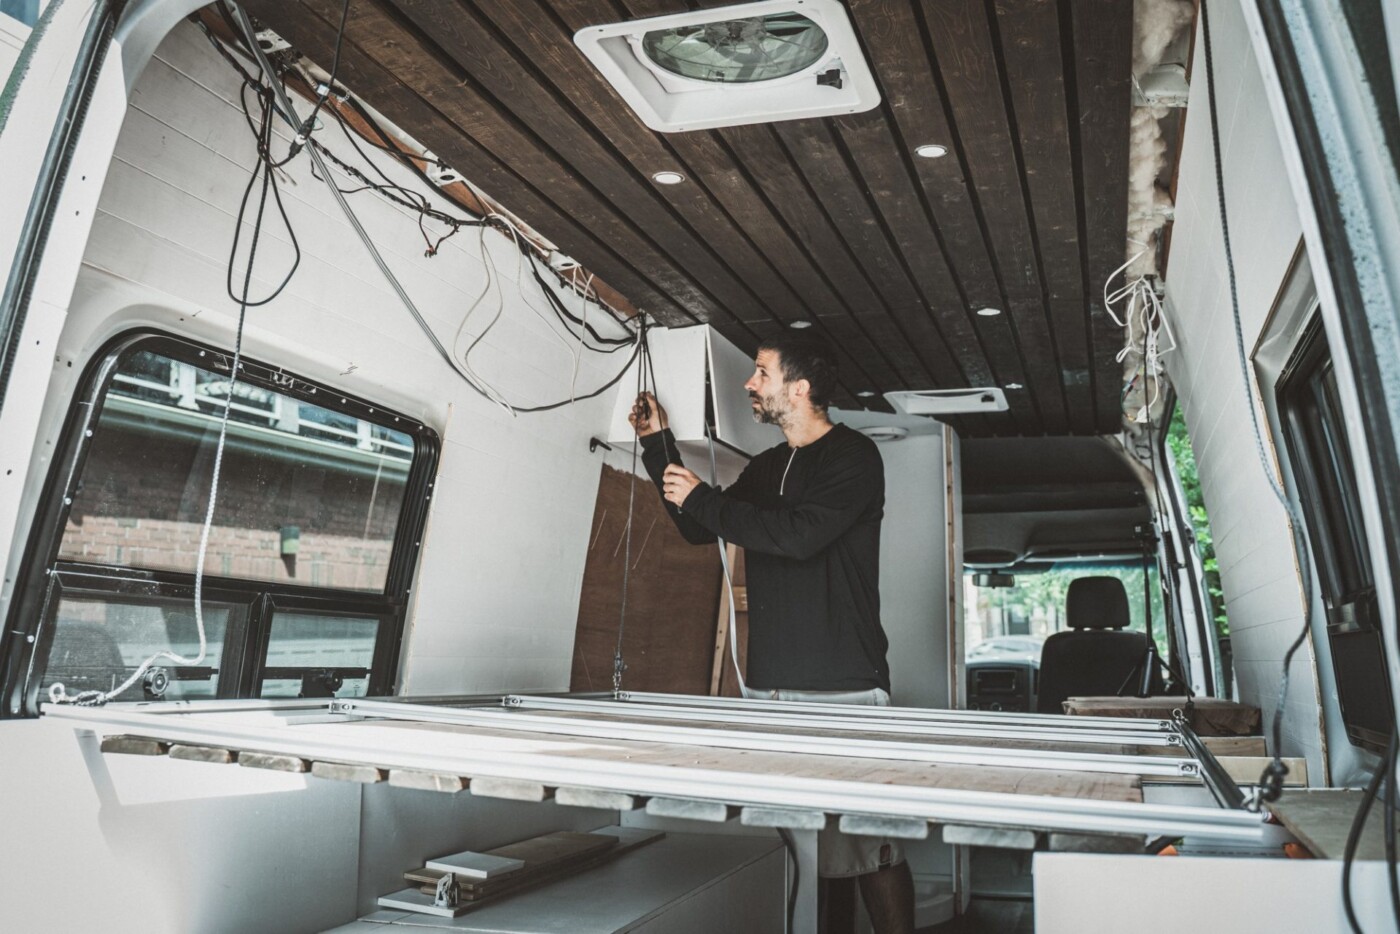
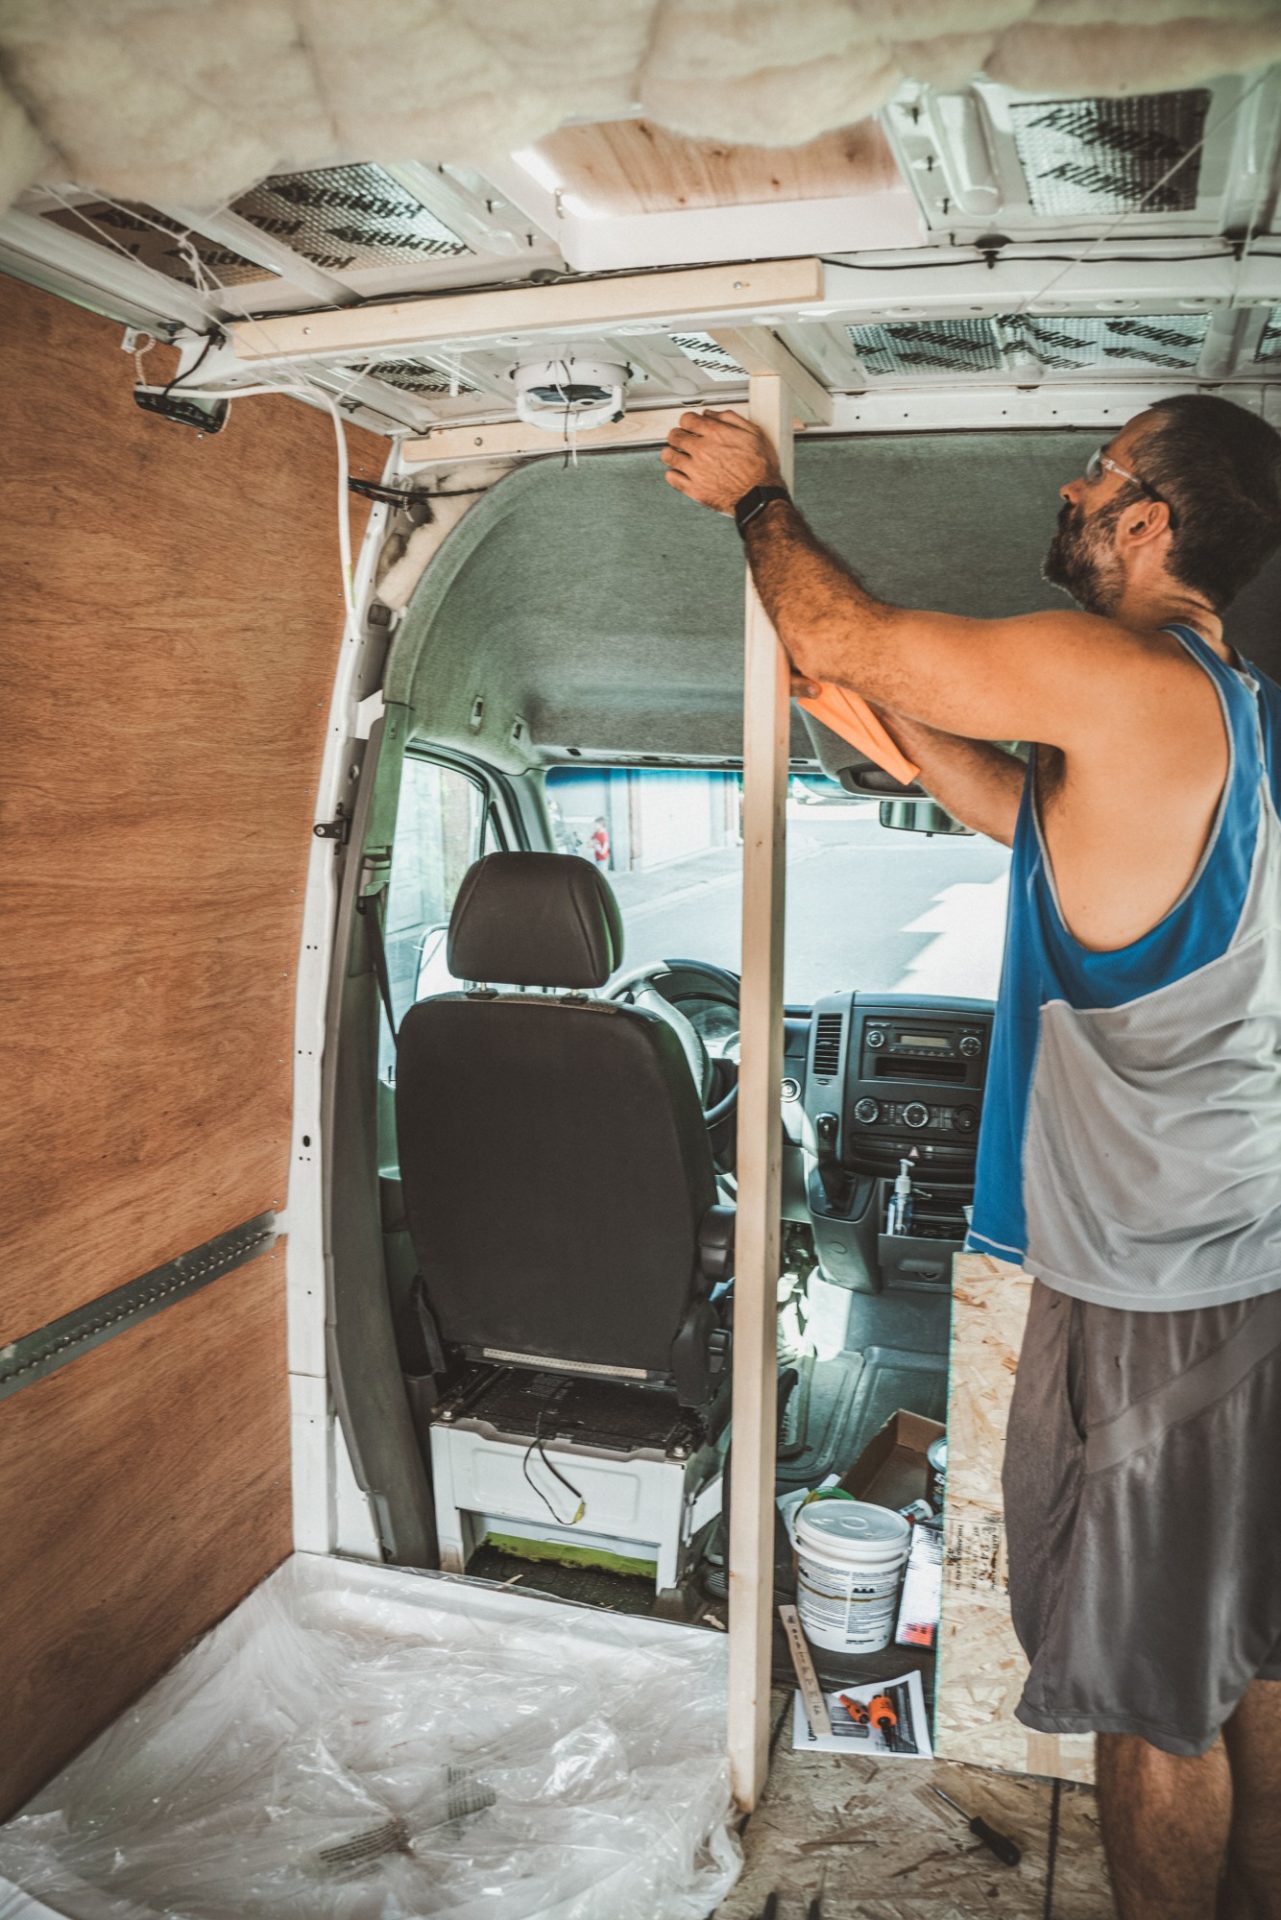
Nowadays, thanks to the school of YouTube, you can learn to do almost anything yourself. We spent hours watching YouTube videos and learning tips and tricks from other van lifers before getting started. Max was comfortable using tools but we had no prior building experience and learned everything from others. With a little help from Oksana’s dad and brother, we managed to turn a cargo van into a cozy home on wheels.
DIY van conversions can range dramatically in their price tags. We’ve seen conversions as cheap as $1,000 and as expensive as $50,000. 4×4 van conversion cost even more, especially, you include the cost of the vehicle itself!
READ NEXT: Our DIY Campervan Build – 2008 Dodge Sprinter 170WB
Professional Van Conversion
We won’t lie, the van conversion process was not painless. It took a lot of research and a lot of hard work—not to mention many bleeding fingers and daily trips to Home Depot. It ain’t for the fainthearted. A DIY van conversion can put a strain on the body, the mind, and even your relationship!
If the timeline and grit don’t suit your lifestyle, you can always hire a professional. Most van conversion companies offer packages ranging from just framing and insulation to an entire build. The cost to convert will be based on the extent of the build, labour costs, and what materials you choose.
READ NEXT: 10 Beautiful Sprinter Van Conversions to Inspire Your Build
How Much Does a Sprinter Van Cost?
Before we talk about the cost to convert a can to camper, we want to share a bit more about our van itself. Vans suitable for van conversion can range in price dramatically, depending on your needs and budget. Brand new Sprinter/ProMaster vans cost anywhere between $30-50K, while used vans can be purchased for $10-20K.
READ NEXT: How To Choose The Best Van For Camper Conversion
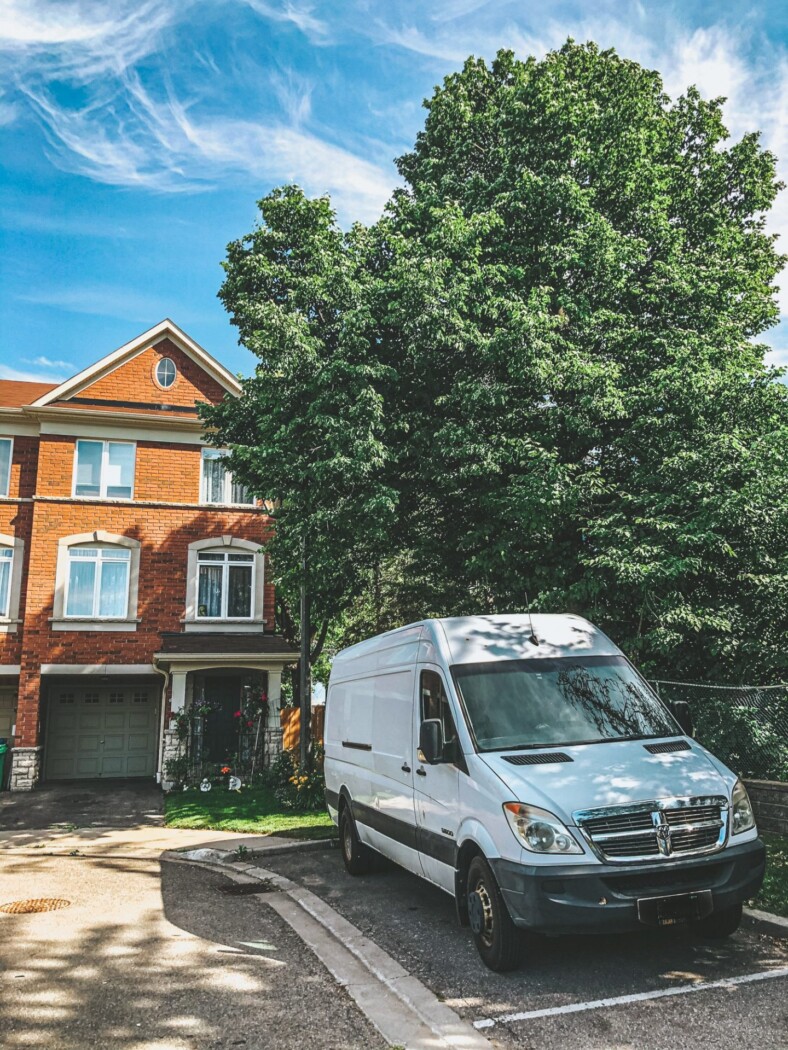
We didn’t have the budget to afford a brand new van, so we focused our search on used cargo vans in our area in Ontario, Canada.
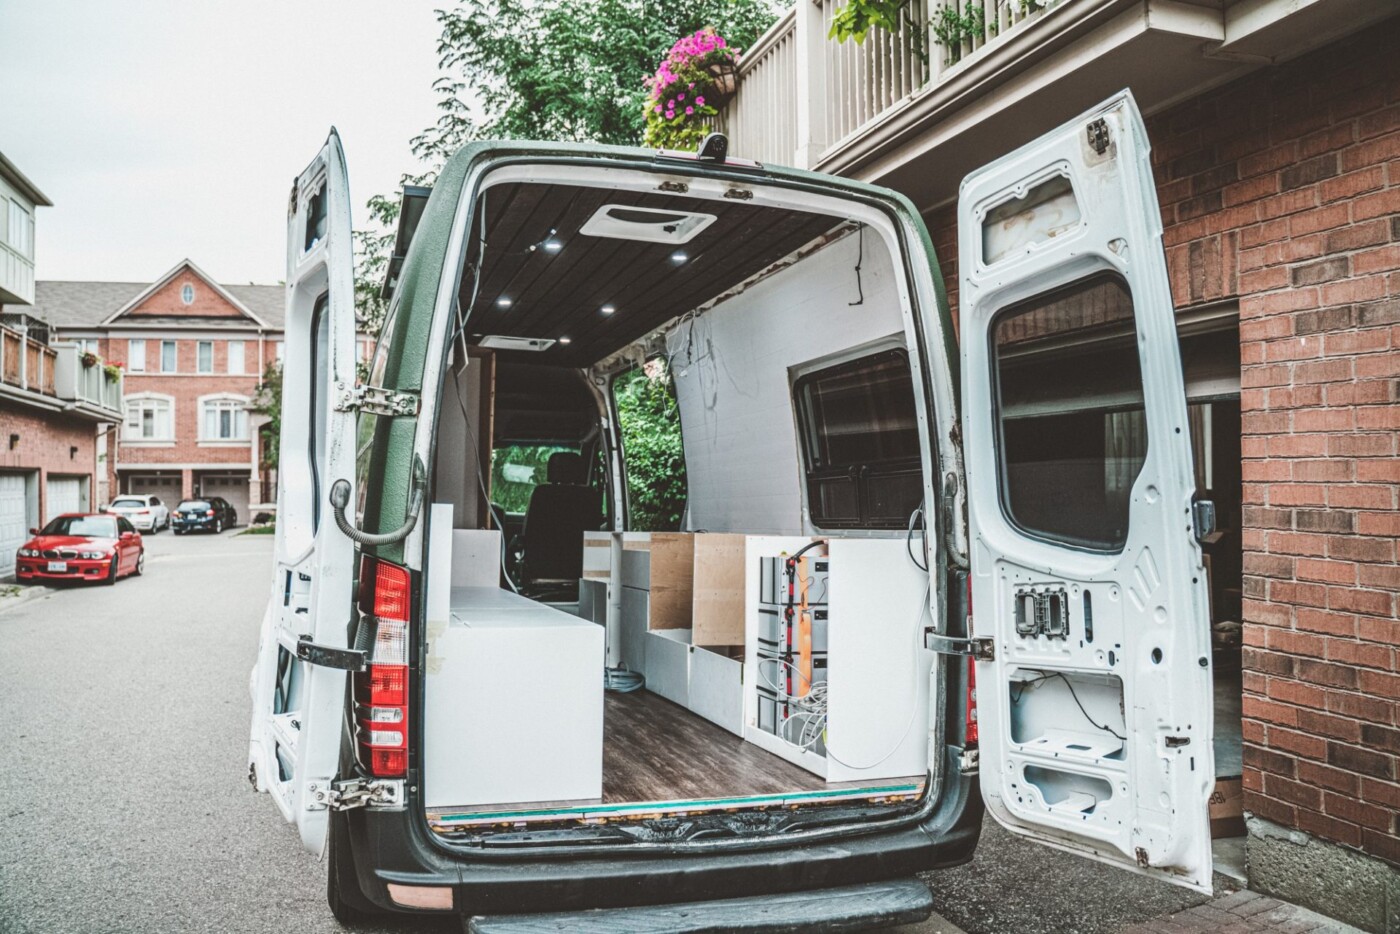
We knew we wanted a high-top base van that was big enough to accommodate a permanent shower and have plenty of storage. So we focused on looking for an extended model. We compared over 35 used vans in our area and after a ton of research decided on a 2008 Dodge Sprinter 170WB 3500.
The van had just undergone a series of upgrades and had over $10K in recent repairs. It had driven just over 130,000 km – a low mileage for a 10 year old vehicle.
We purchased the van for CAD $15,500 (USD $12,180), including registration, taxes and all other paperwork. We drove it home and looked at it as a blank canvas for our dream van conversion. We were now ready to start building!
Total spent: CAD $15,500 (USD $12,180)
How Much Does it Cost to Convert a Sprinter Into a Camper Van?
We’re going to take you through every step in our campervan conversion process. You’ll be able to see a full breakdown of the cost of converting a van. Like we said before, Sprinter van conversion costs can vary widely. These are our costs based on doing the build ourselves in Toronto, Canada.
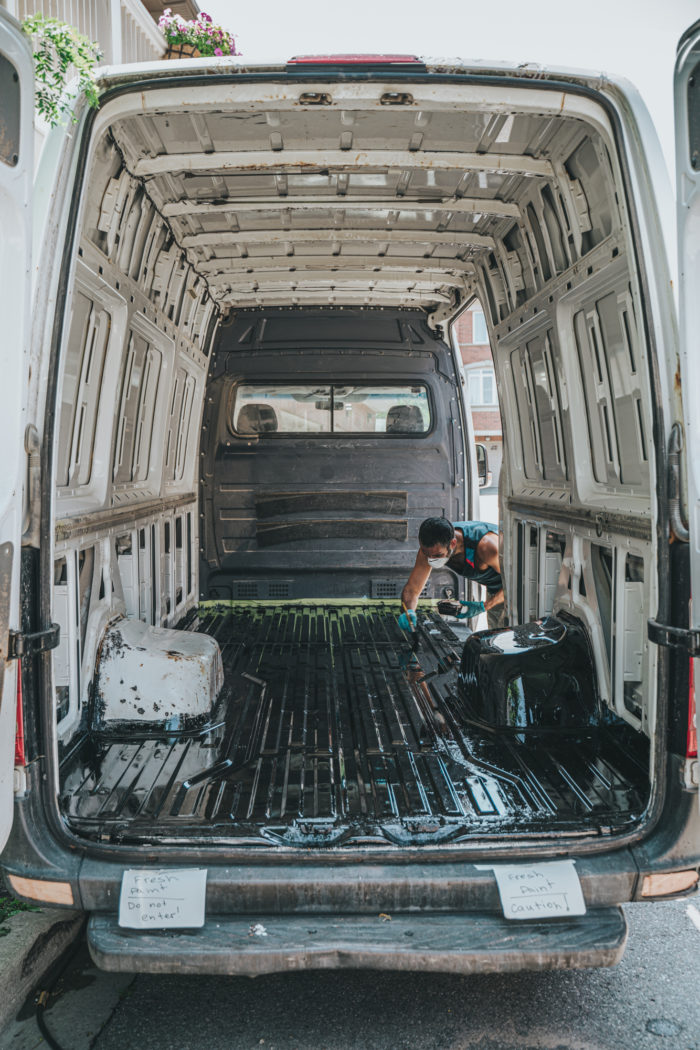
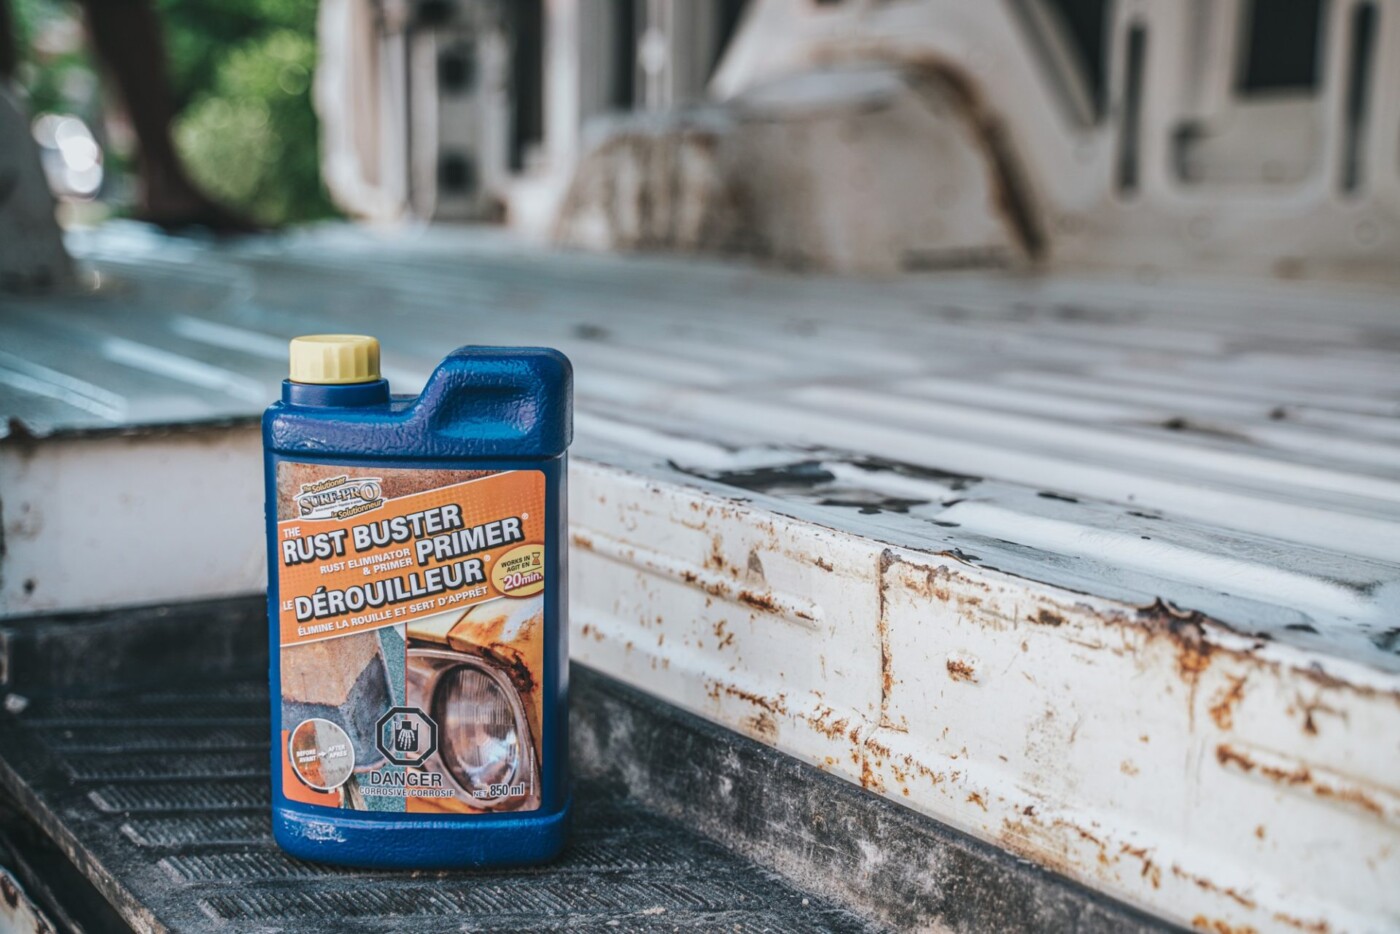
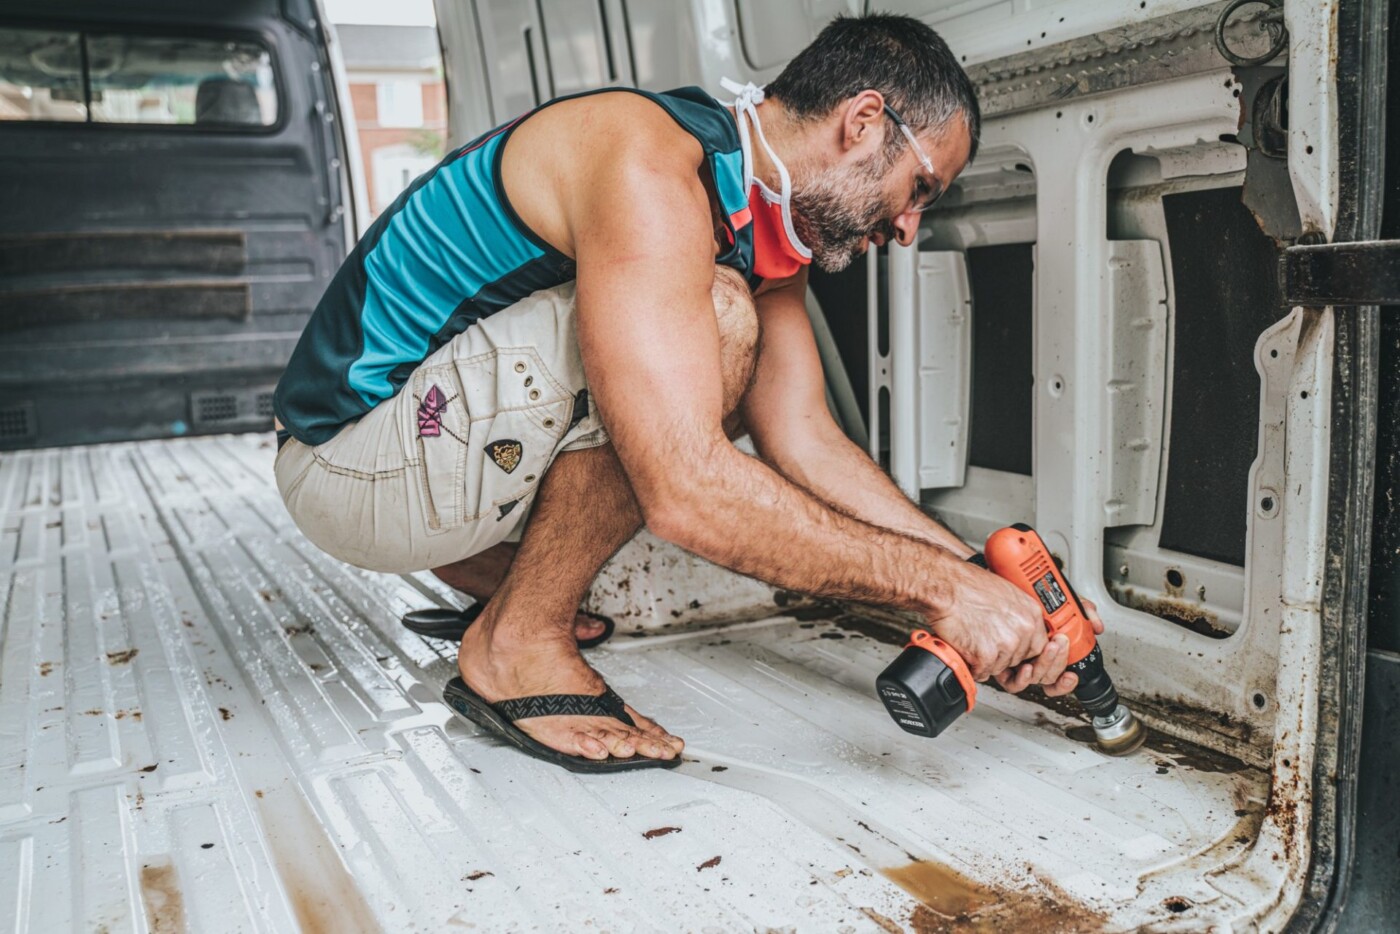
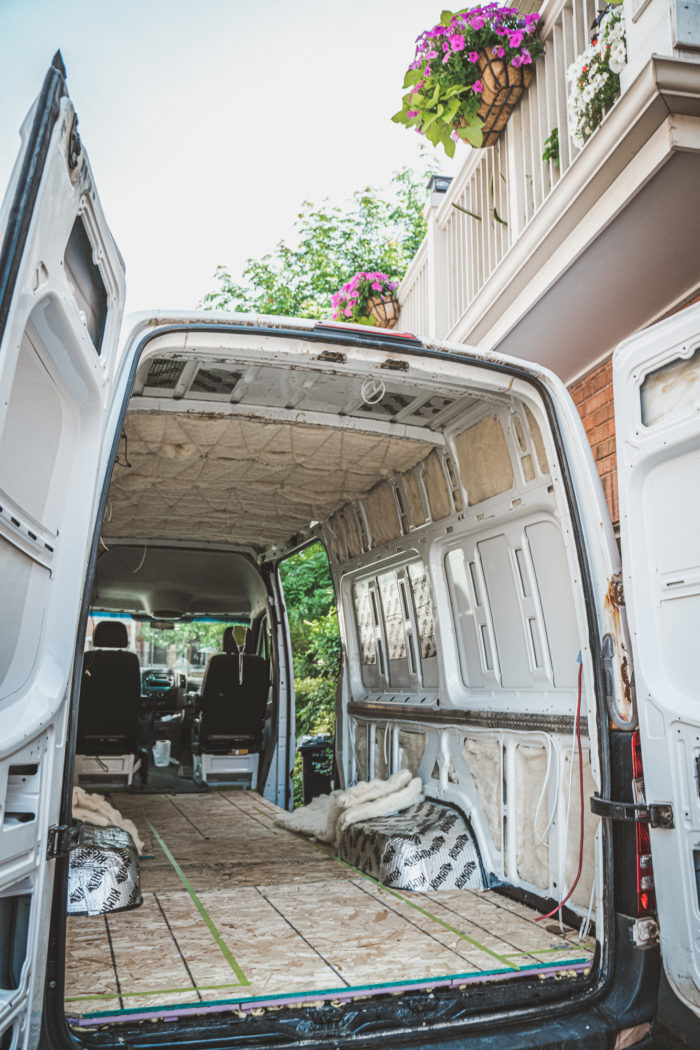
Strip & De-Rust
Although our Sprinter van was in good shape mechanically, it did have a fair amount of rust. To fix this, we sanded out the rust spots, patched any holes, and painted on rust prevention paint. All in all, this step wasn’t too costly, but it did end up being very time-consuming. What it lacked in expenses, it made up for in elbow grease!
The POR-15 rust prevention paint was CAD $74 and the most expensive item in our rust busting budget. The fibre patches totalled CAD $45 and worked like a charm for covering up the rust holes. To prepare the metal body of the vehicle for paint, we used a POR-15 metal prep treatment, which cost CAD $40.
Total spent: $247.22 (USD $194)
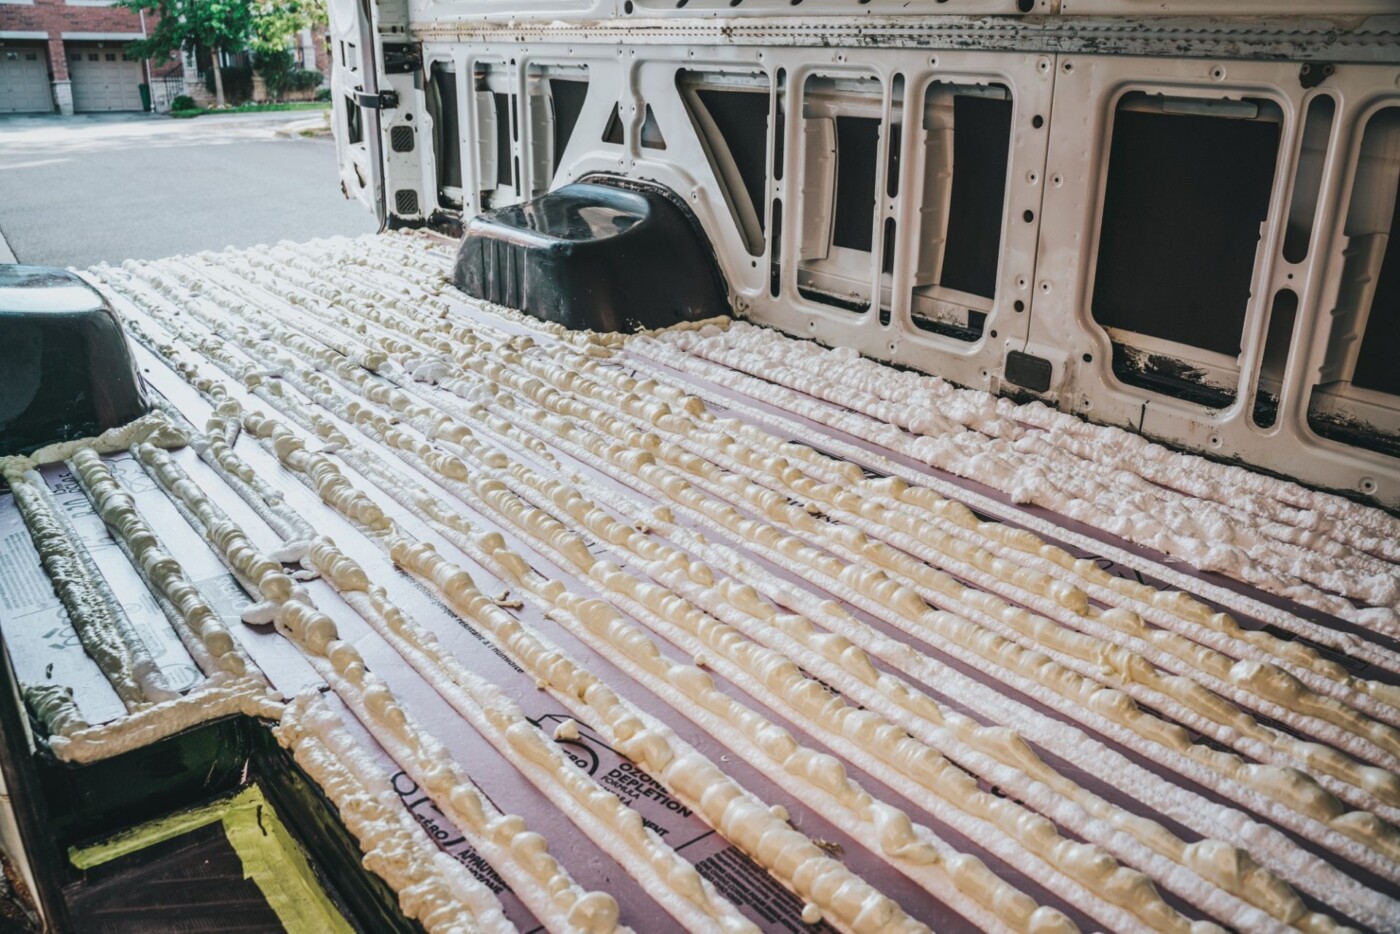
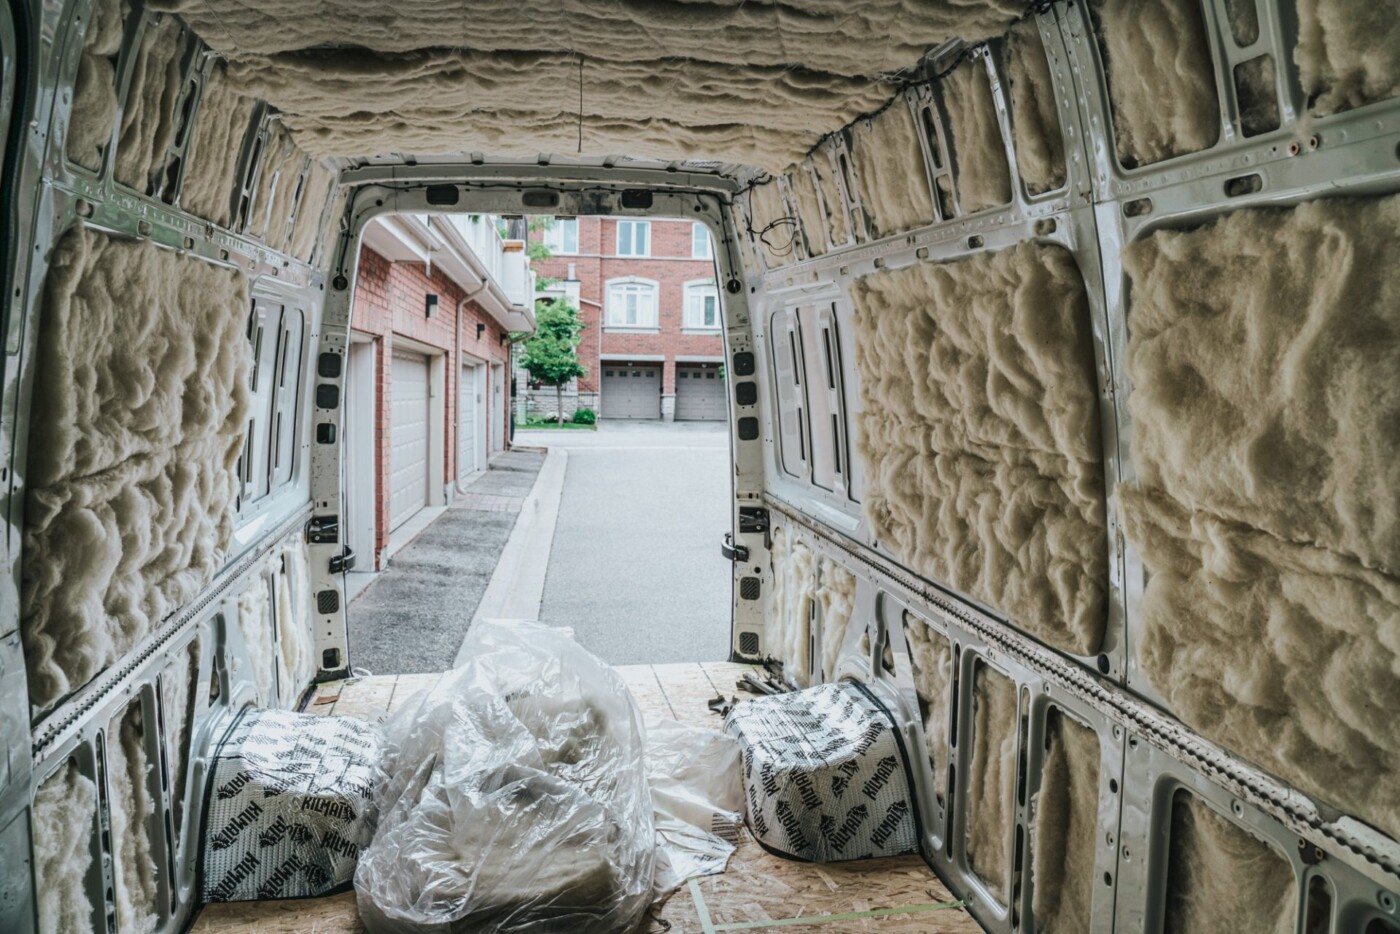
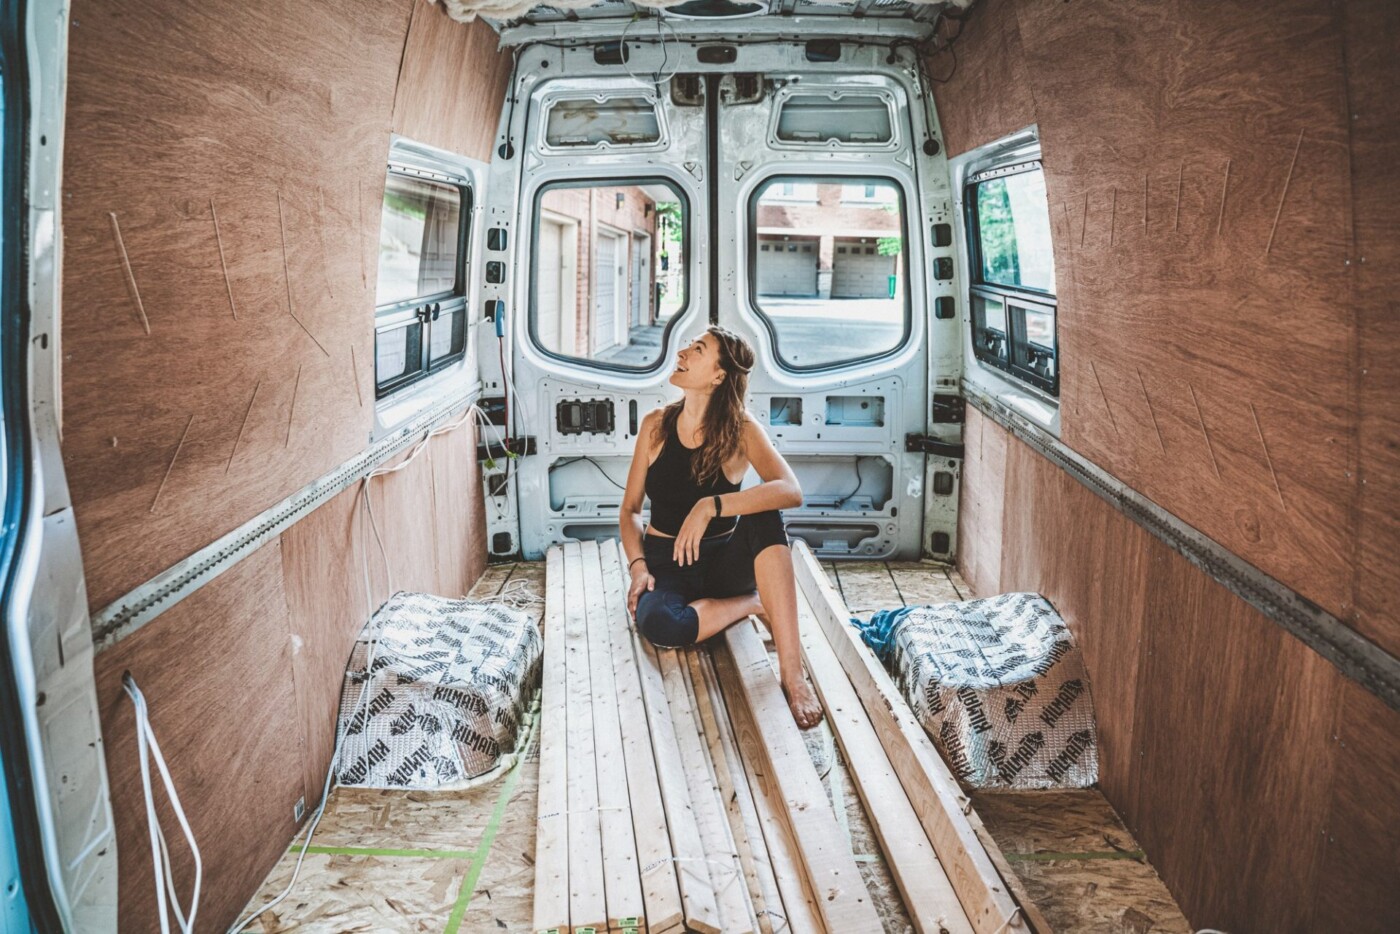
Insulation
Adding the right type of insulation in every area was an important step in our camper van build. We learned so much during the research stage of this step of the campervan conversion. It was a lot to learn, so to help others, we put together a comprehensive insulation guide below.
READ NEXT: The Ultimate Camper Van Insulation Guide
In the end, we insulated the floor of our van with rigid foam board and spray foam, and used Havelock wool on the walls and ceiling. We opted for sheep’s wool because of its natural insulating properties. It cost us $560, which is more expensive than other materials but was totally worth it.
Rigid foam board is a fairly cost-effective material and with only 70 sq ft of living space, we didn’t need much. We also added Killmat Sound Deadening Mats to minimize vibrations and outside noise. This set us back about $100, which was a worthy upgrade.
Total spent: $1,036.00 (USD $814)

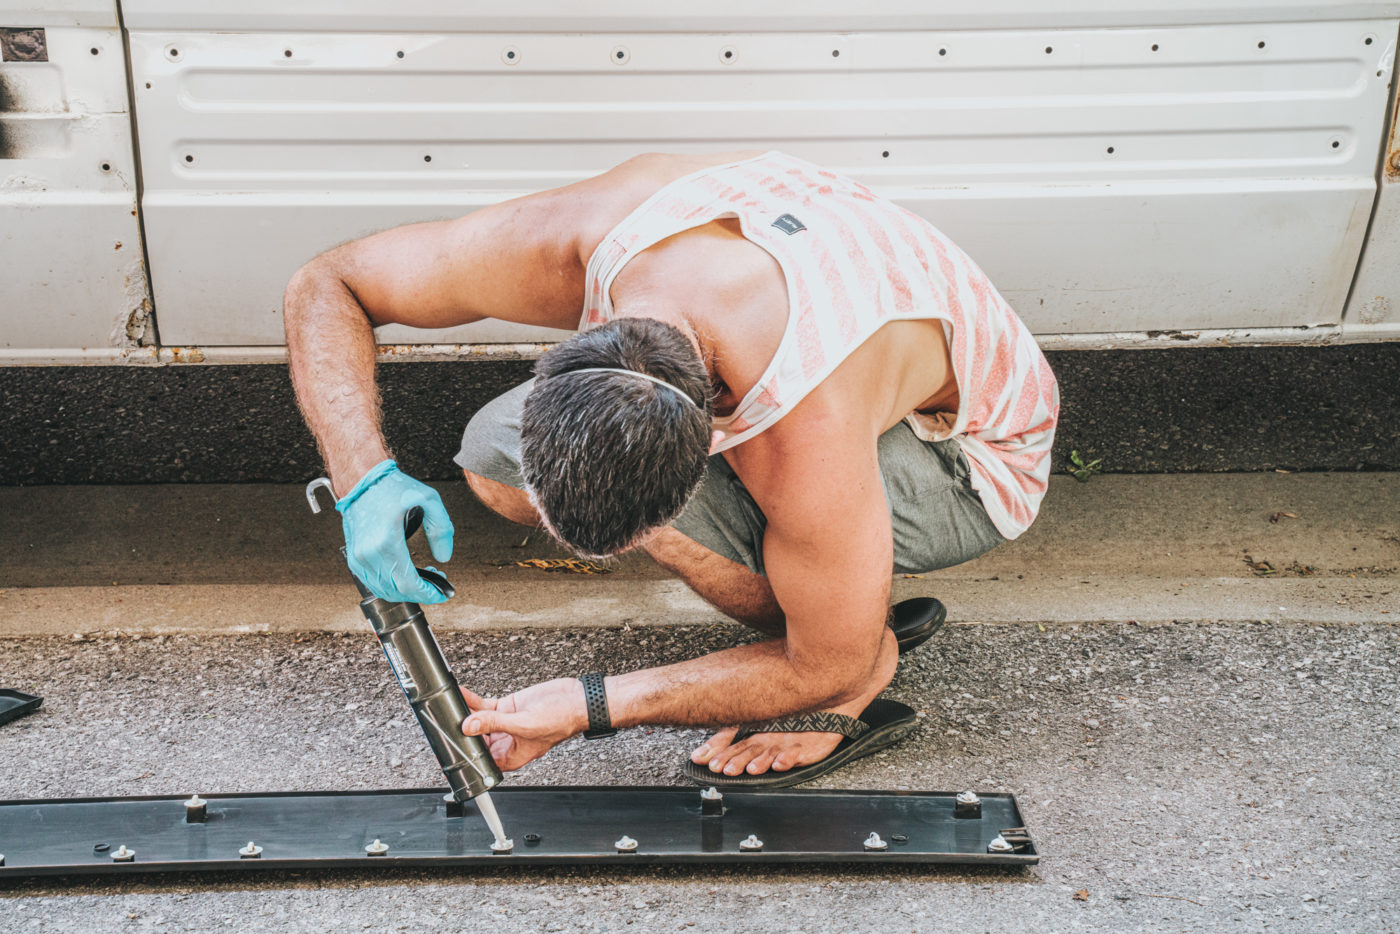
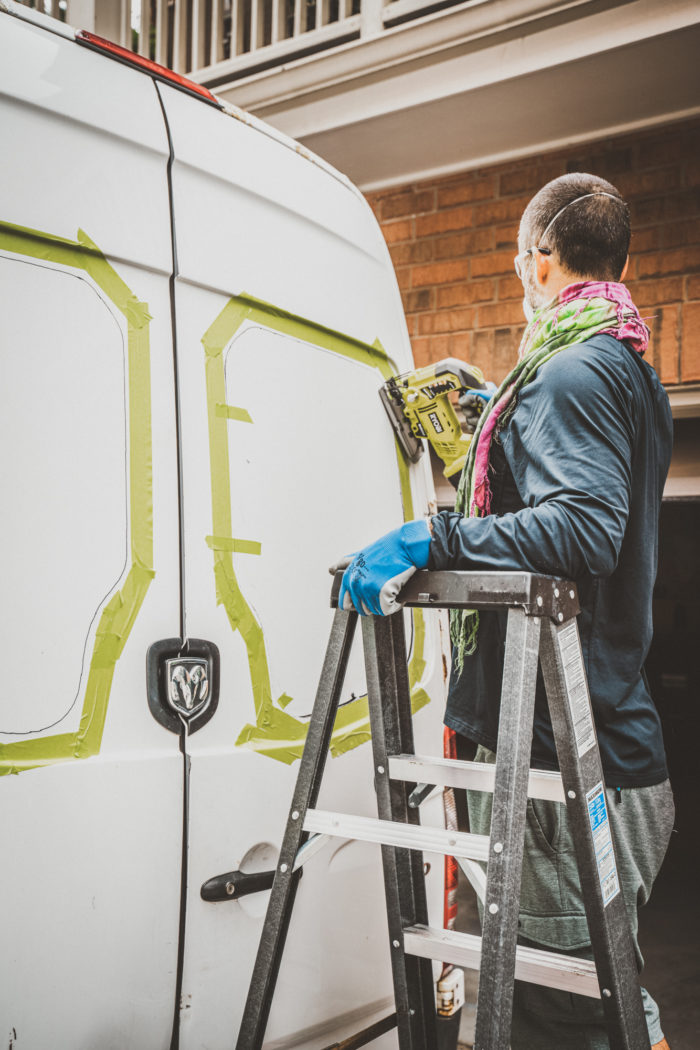
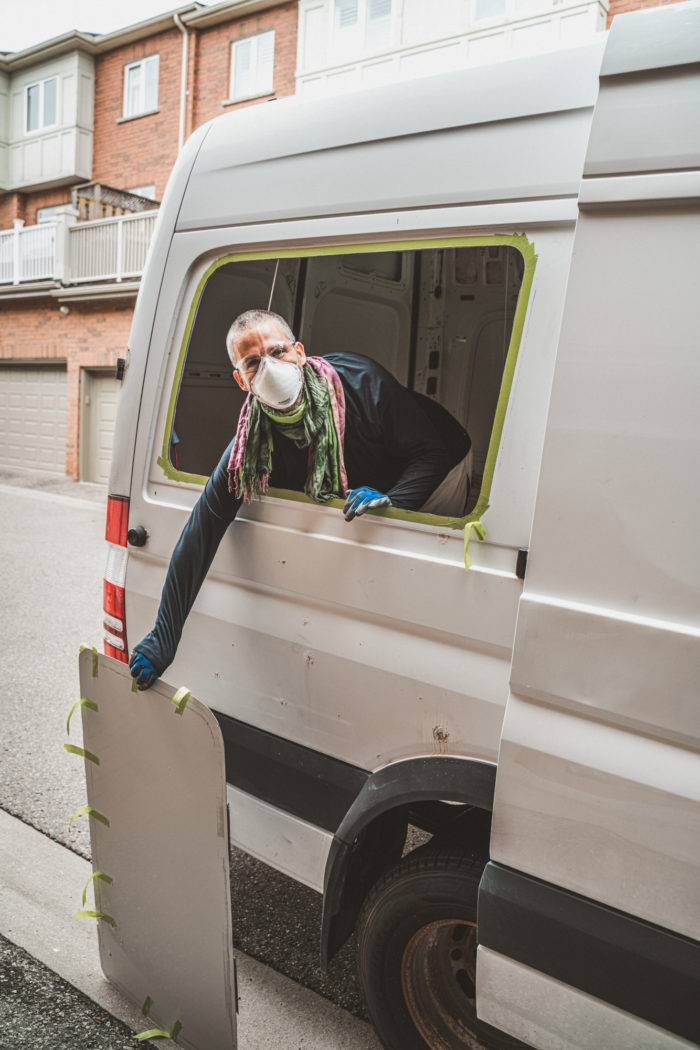
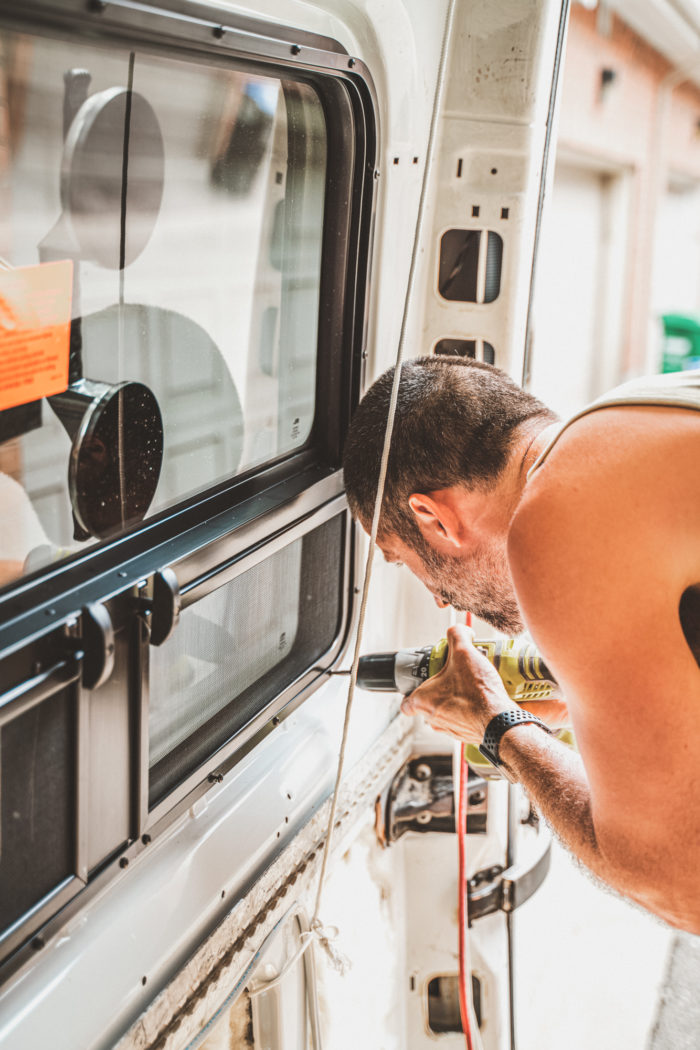
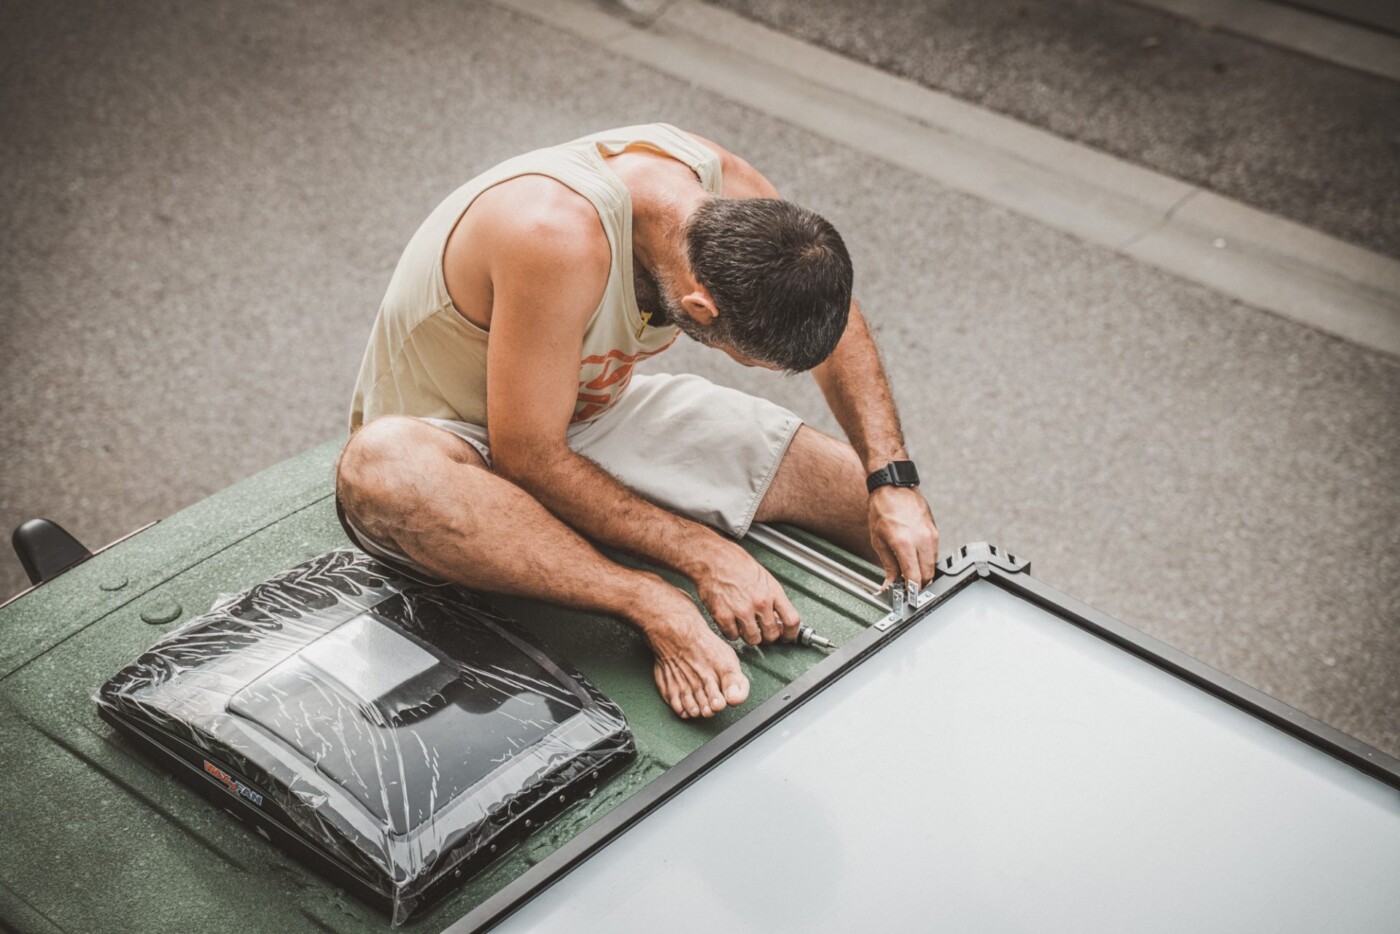
Windows
Like many cargo vans, our van did not have any windows in the living area. If you plan to convert a van to live in full time, adding windows is an awesome way to get natural light and enjoy the views while you’re cooking or working.
We added 2 backdoor windows and window panels on either side of the van. Some people might choose to have them installed professionally, but we did it ourselves.
Our costs for windows installation included the cost of the windows – CAD $1,200 for 2 rear windows and 2 side windows, another CAD $90 for primer and urethane, and CAD $40 for the trim.
Total spent: $1,329 (USD $1,036)
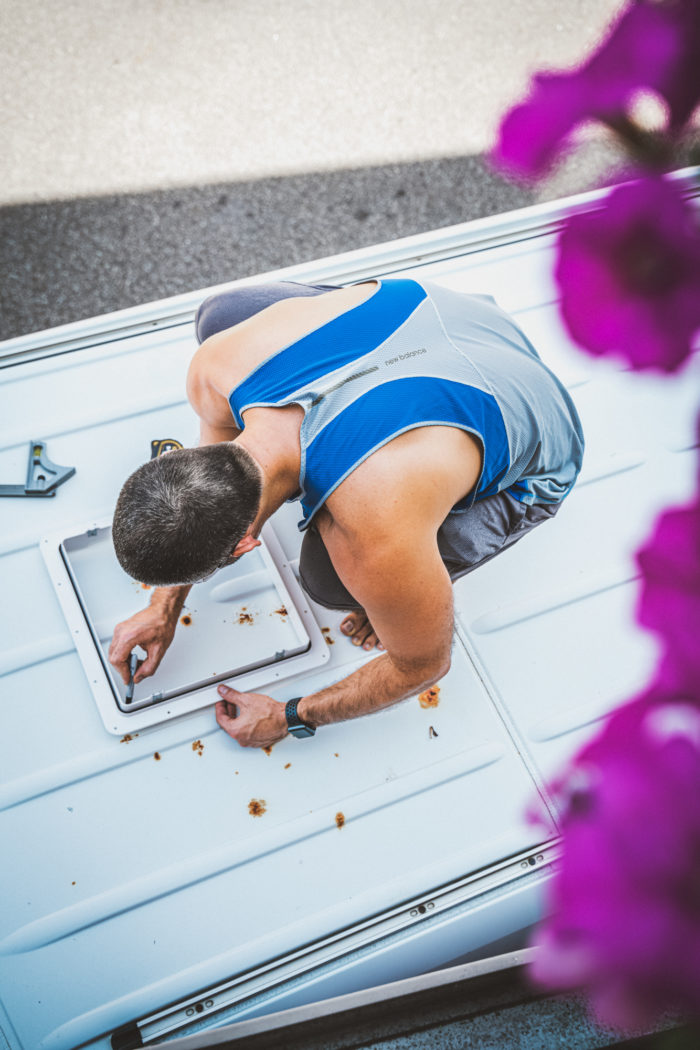
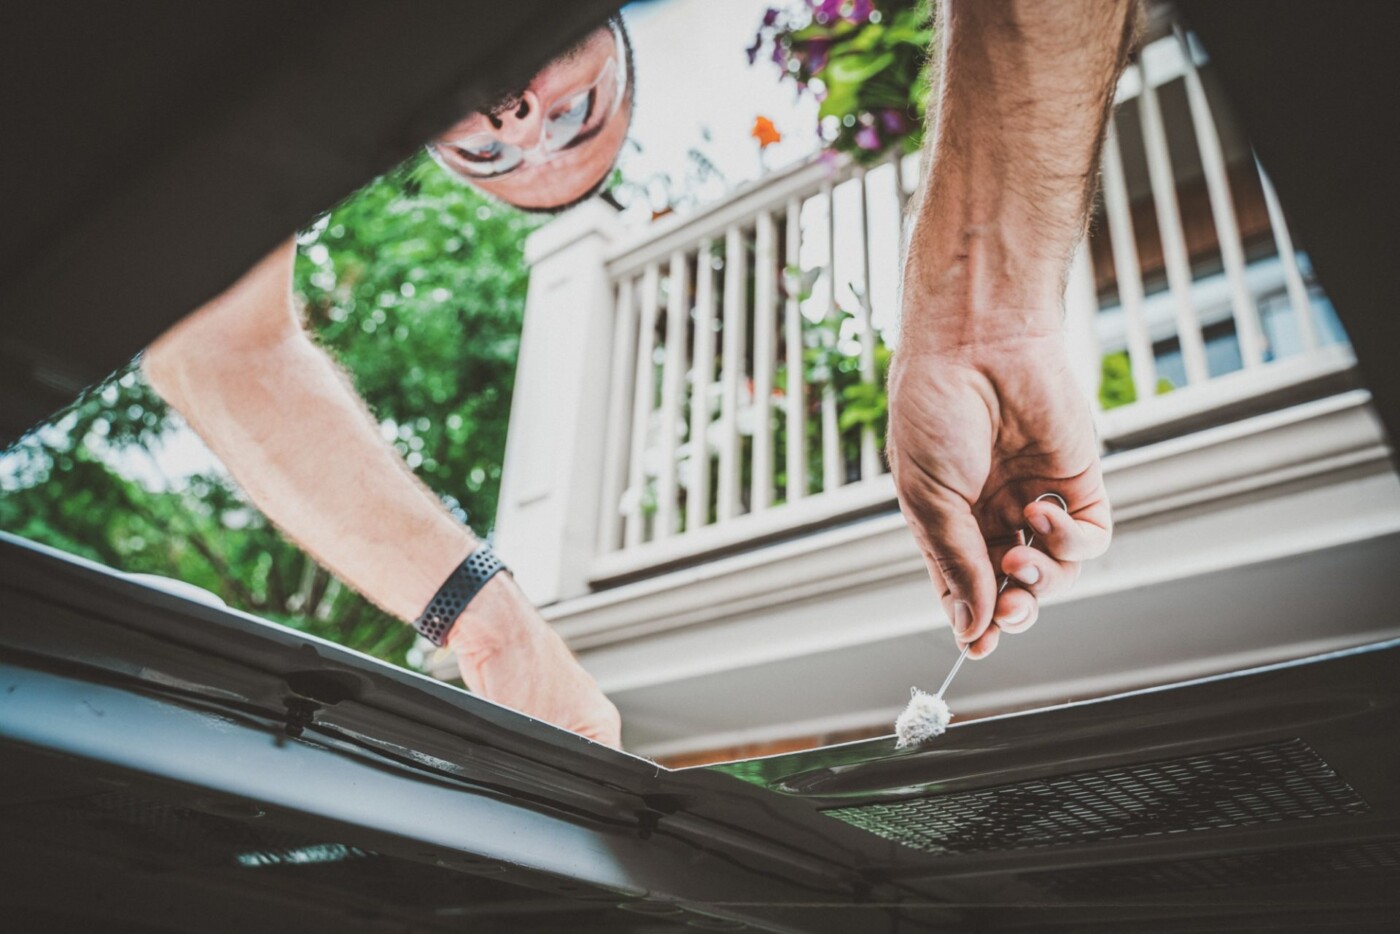
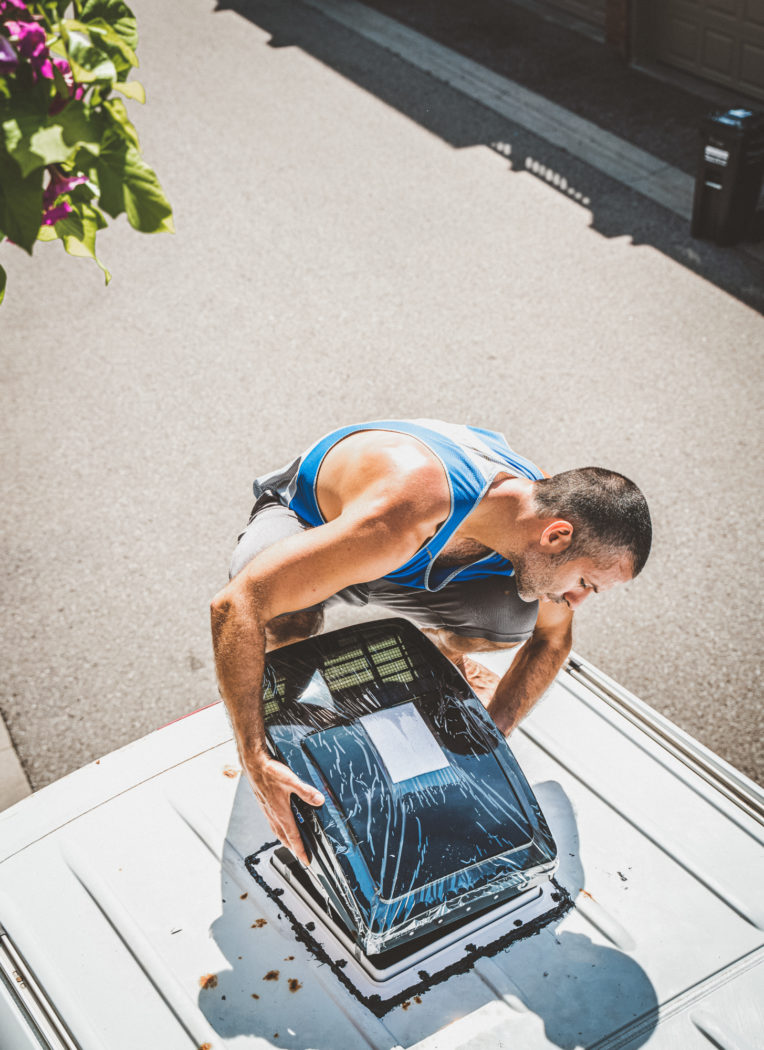
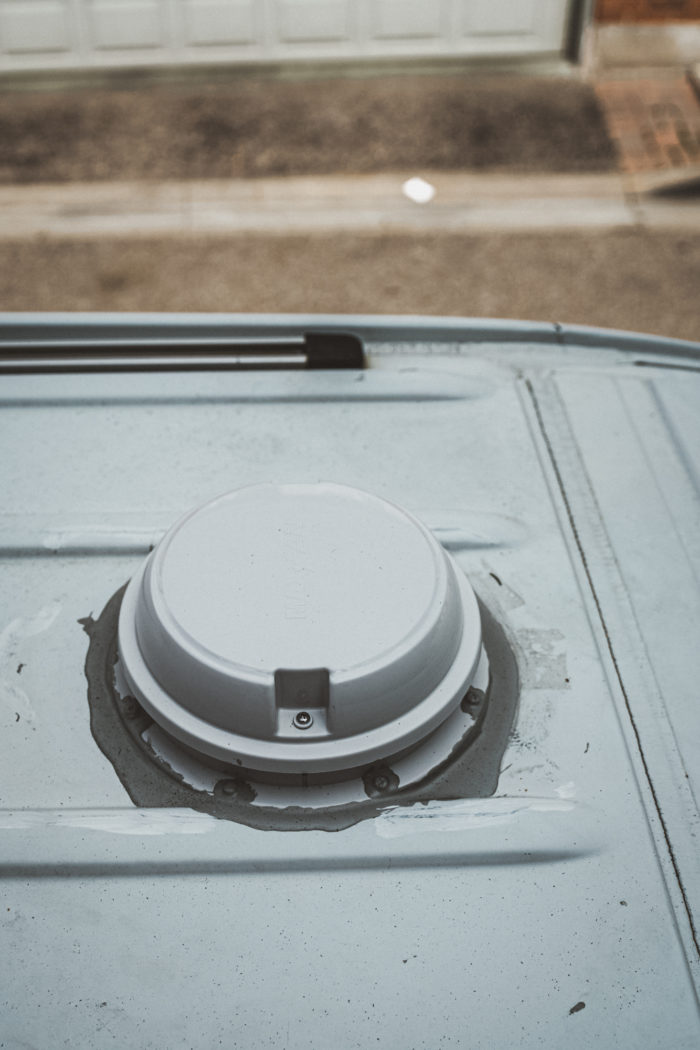
Fans
Dealing with excess moisture can be challenging when living in a van. To prevent mold and mildew, we focused on creating good airflow. We installed two Deluxe MaxxAir Fans: one over the bed and another one in the kitchen for CAD $553 each. When we’re cooking, hot air can escape and the fans help to keep us cool in the summertime.
In the bathroom, we installed a smaller MaxxFan Dome vent fan for CAD $110. It allows moisture to exhaust from the shower and doubles as a bathroom light. Lastly, we spent CAD $70 on materials to seal the outside edges and keep our DIY campervan watertight.
Total spent: $1,312.09 (USD $1023)
Heating
Full-time vanlife in Canada requires a good heater so you can forget how cold it is outside. After lots of research, we realized we could keep our camper conversion cost down by installing a diesel heater. Ours was just CAD $272 and gets fuel directly from our vehicle diesel tank. We got a no name brand, imported from China and it works just as well as the more popular Webasto heater, but costs a fraction of the price! It’s pretty impressive how powerful it can be for the low price! It heats up fast and can warm the whole van in no time.
Total spent: $272.59 (USD $214)
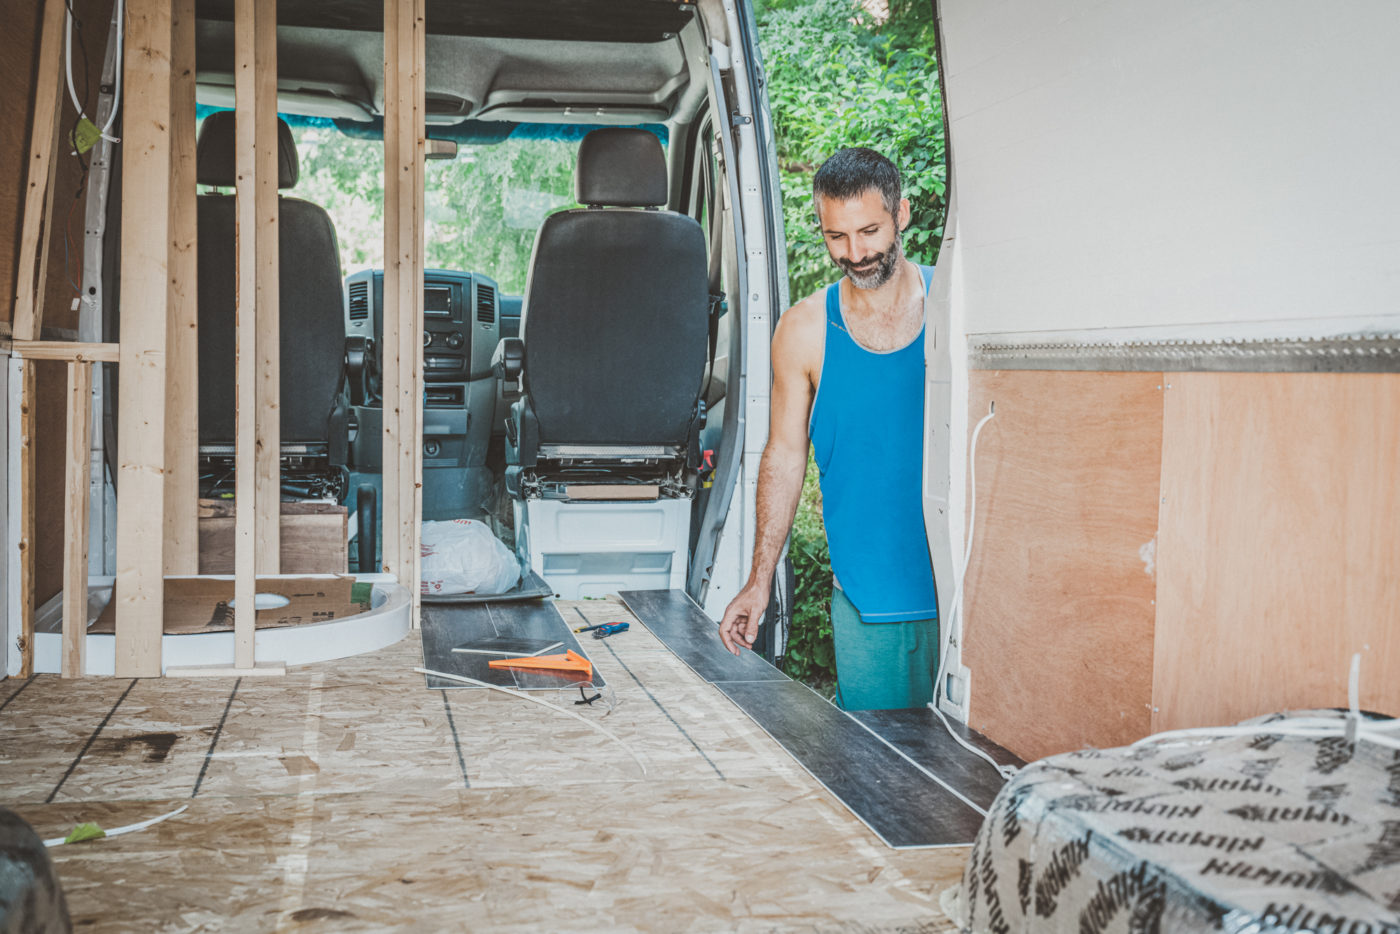
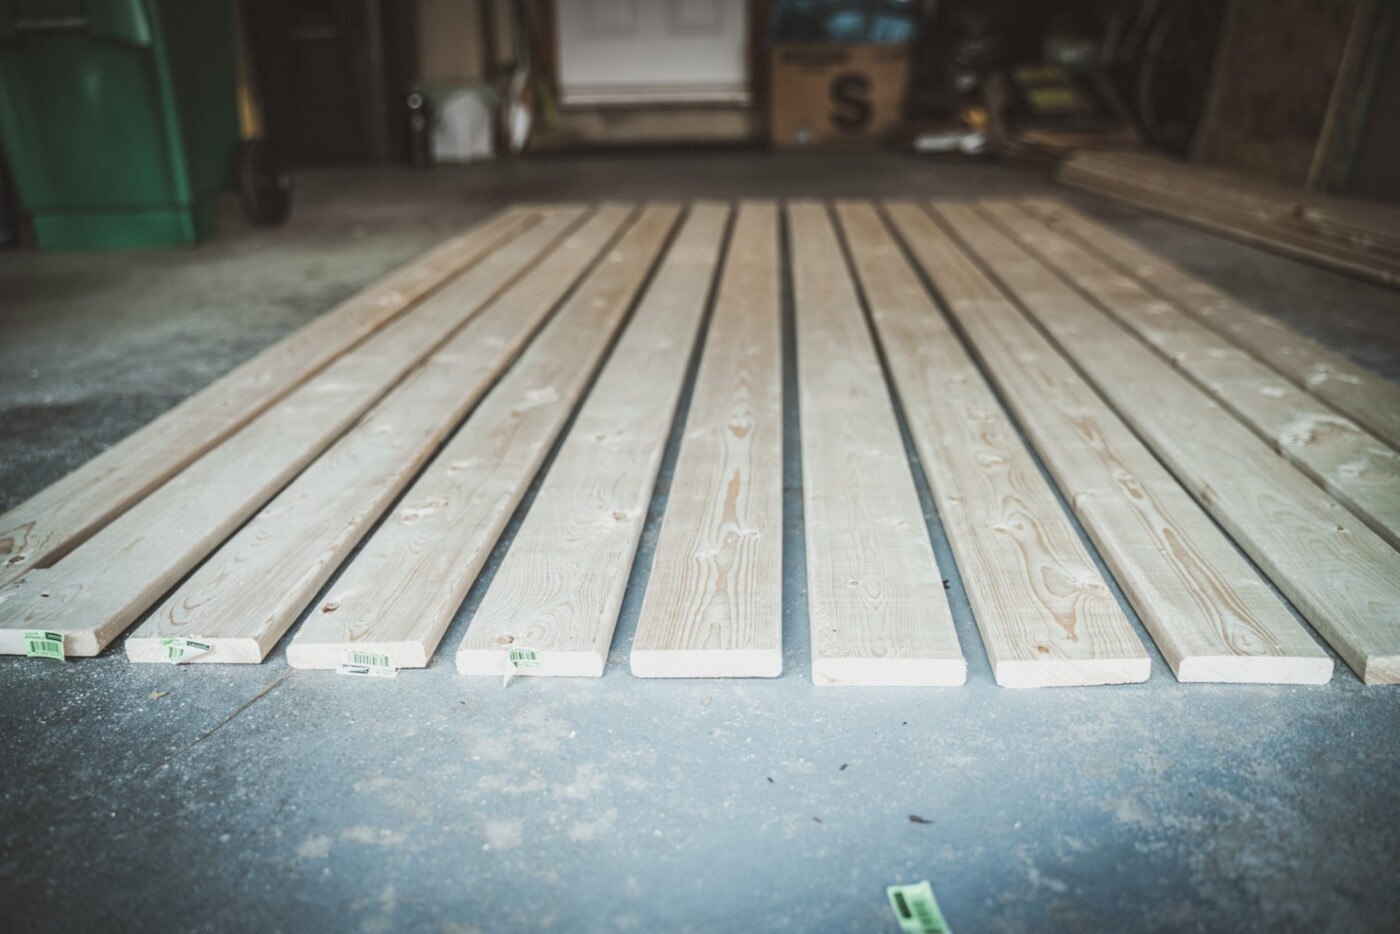
Flooring
The best part of a campervan conversion is that you don’t need a lot of materials. We purchased a whopping 80 sq ft of engineered vinyl plank flooring for a total cost of CAD $230. Along with some plywood subfloor, we took our van interior from work van to modern home in no time.
The vinyl plank flooring is waterproof and scratch-resistant, which makes it great for camping. The only part we’d change if we were to do it again would be to add in-floor heating. This would mean more materials in the electrical budget but would be well worth it for coziness in Canadian winter.
Total spent: $310.13 (USD $244)
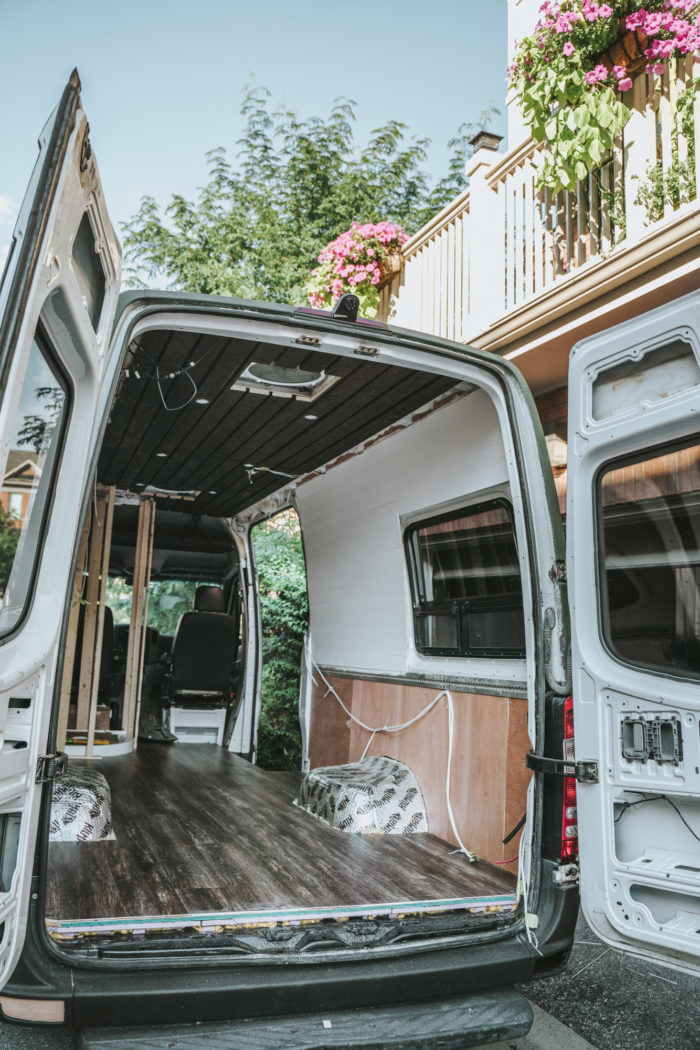
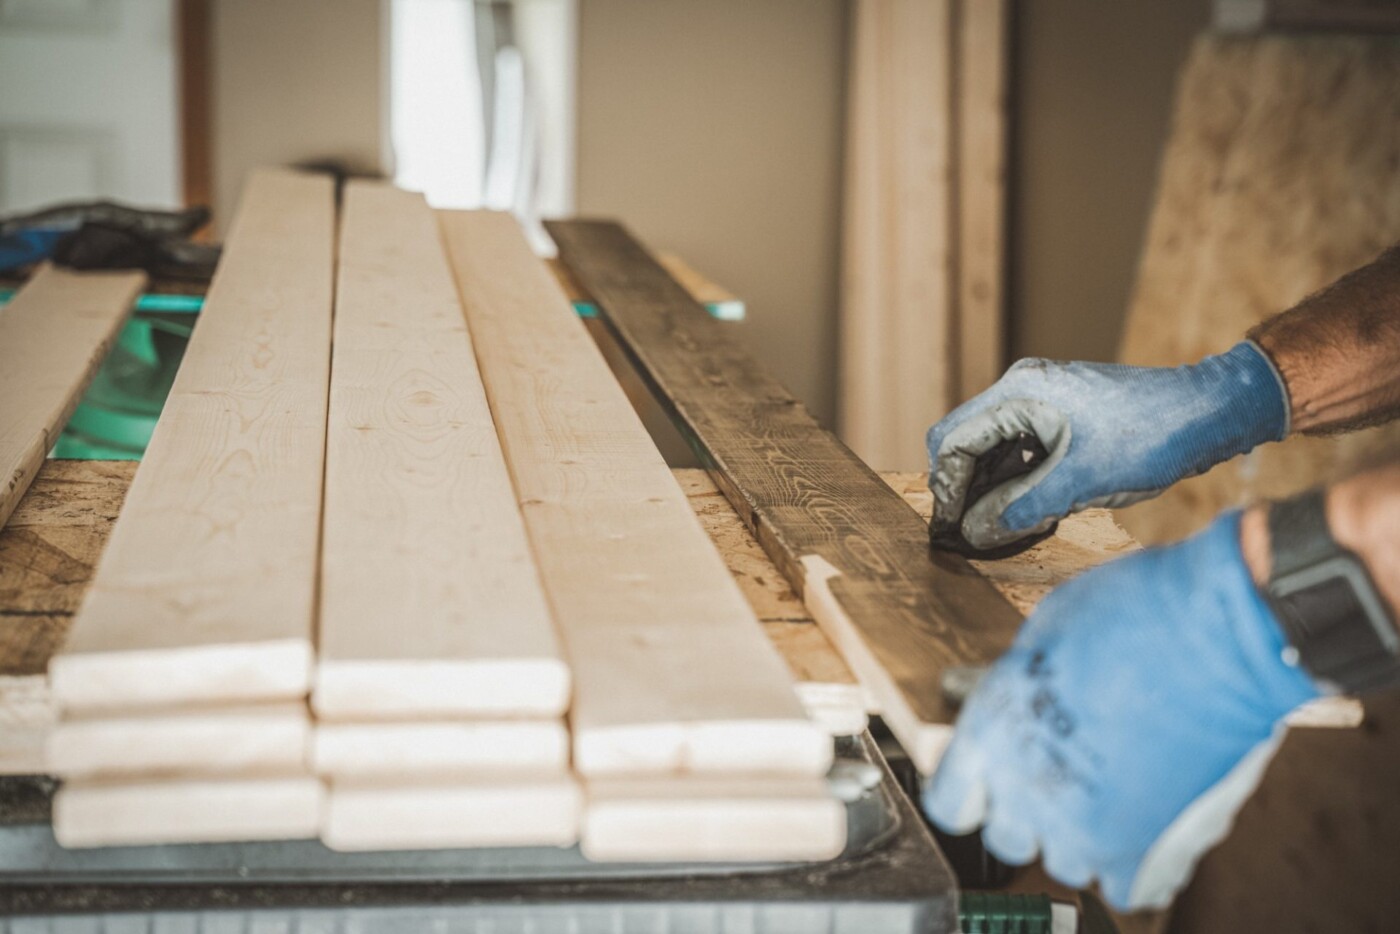
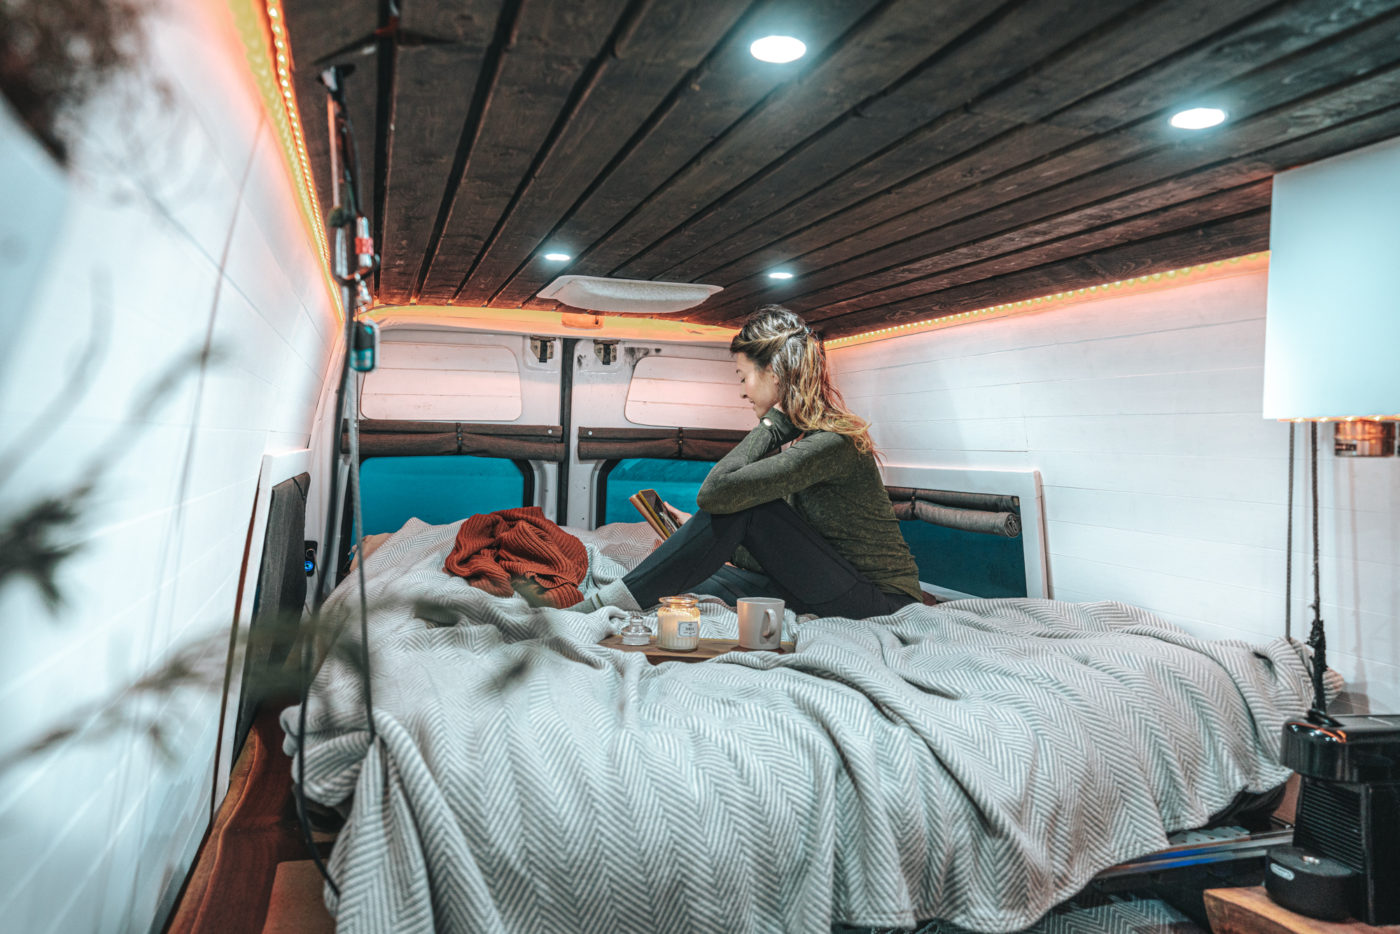
Ceiling
Our ceiling design is made up of stained wooden planks attached to a sheet of Lauan Plywood. Using self-tapping screws, we attached our wooden ceiling to the body of the van. We repeated this process again to create the ceiling under our elevator bed. This way, whether the bed is up or down, we have a continuous ceiling design.
We spent about CAD $209 on plywood and 1×4 wooden planks, and another CAD $58 on the wood stain and CAD $20 on nails and screws to hold it all together. . Similar to the de-rusting, our labour was the highest “cost” incurred when building our van ceiling.
Total spent: $288.26 (USD $224)
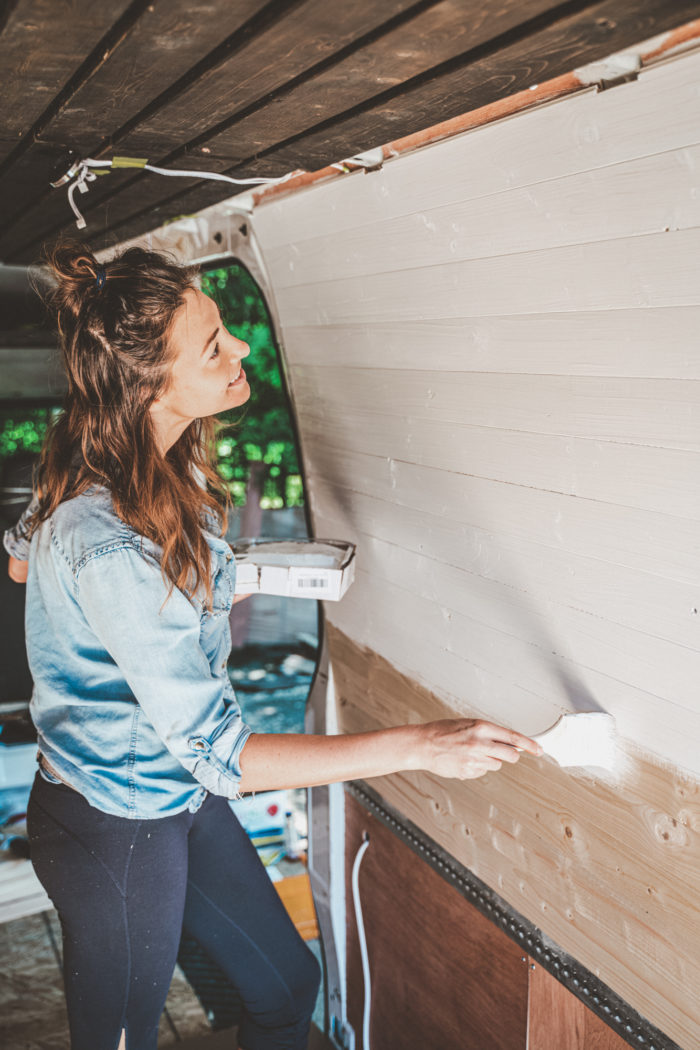
Walls
Using the same plywood we used on the ceiling, we covered up our wall insulation with CAD $177 worth of Lauan Plywood. We then nailed tongue & groove shiplap panels to cover up the plywood and add some texture. Again, the small space meant we only had to purchase 60 ft of shiplap, setting us back by about CAD $160. And of course, this was all made possible with the help of our trusty nail gun, which was a fantastic $50 purchase.
Total spent: $383.85 (USD $302)
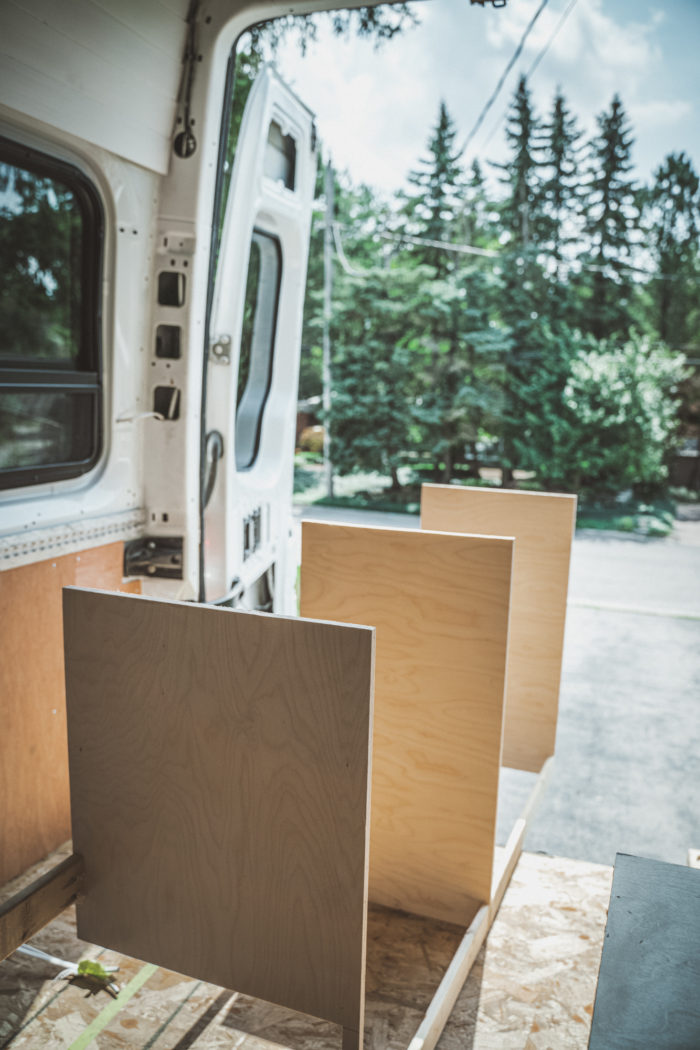
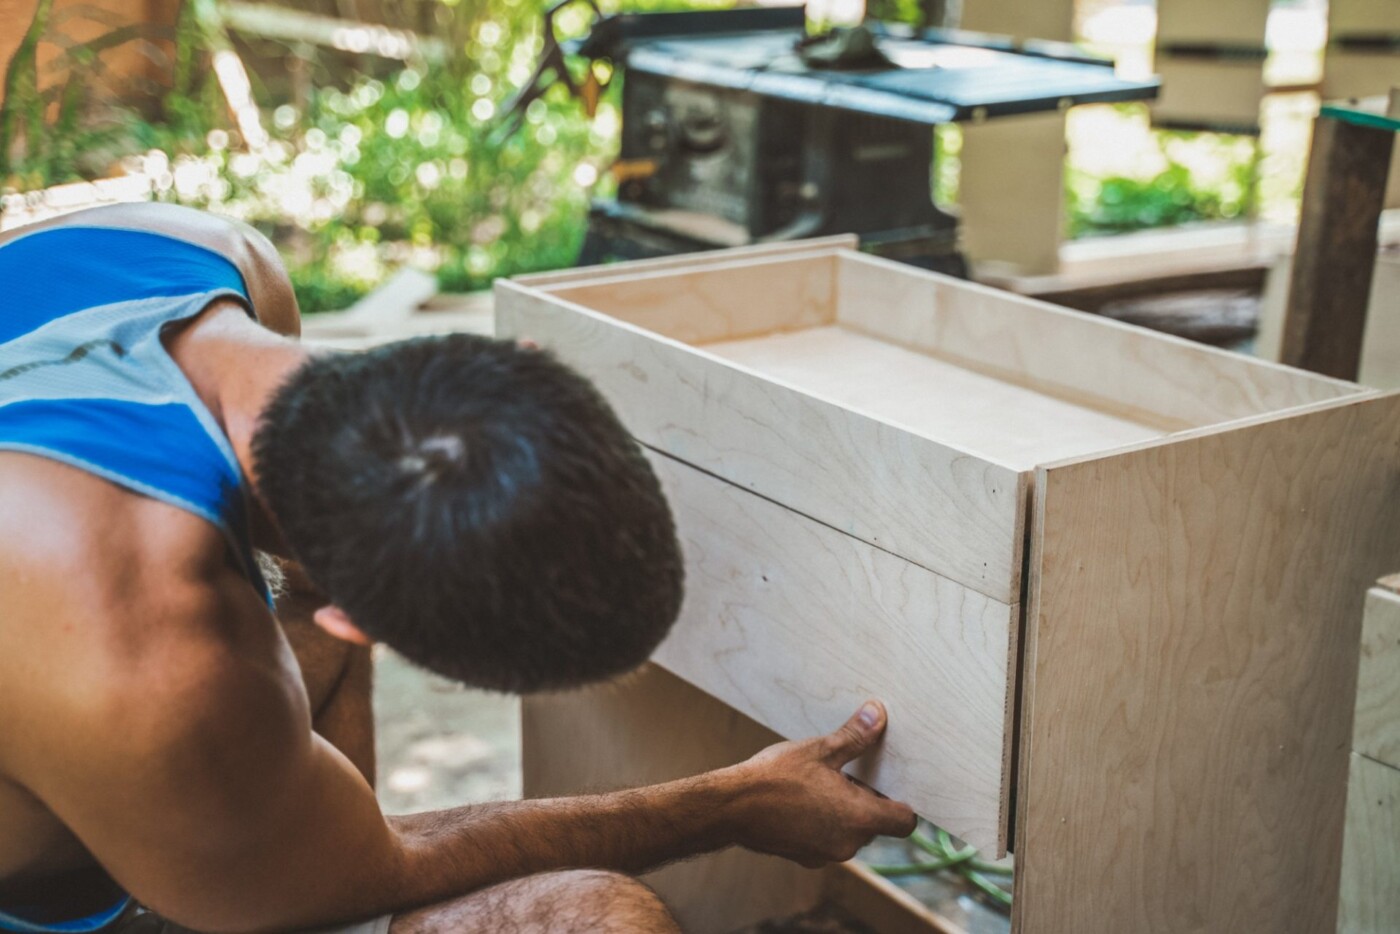
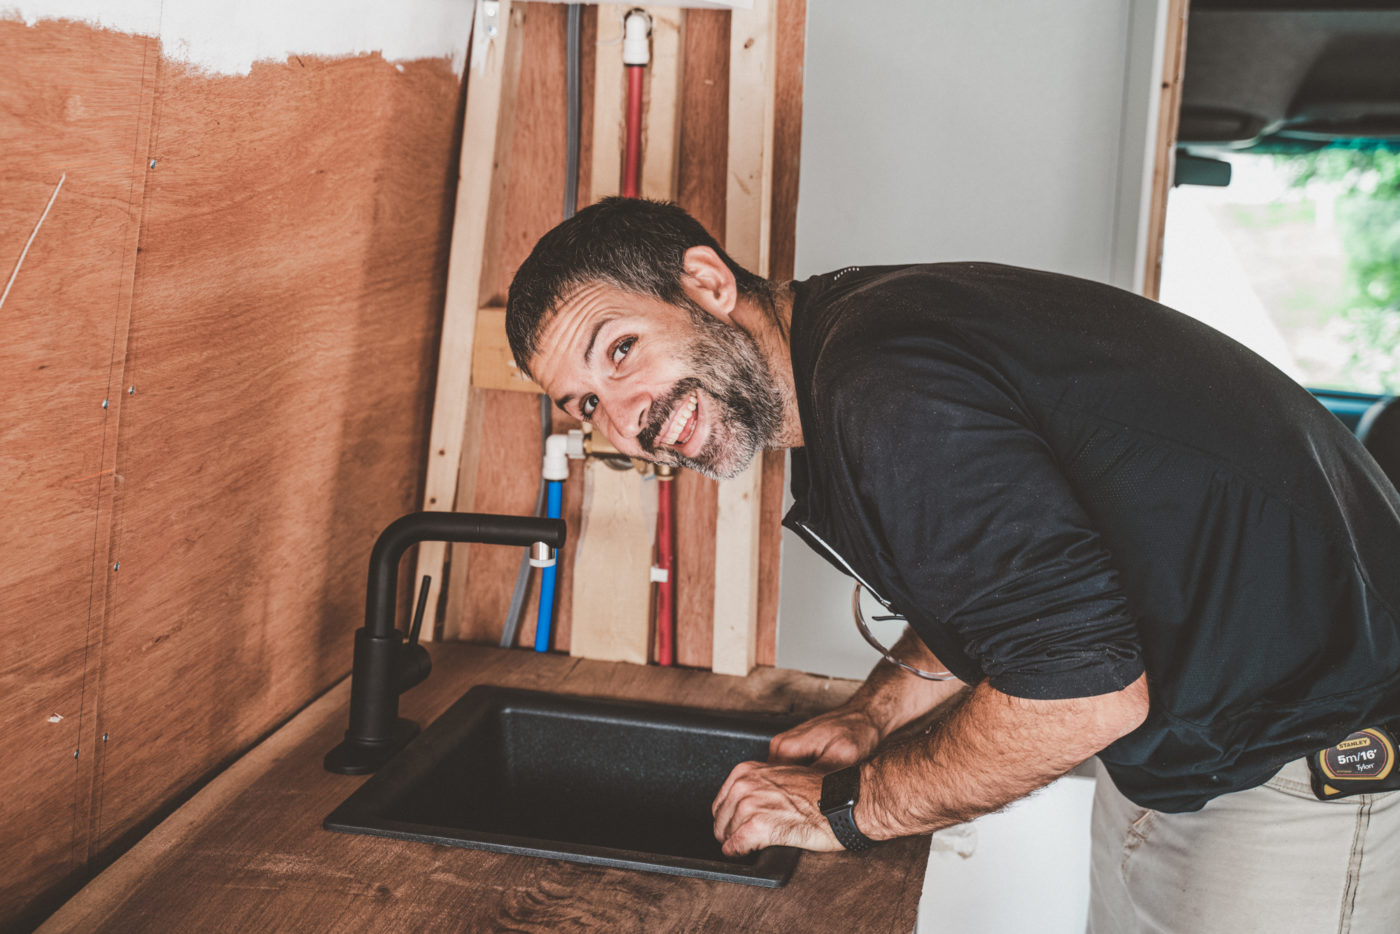
Cabinets & Countertops
One of the biggest chunks in our interior van conversion cost was the cabinets and countertops. If you followed along on our van build process, you’d know that we had a bit of trial and error in this department.
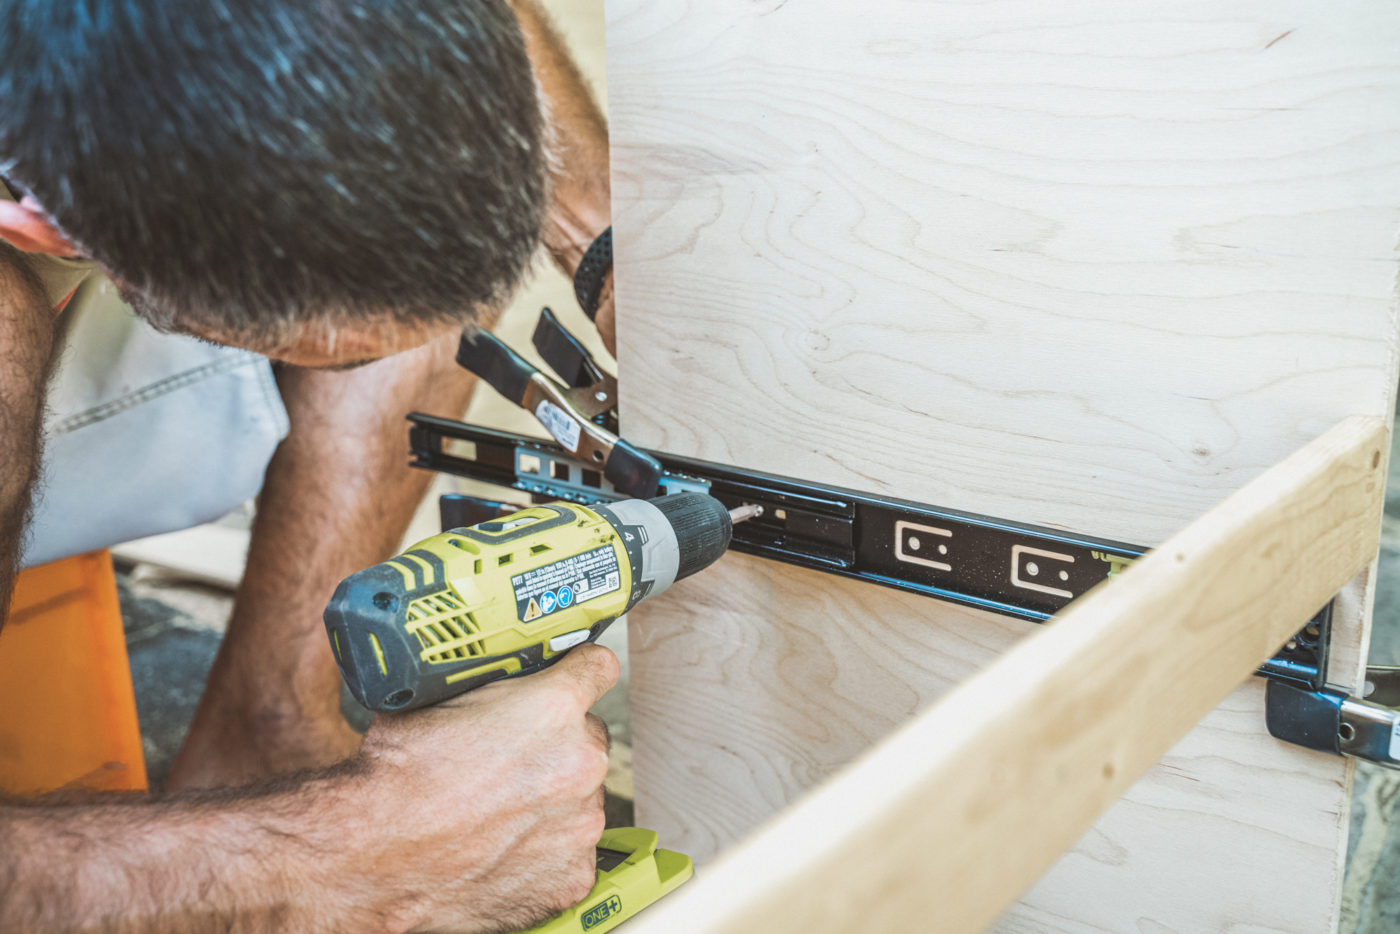
We used ⅜” Baltic Birch plywood to build all of the cabinets and drawers. Our grand total for cabinet plywood was CAD $464. With that, we built an 8-drawers, two kitchen cabinets, and an overhead storage compartment. With proper storage being one of the most important aspects of van life, these cabinets have been amazing. They help us to stay organized and tuck all of our things away when we’re on the road.
Once we made the switch to regular drawer slides, we added magnets and latches to keep them from opening while driving. All of the drawer slides were CAD $305, making our drawer budget a bit higher than anticipated. In the end, we’re happy with how they turned out and they look great with the matte black hardware we chose.
The last step in completing our cabinets was adding the live edge black walnut wood countertop. Many people go for pre-made IKEA countertops in their build but we really wanted something unique. Max scored these wood slabs for CAD $330 from a local lumber yard. We sanded them, cut them to fit our counters, filled any holes with epoxy and sealed them with Rubio Monocoat sealant which cost us CAD $79. These live edge countertops are tough enough for whatever vanlife throws at them.
Total spent: $1,994.28 (USD $1,553)
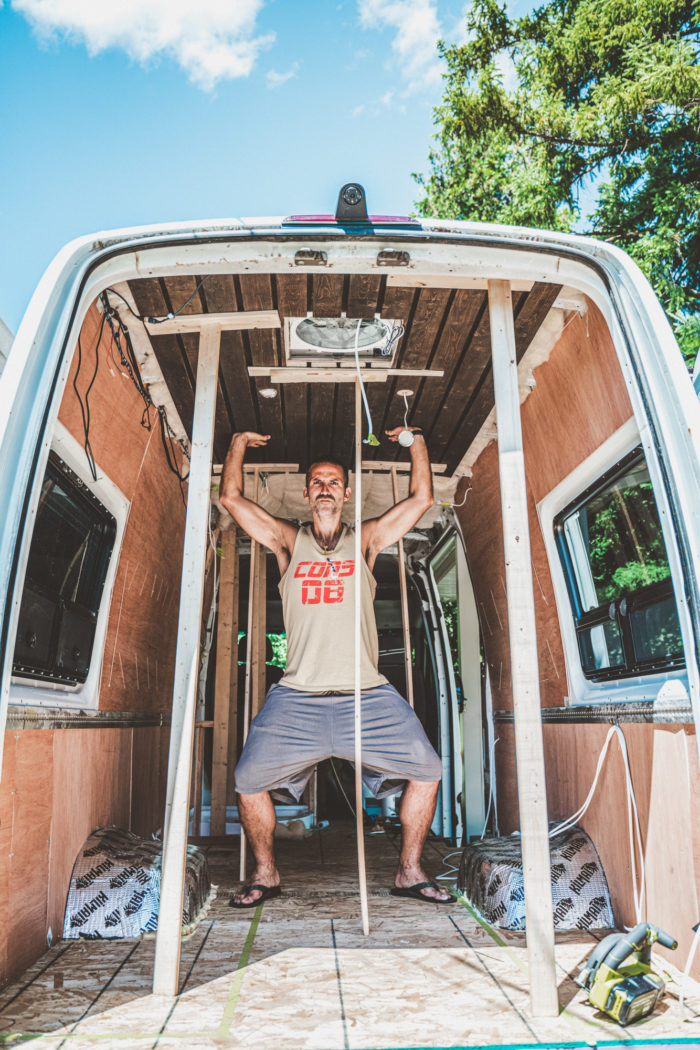
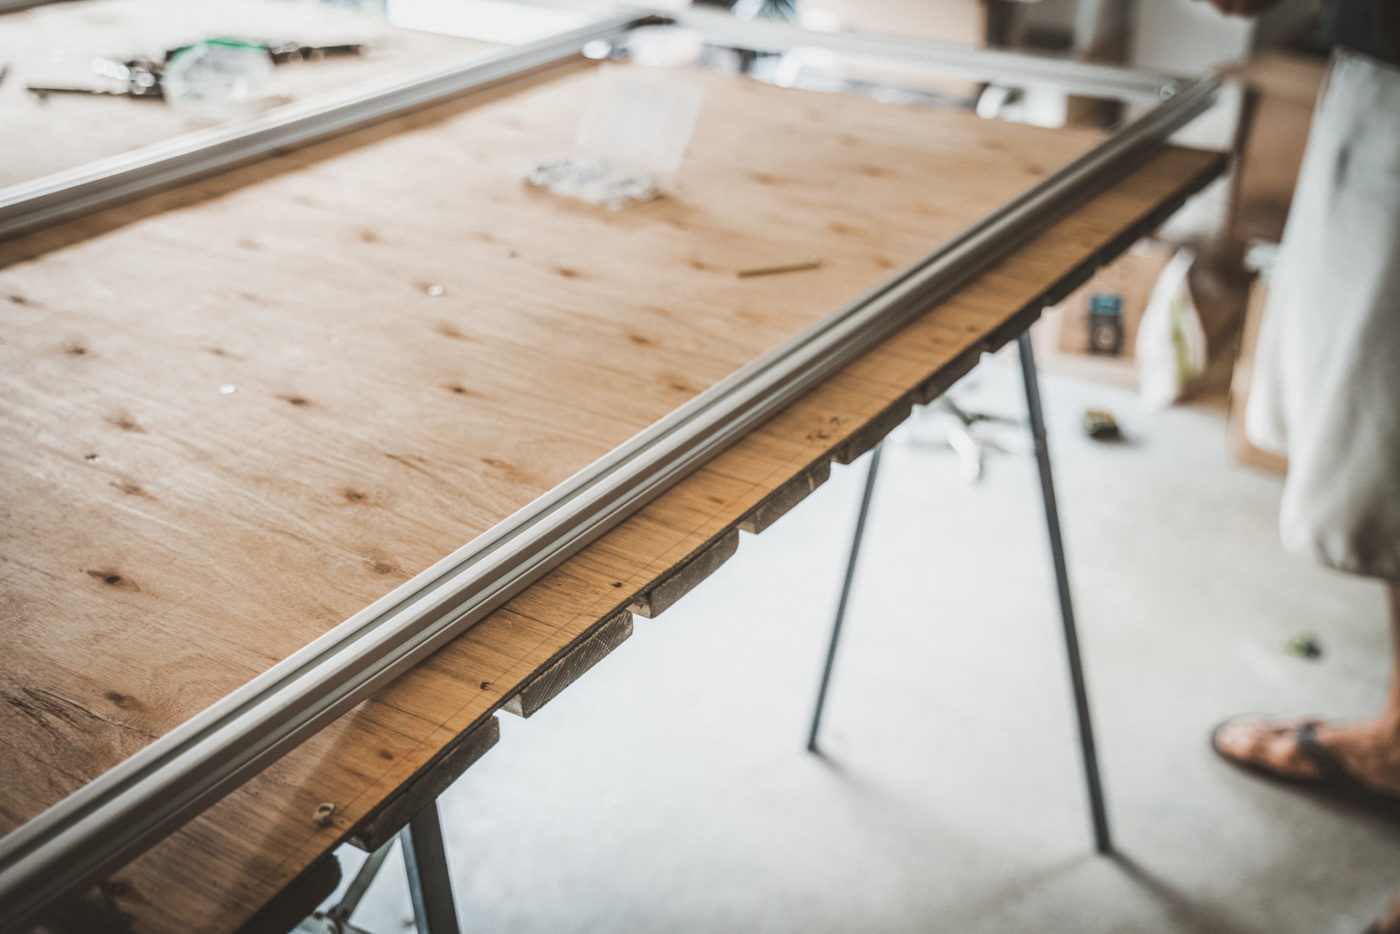
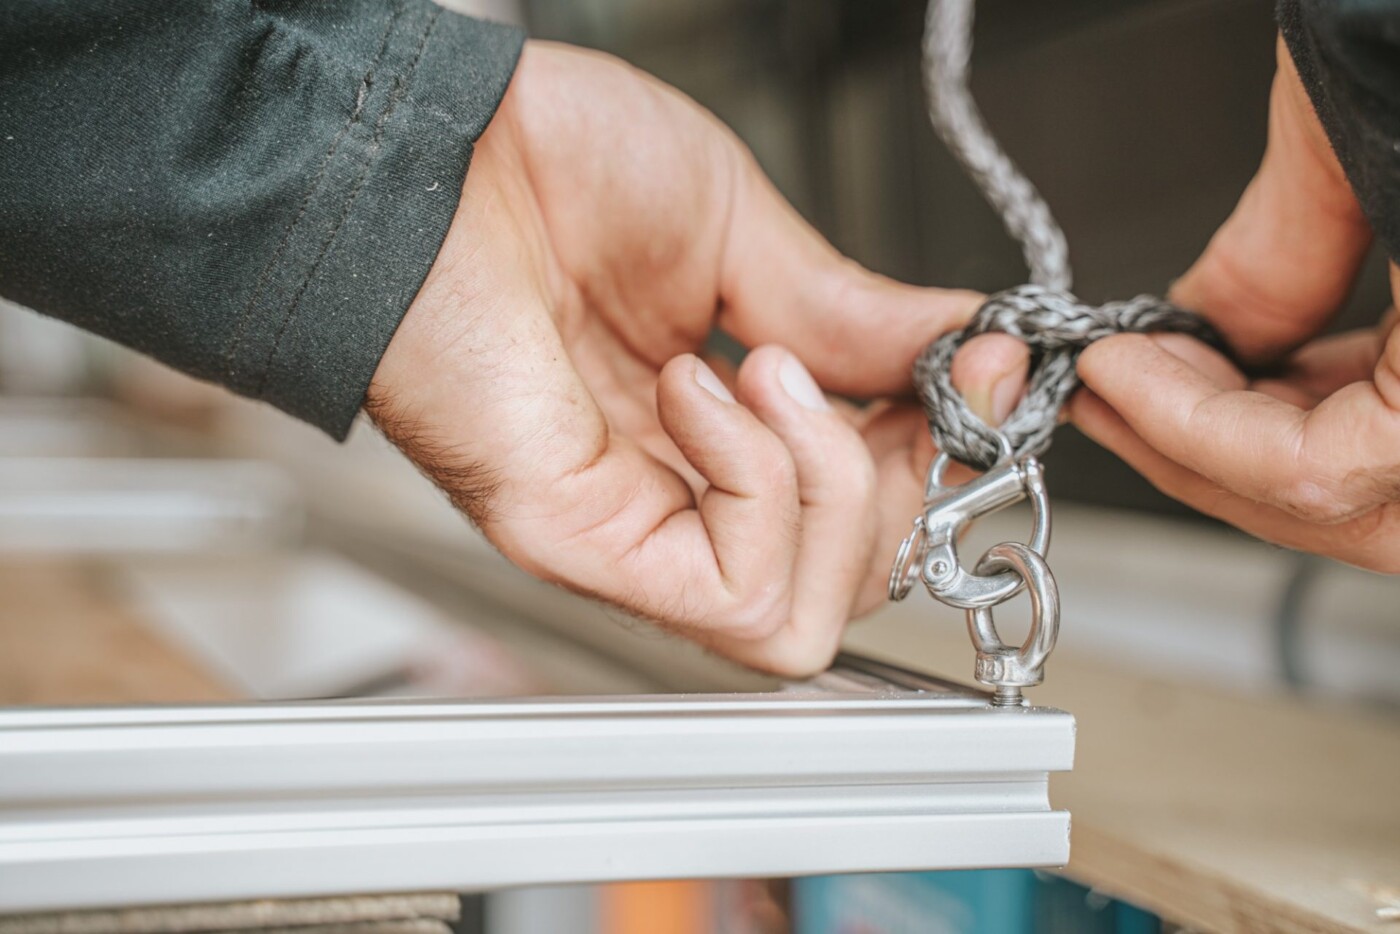
Elevator Bed
One of the coolest features of our campervan conversion is our DIY elevator bed. When you’re doing van life full time, it’s really nice to not have to make your bed every day. With our setup, we can hangout on the couch in the daytime and lower the bed down only when we need it. We used an ATV winch and marine-grade pulleys to create the elevator mechanism. The pulleys and screws were CAD $232 and the winch cost us CAD $140.
To build out the bed frame, we used CAD $141 worth of wood and made sure to allow room for airflow. We then purchased a 4” memory foam mattress with a latex topper to use as our mattress. It’s super comfortable and was only CAD $335—far cheaper than a regular mattress! We used the same memory foam for our couch cushions too.
Total spent: $1,141.85 (USD $897)
READ NEXT: How to Build a CHEAP DIY Elevator Bed for Your Van Conversion
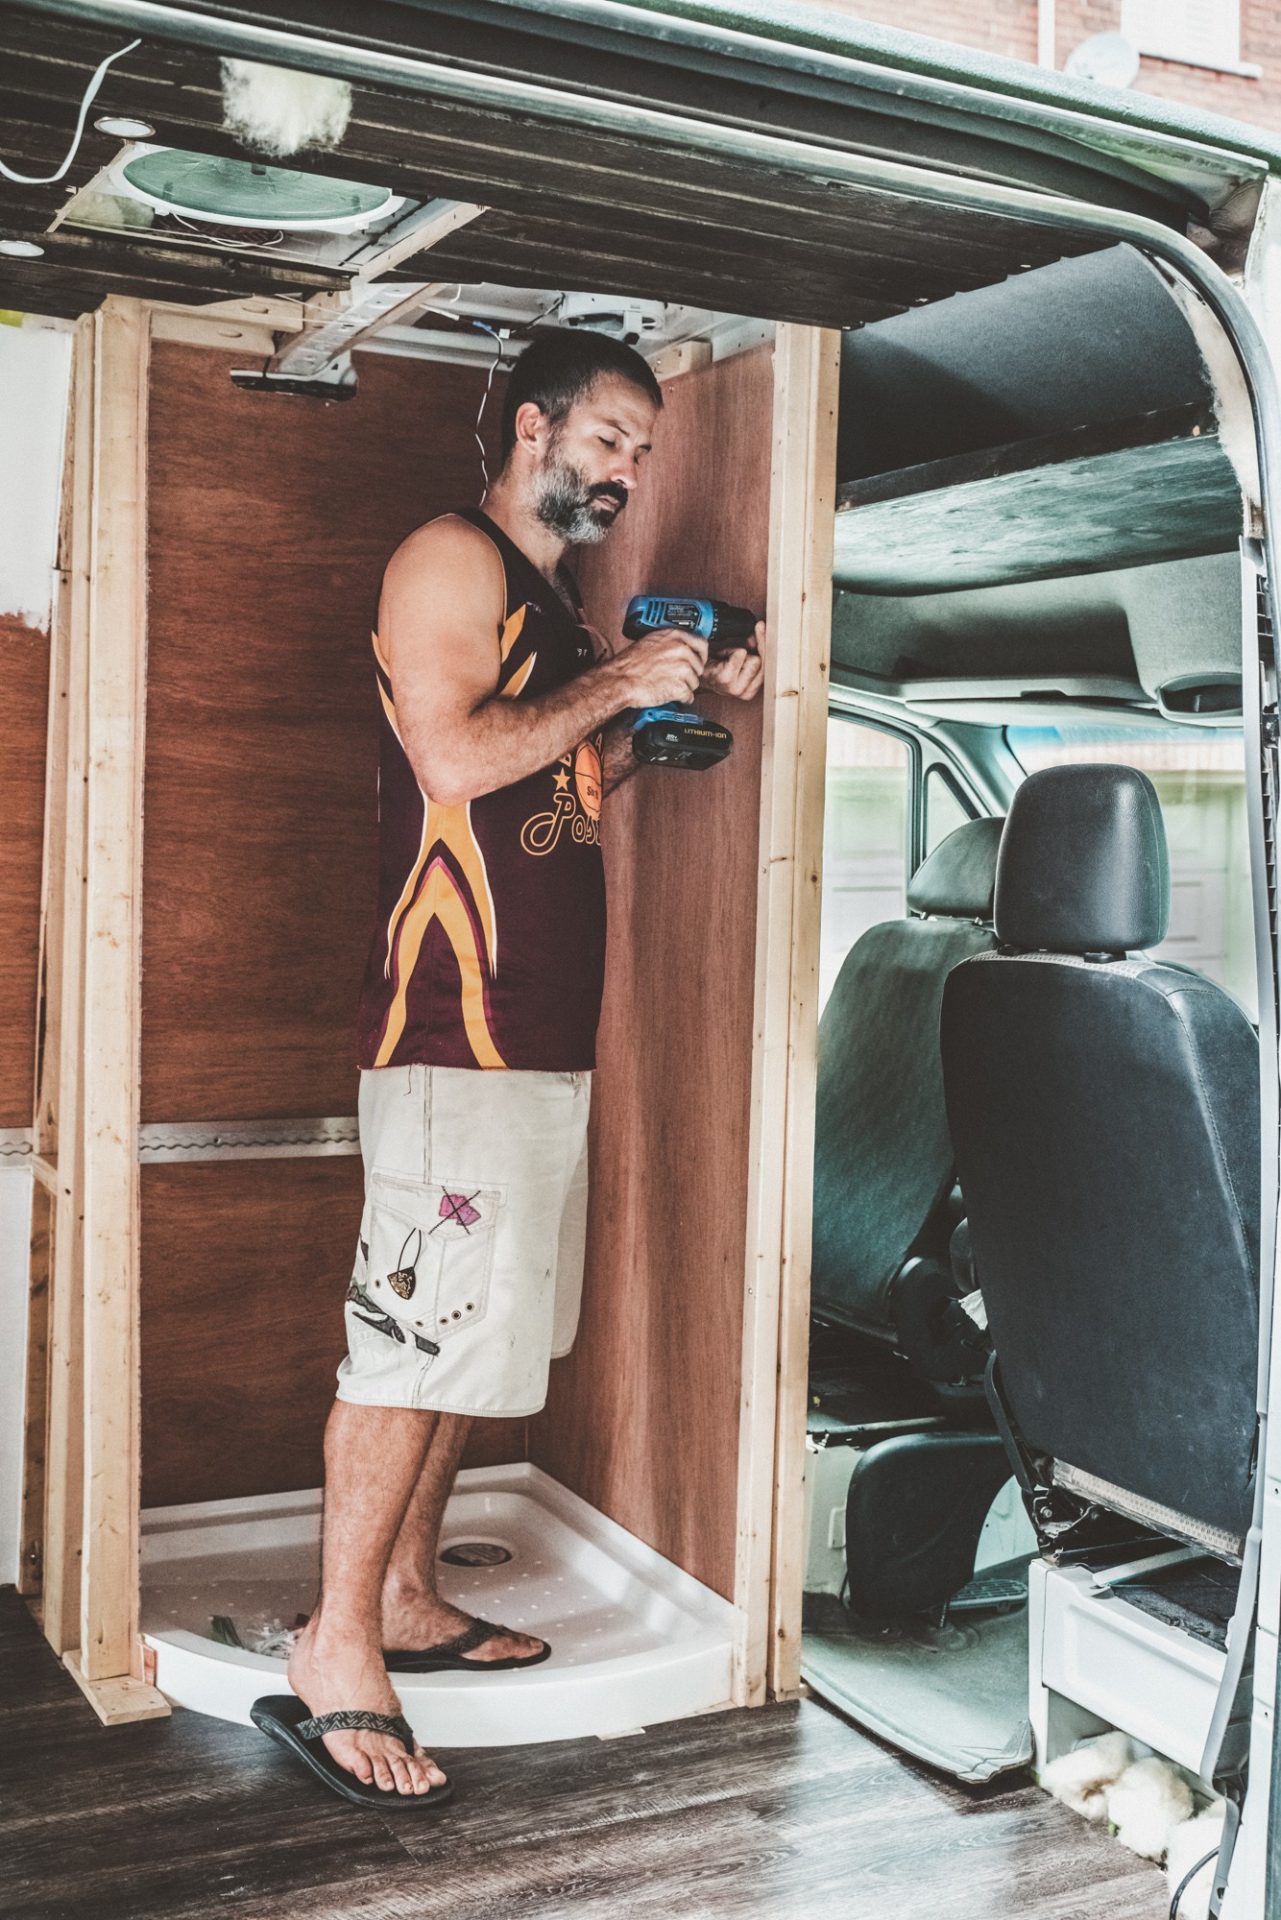
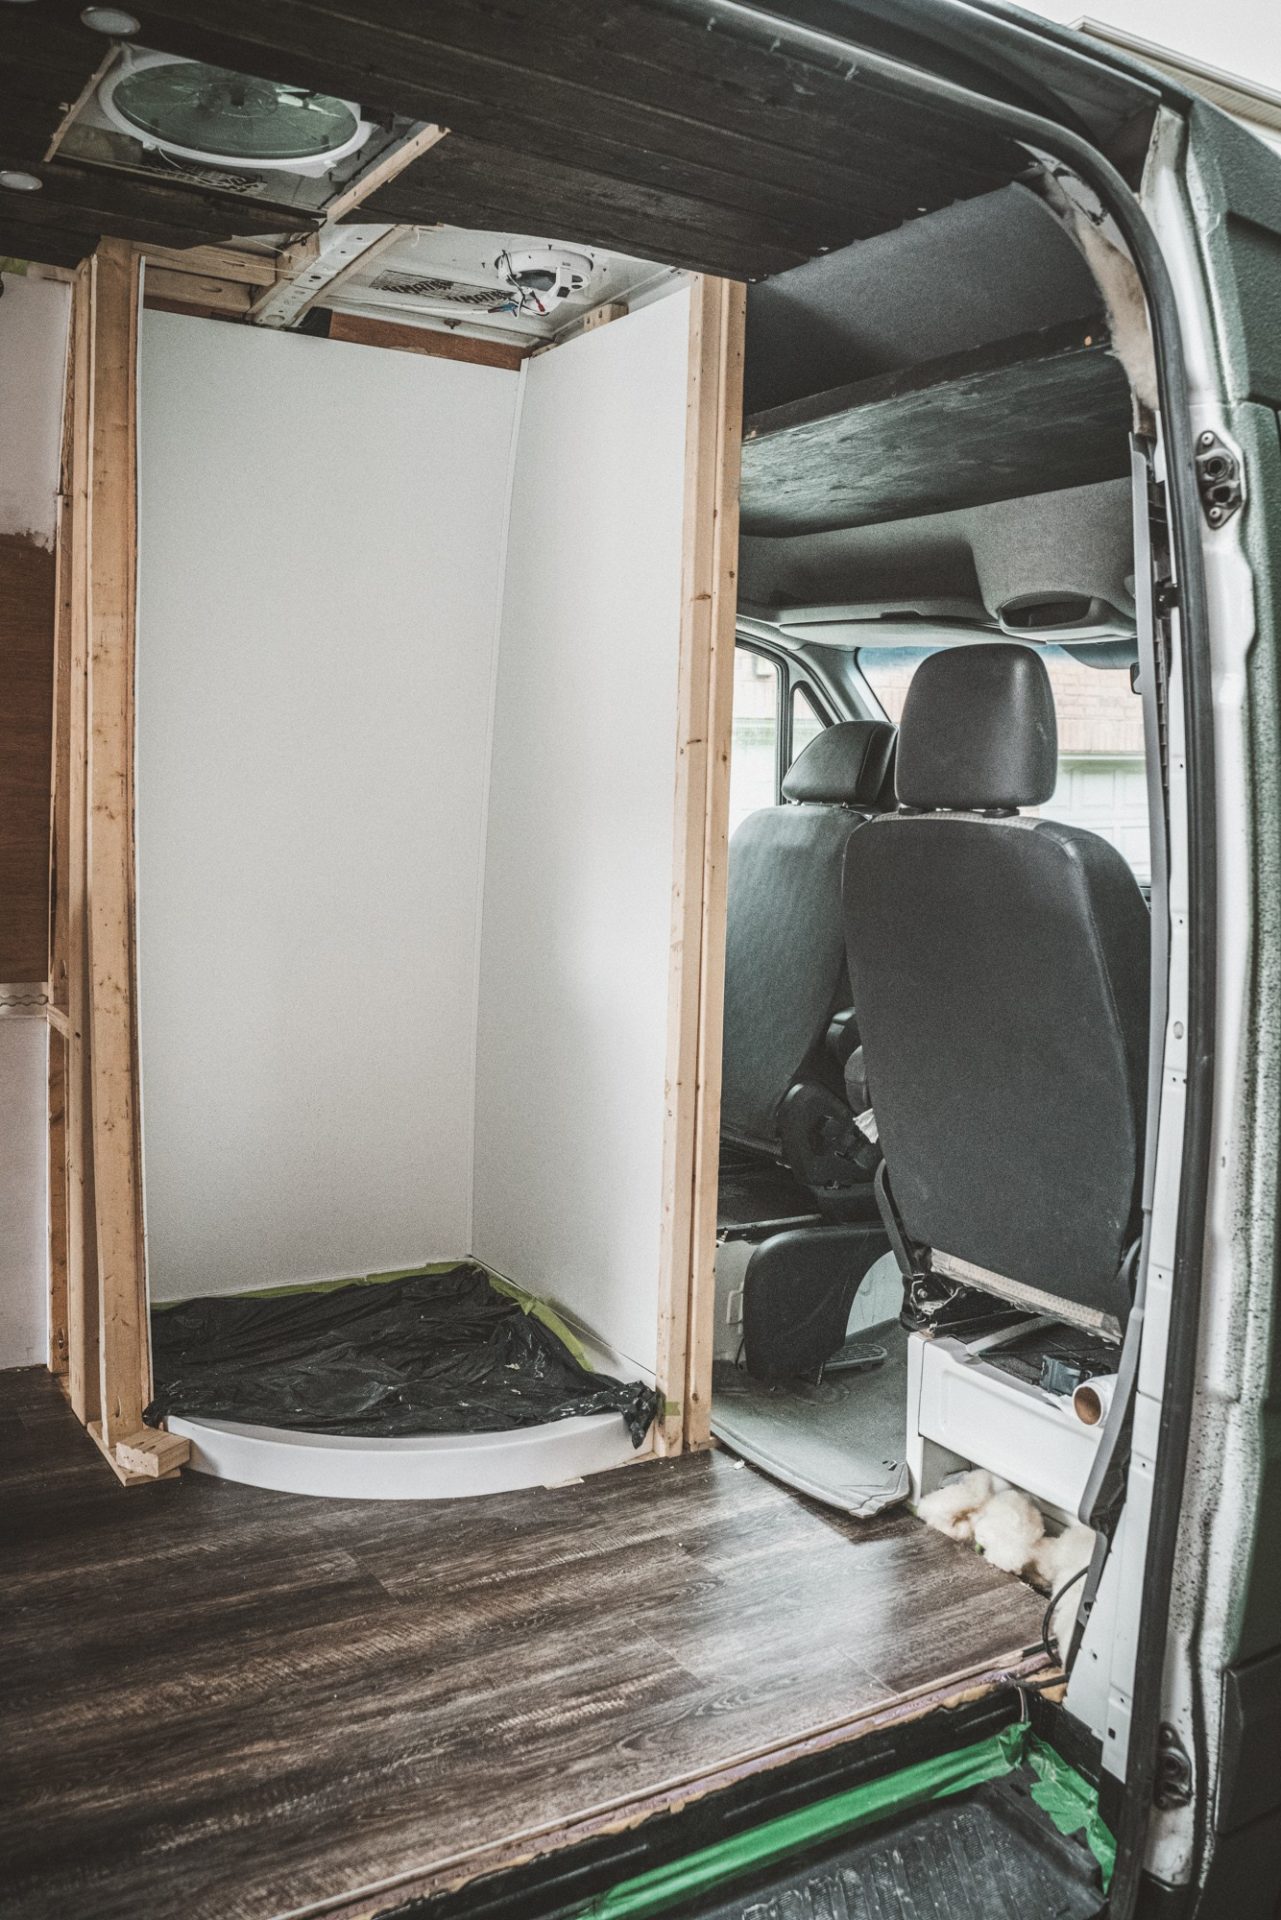
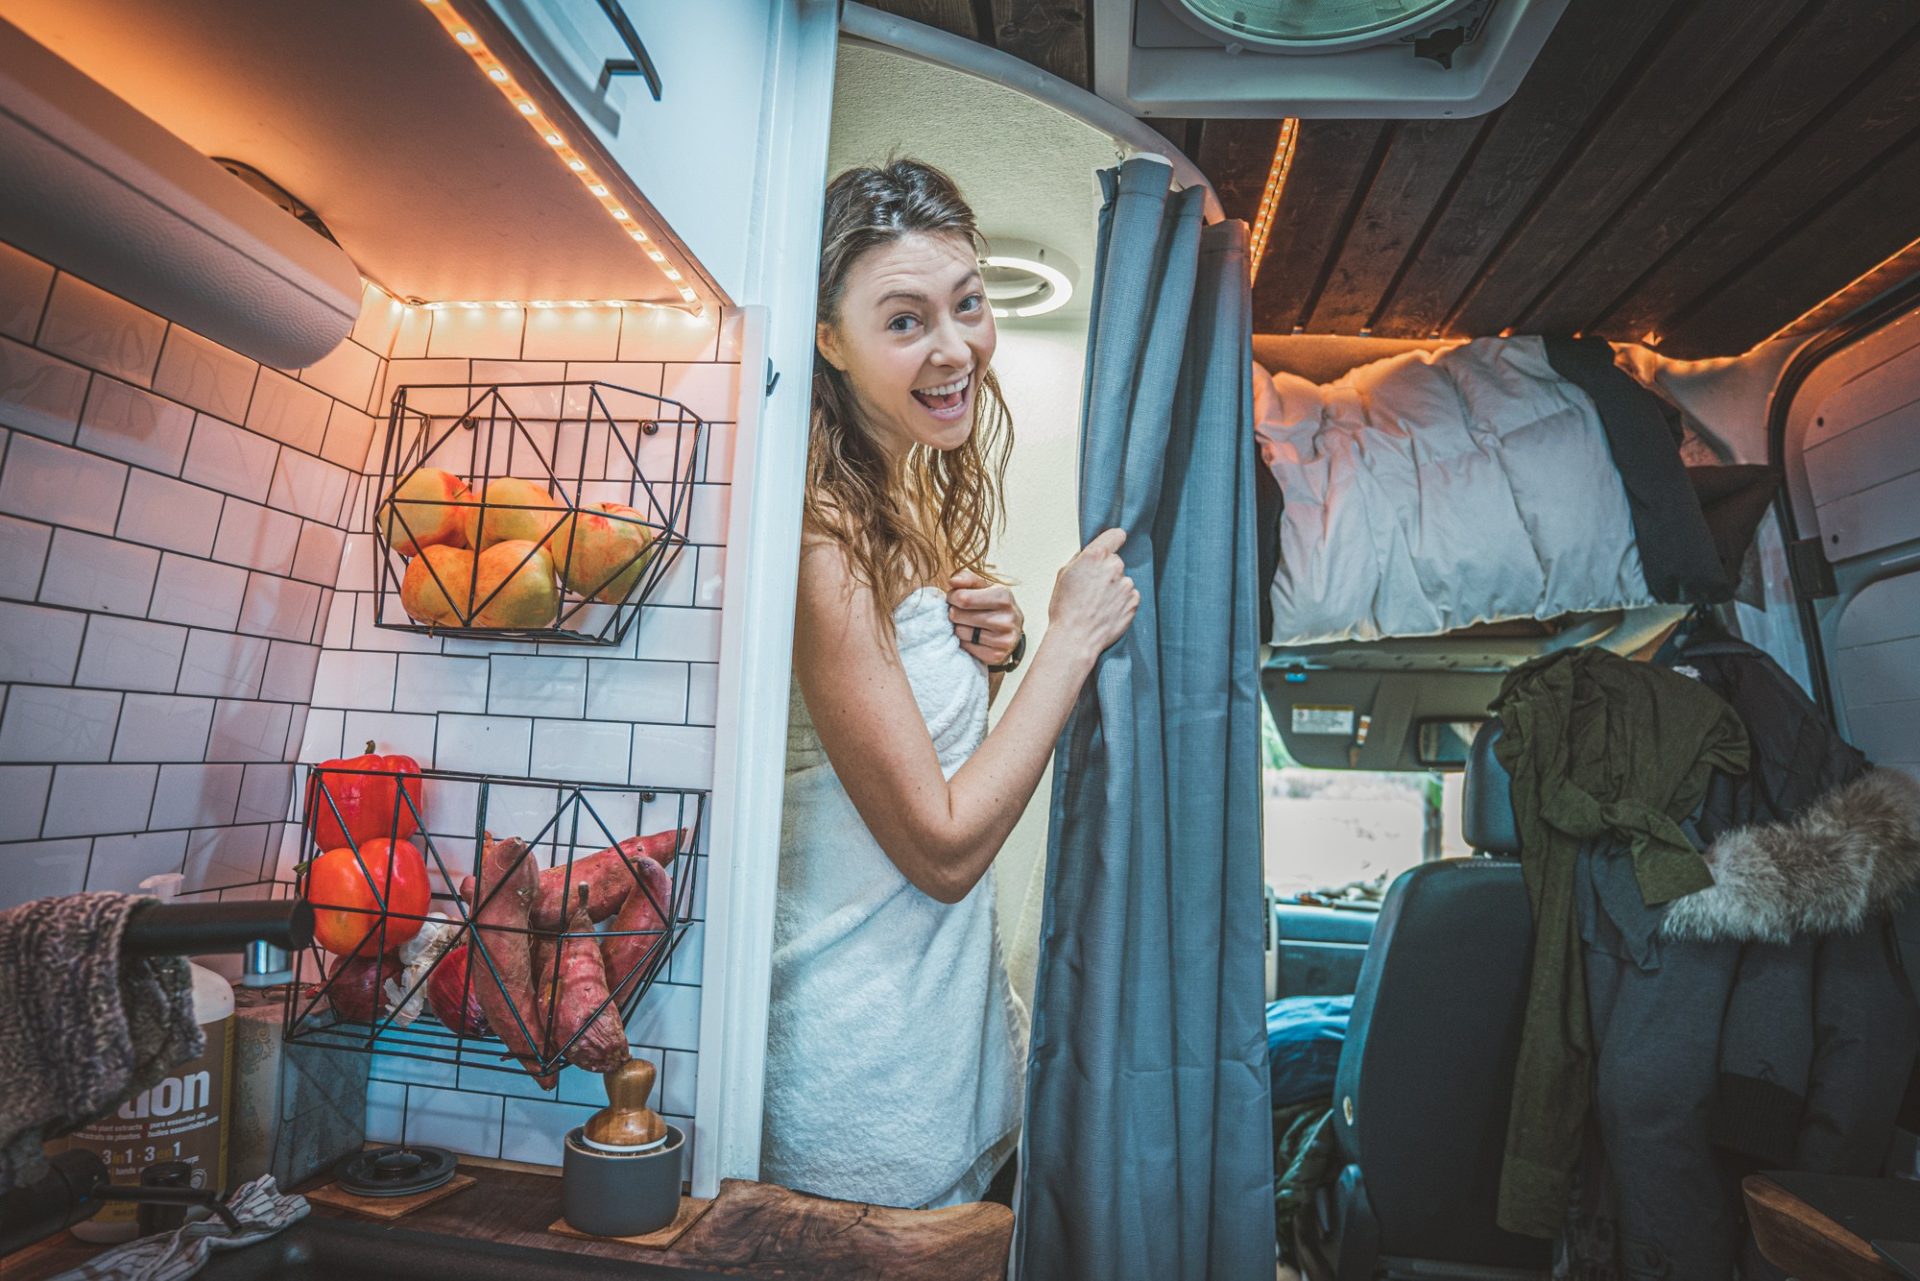
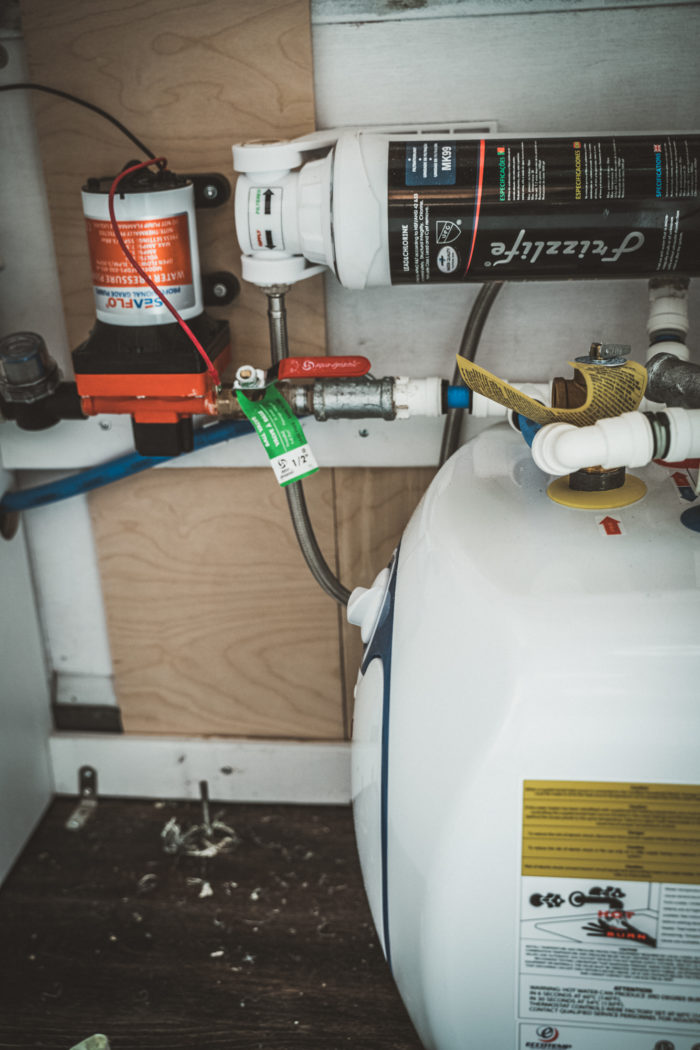
Bathroom & Shower
Having a bathroom makes vanlife feel like you’re at home and not just living in a vehicle. We didn’t want to compromise on the comforts of home so we included a portable toilet and a hot shower in our van conversion price. So, the hot question on everyone’s mind: how much does it cost to have a bathroom in your camper van?
Well, our priciest components were the materials for framing out the shower, the water heater, and the shower pan. We spent about CAD $240 on framing materials, including the waterproof FRP boards for the shower walls. Next came the shower pan, which we got at a local bathroom store for CAD $116. It works well for our space since we opted for a round corner shower design.
Finally, the water heater was CAD $173, which is a lifesaver on cold days. Cold showers can be refreshing sometimes but definitely not when it’s freezing outside!
Our portable toilet ended up costing us just CAD $108, but it definitely has its limitations and we are already considering upgrading it.
Total spent: $903.97 (USD $710)
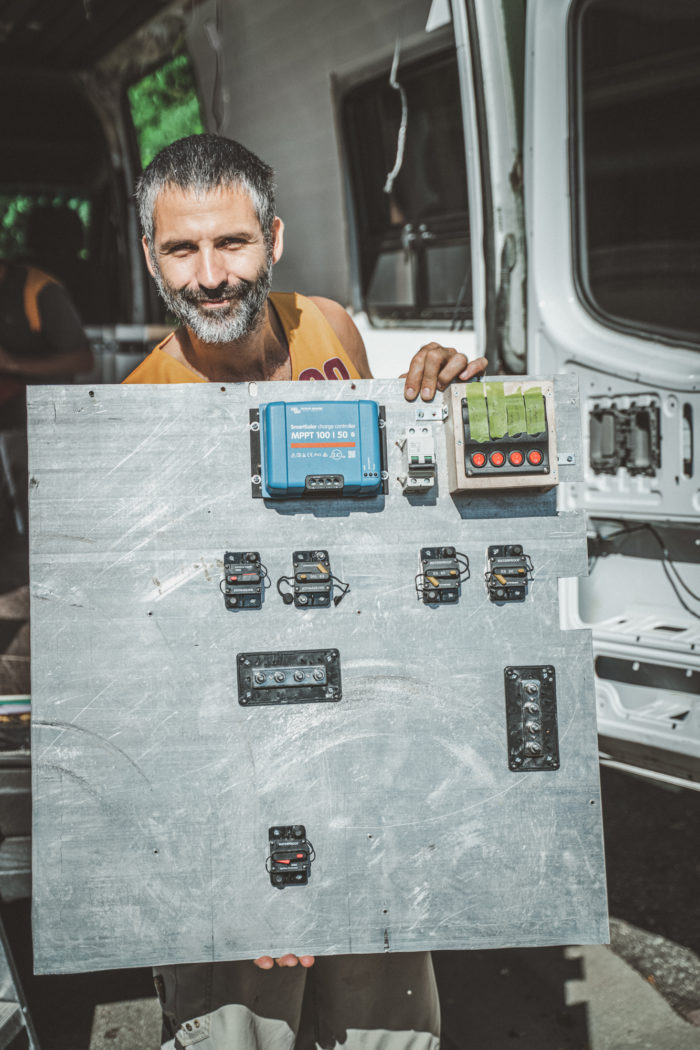
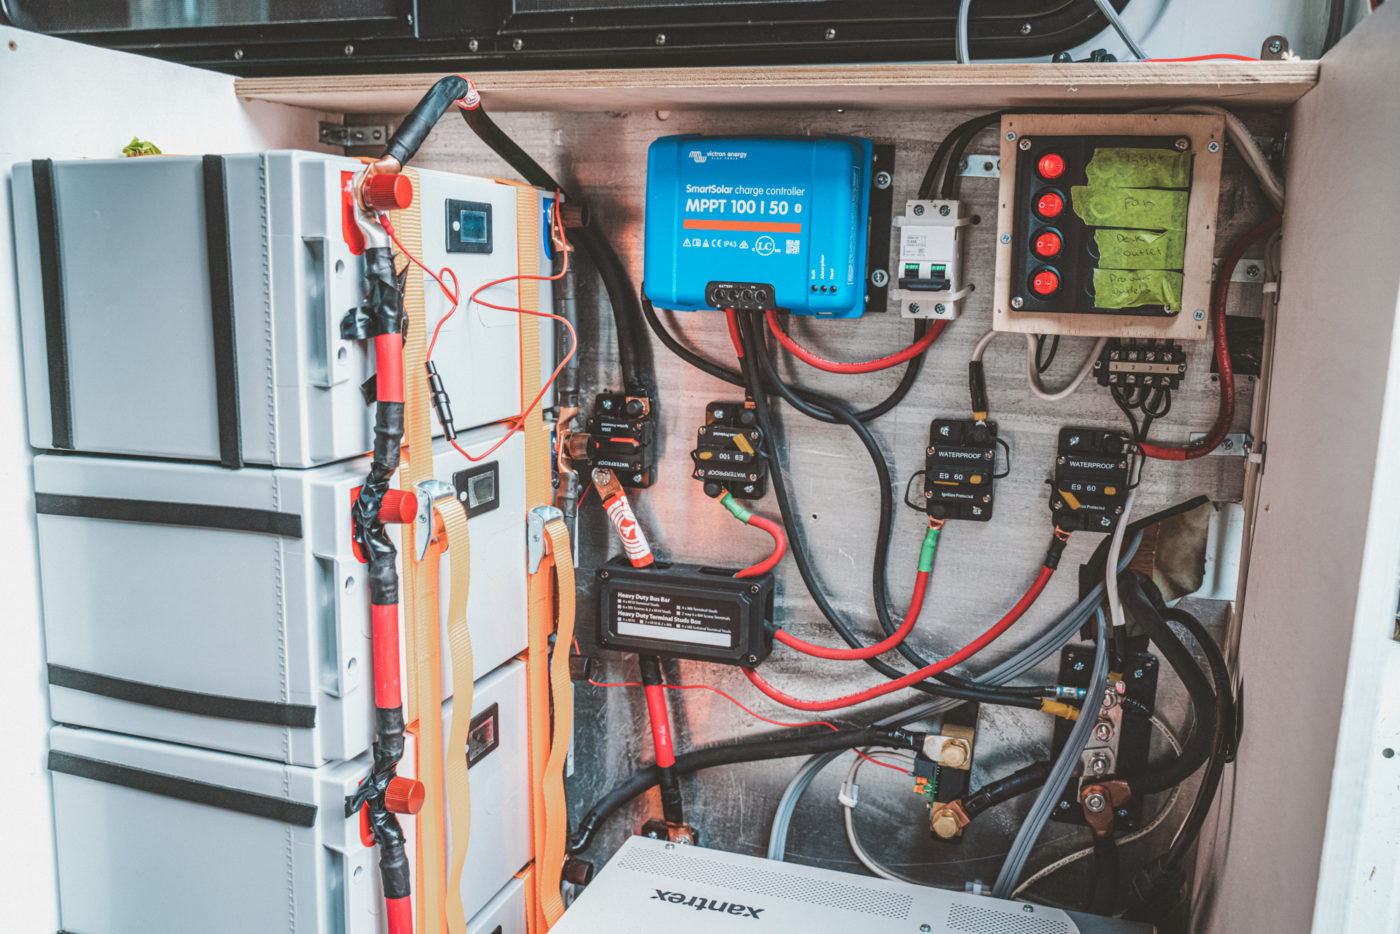
Electrical
Our electrical system was by far the BIGGEST expense in our van conversion cost. We didn’t want our van life to be filled with worrying about dead batteries or having a generator. So, creating a solar system that would allow us to live off-grid was a big part of our budget.
We opted for four 12V 100Ah lithium-ion batteries that came out just under CAD $3,600. Yes, they were expensive, but lithium-ion batteries are some of the best batteries for van life. They can stand up to changing temperatures and don’t require any outside venting—perfect for life on the road.
Our Xantrex Freedom XC 2000 inverter/charger was used so we got a great price for it at CAD $600. The inverter allows us to plug in all of our devices and appliances like we would at home. It also doubles as a DC to DC charger so our batteries can charge from the alternator when we’re driving.
We also spent CAD $400 on a good quality MPPT charge controller to regulate the power coming into our batteries from the solar panels. In addition to these components, our electrical budget also covered all of the wiring, fuses, and outlets we needed to complete our power system.
Total spent: $6,242.19 (USD $4,906)
Solar Panels
No solar system would be complete without solar panels! We installed two 300W monocrystalline solar panels to give us 600W of solar power. The panels cost just under CAD $400 total from a local distributor. The panels live on our roof and are attached with aluminum corner brackets, bolts, and washers. All of the mounting hardware and wiring totalled CAD $66.
Total spent: $456.71 (USD $359)

READ NEXT: Guide to Choosing the Best Campervan Solar Panel
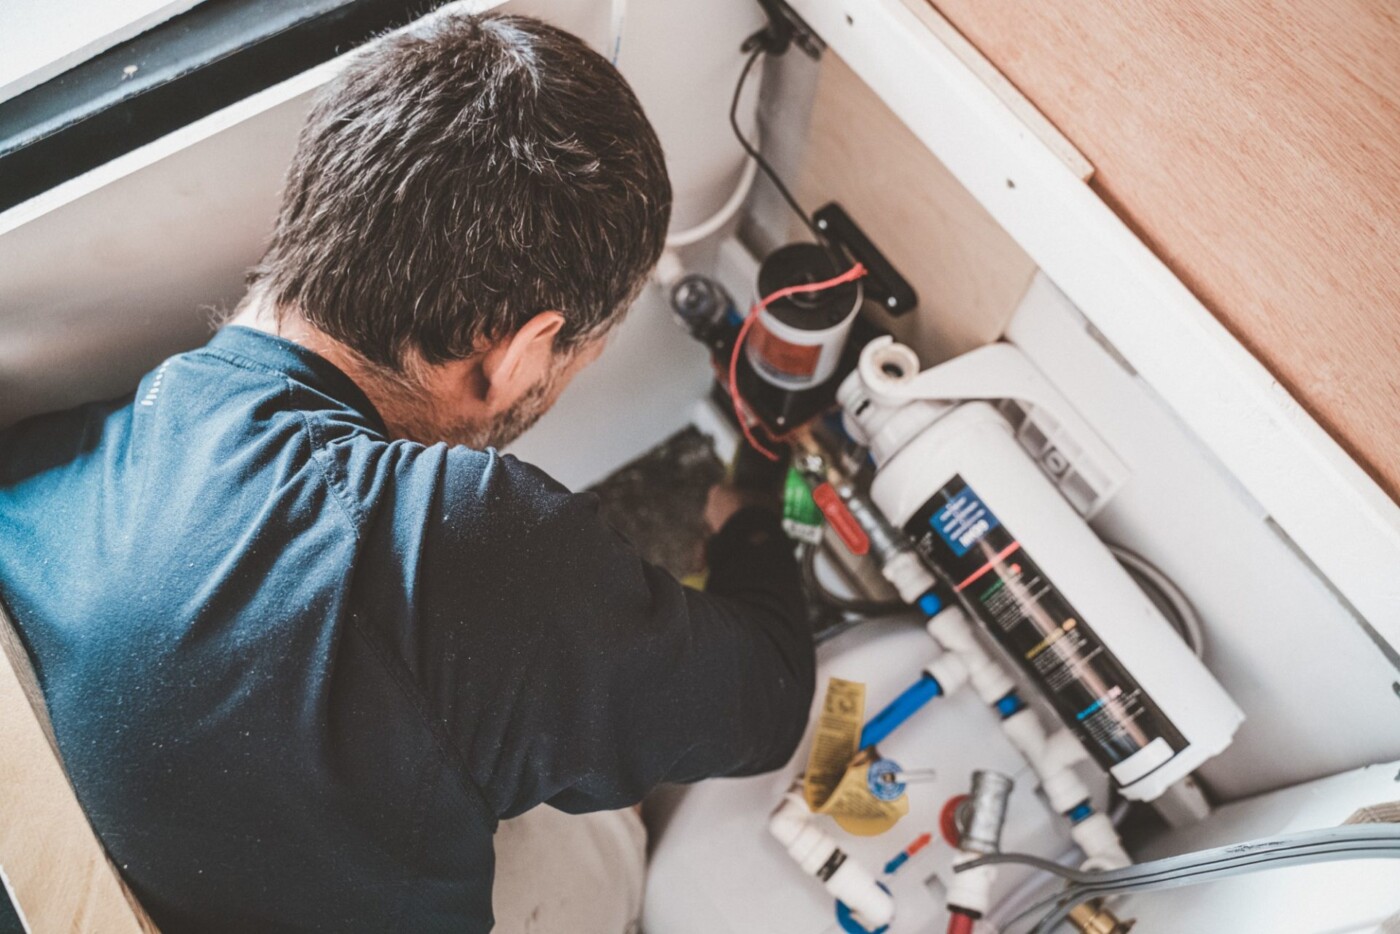
Plumbing
Our DIY camper van plumbing system runs to our kitchen sink and the shower. We have a 25 gallon fresh water tank, which cost CAD $281. The large capacity means we don’t have to fill it up too often and it can still fit nicely under the couch.
All of the valves, connectors, and pipe fittings were CAD $259. These allowed us to make one central plumbing point that the kitchen sink and shower can share. Once we use water from the sink or shower, it goes into our 25 gallon grey water tank. This cost CAD $226 and is the perfect size water container for our needs.
Total spent: $1,433.04 (USD $1,126)
Lighting
One of the details that makes our van build feel nice and cozy is the lighting. We used dimmable LED puck lights on our ceiling that are controlled with a remote. We have 10 puck lights in total, which cost CAD $90.
The LED strip lighting we added around the perimeter of the van was CAD $56. It brightens up the kitchen area and can also work with a remote or through an app. To complete the lighting system, we added a CAD $25 light switch that works as a dimmer too.
Total spent: $172.04 (USD $135)
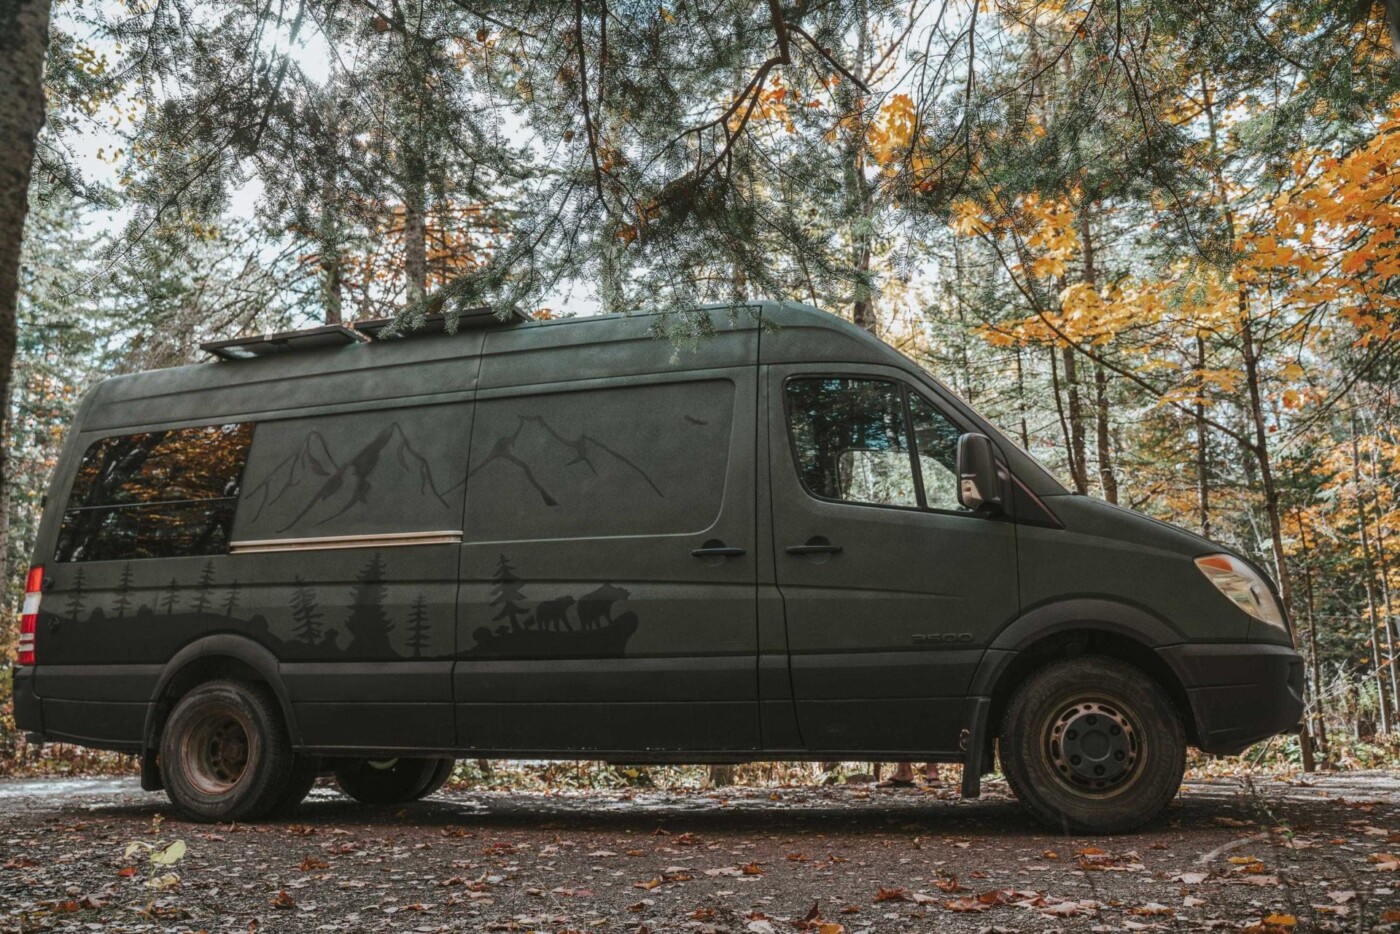
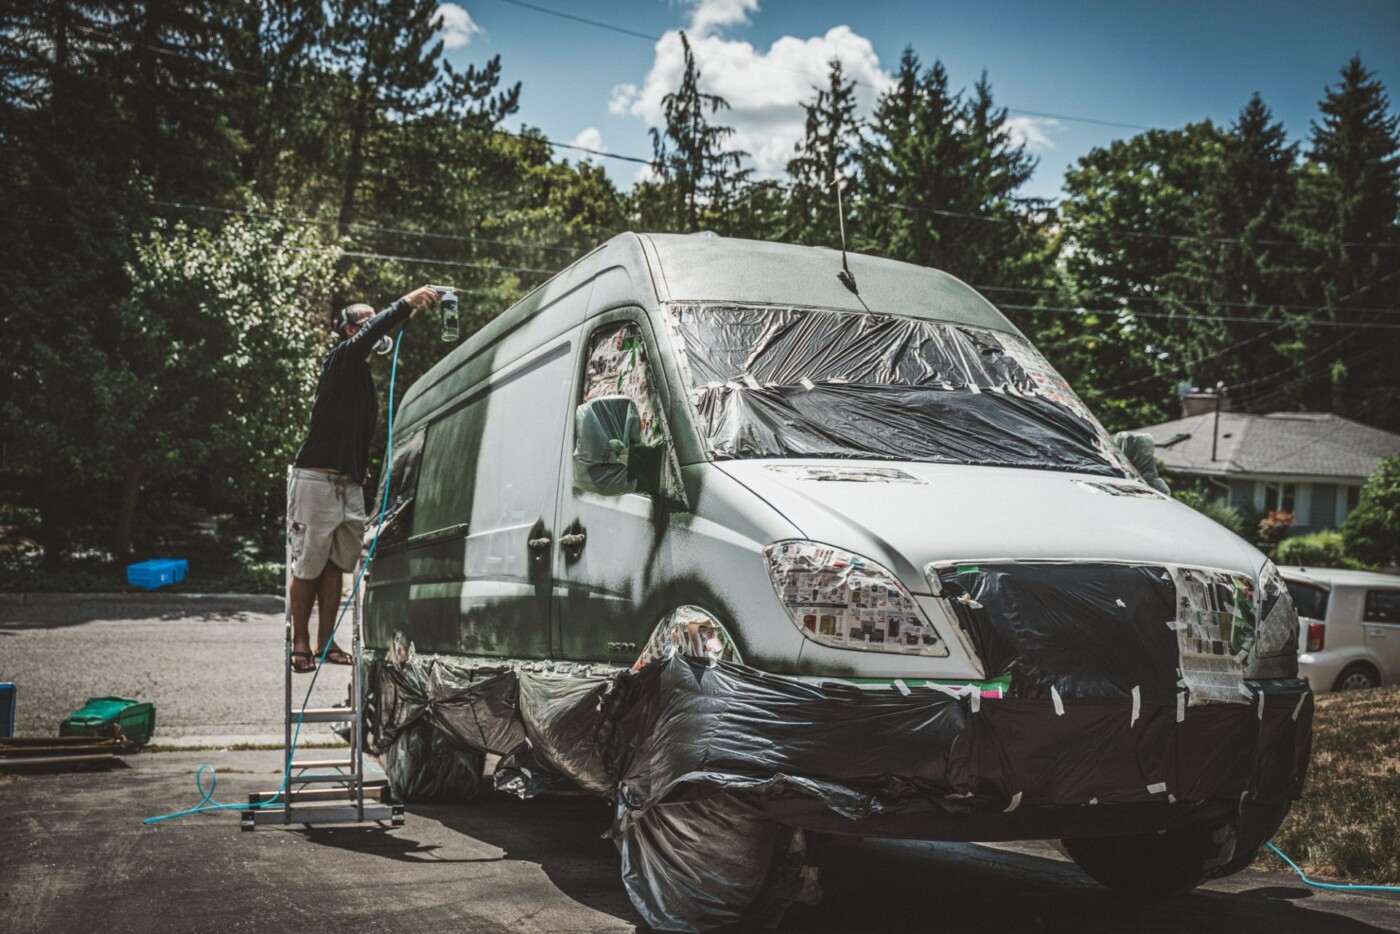
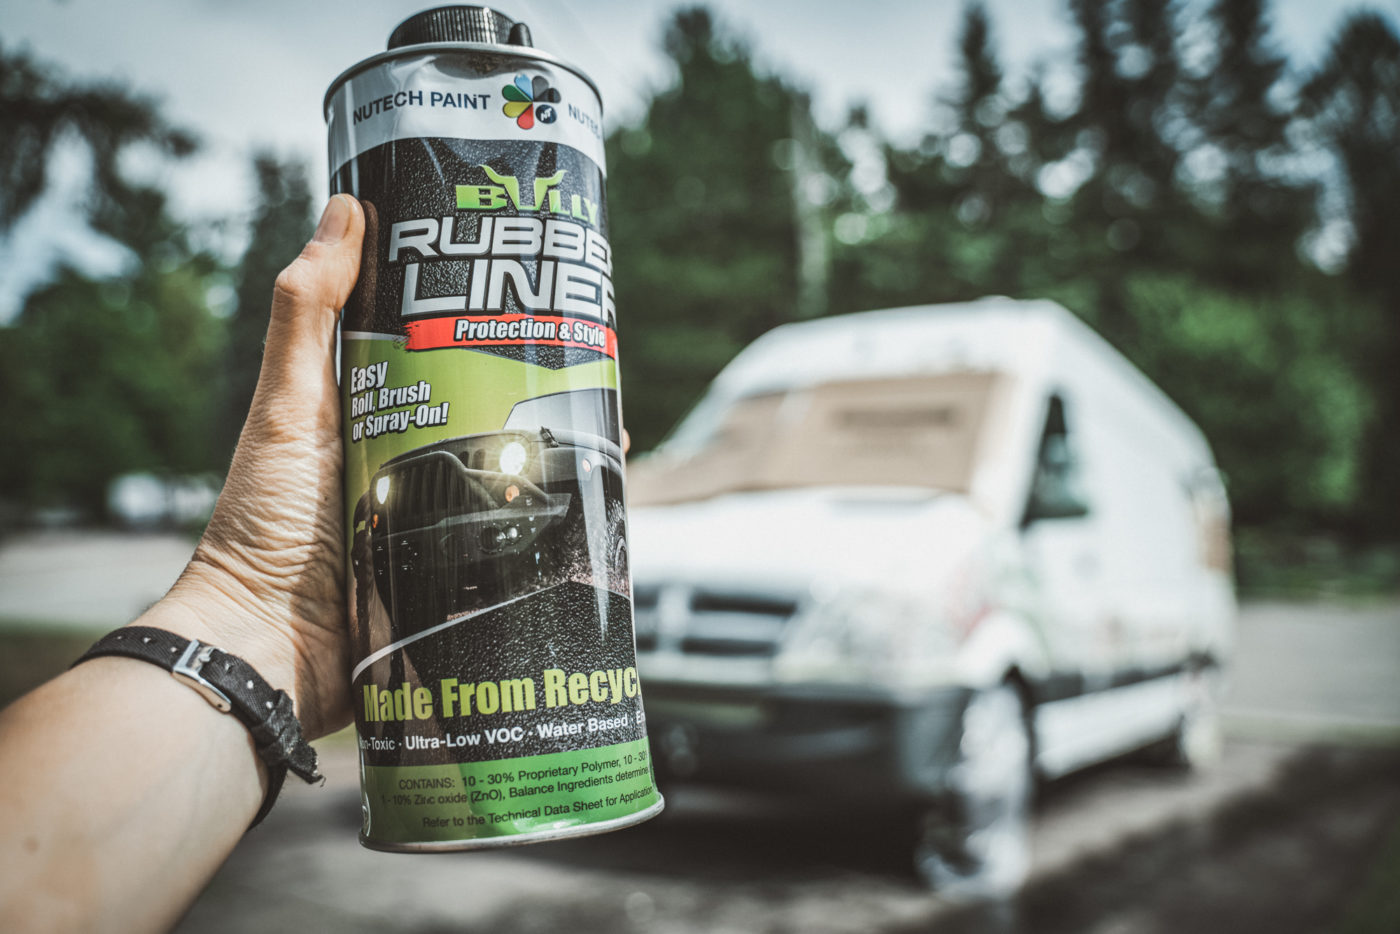
Exterior Paint
Giving Benji a shiny new paint job was the last step in transforming him from work van to camper van. We decided to use green and black BullyLiner paint to give him a new look and protect against rust. We spent about CAD $1,058 on paint to fully coat the exterior with 2 coats. Luckily, we were able to borrow an air compressor and spray gun from a neighbour to apply it like a pro.
As a final touch, Oksana’s brother painted an amazing mural on the side of the van. He used black bed liner paint, which was CAD $37.
Total spent: $1,173 (USD $914)
Finishing Touches
To make our camper van conversion feel like a home, we added a few finishing touches. The first step was adding curtains to the windows for privacy and décor. We bought fabric at a local fabric store for CAD $111 and sewed them with help from Oksana’s mom. We also bought some couch pillows from Value Village. A set of 3 down decor pillows cost us just CAD $22.
We also added adhesive cork liner to our drawers and cabinets for CAD $43. The shelf liner looks nice and helps to keep our things in place while we’re driving. We also added a nice subway tile backsplash to our kitchen. We opted for the sticky type for just CAD $69 vs real tiles and are super happy with how it turned out.
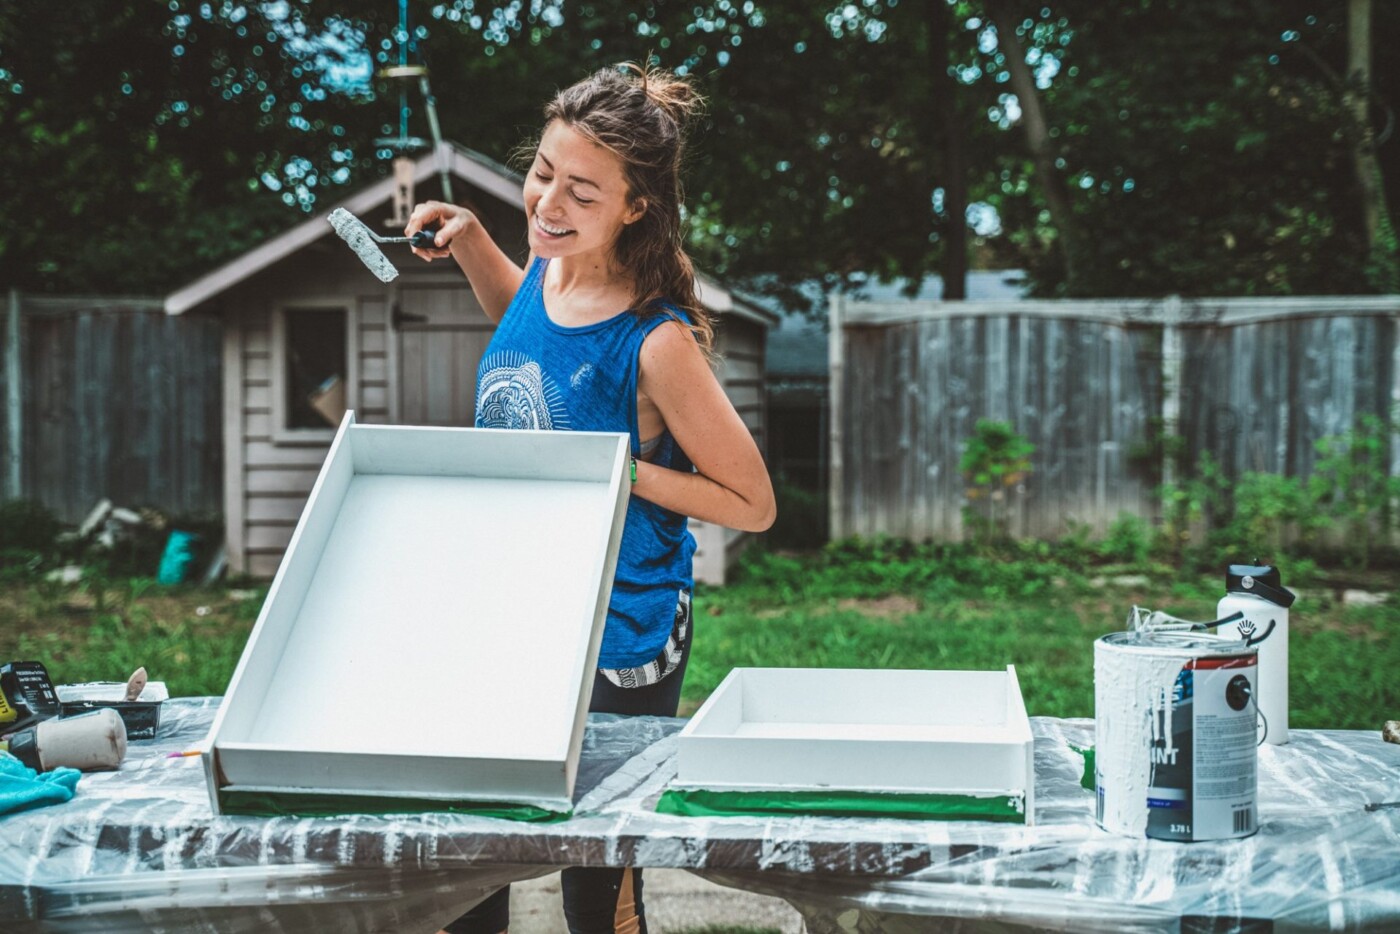
The finishes in our camper van conversion cost also include the White Exterior Latex Paint we used on the walls. We ended up having to do 3 coats of it to cover the wood grain and ended up paying just over CAD $106 in paint costs.
Total spent: $364.71 (USD $171)
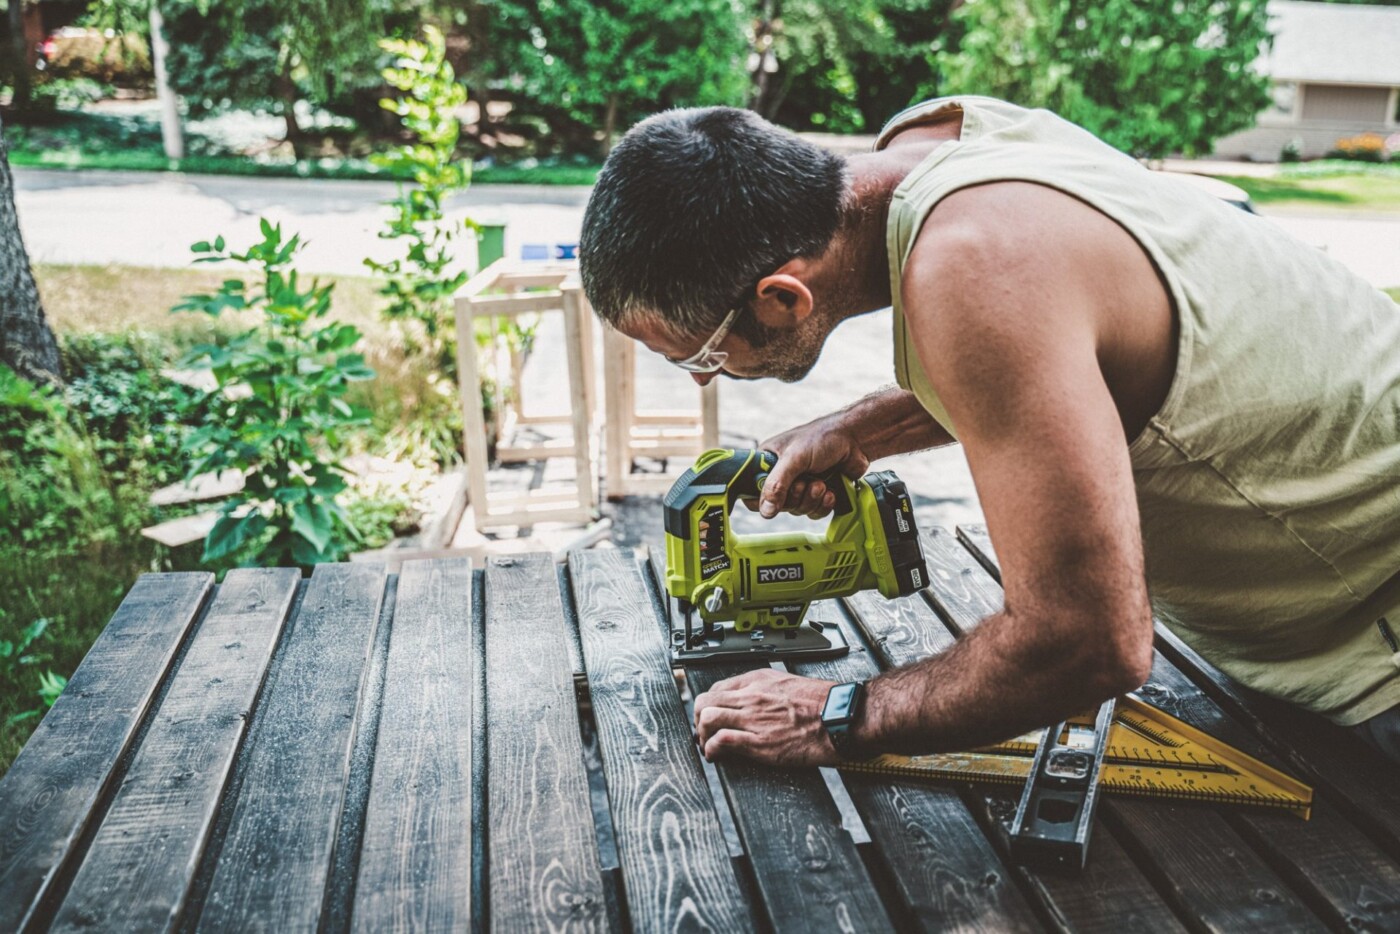
Tools
Because we’ve been traveling full time for the last 5+ years, we had to start from scratch with tools. We bought all the basics like a drill, jigsaw, circular saw, and orbital sander. We ended up spending CAD $100 on the drill and CAD $112 on drill bits for all the specific applications we needed. Our orbital sander was CAD $75 and definitely came in handy when prepping for paint.
Everything else in this category was little things like extra batteries, measuring tapes and screwdrivers.
We were lucky to have been able to also borrow some tools from family and neighbours. Things we didn’t have to buy that proved to be very useful were: table saw, wood clamps, and air compressor.
Total spent: $696.10 (USD $542)
Automotive Accessories
To make backing up and parking a little easier, we installed a backup camera on our Sprinter van. It cost us CAD $134 and gives us peace of mind when maneuvering our 170” wheelbase. We also purchased booster cables for CAD $30, which are a road trip essential.
Finally, a carbon monoxide detector and fire extinguisher are safety items we wouldn’t be without.
Total spent: $248.10 (USD $195)
Miscellaneous
The miscellaneous category of our van conversion cost is all of the glues, paint brushes, and hardware that didn’t fit anywhere else. We spent CAD $220 on materials like screws, nuts, and bolts, which covered our entire build.
To prep all of our wood for painting, we used CAD $54 worth of sandpaper with our orbital sander. We also spent CAD $70 on a vacuum that has quickly become our best accessory in keeping a tidy van.
Total spent: $903.98 (USD $710)
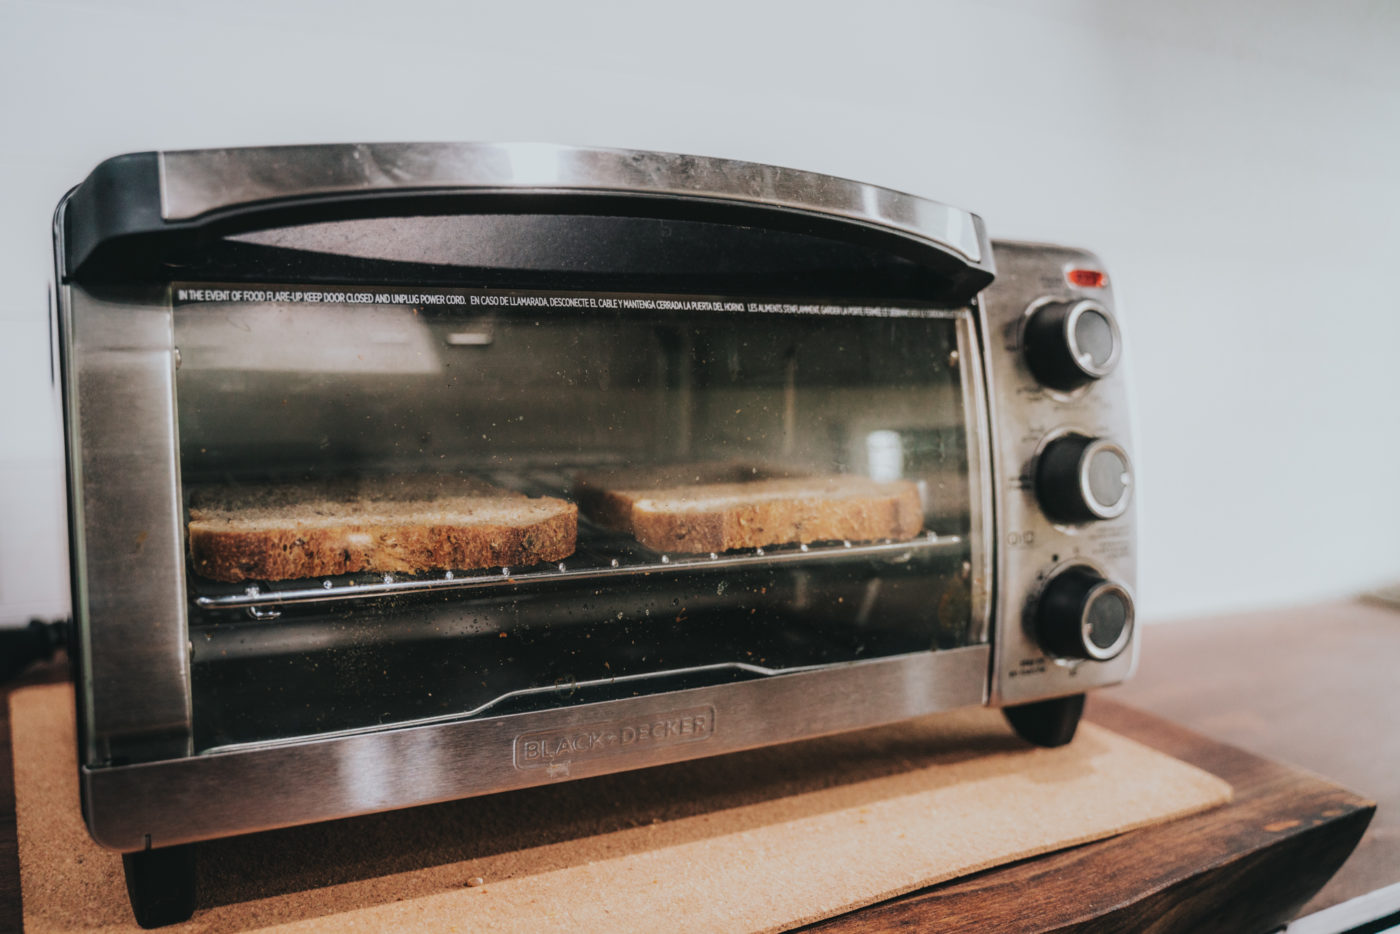
Appliances
Once the van build was complete, it was time to outfit our tiny home on wheels with all the essentials. To outfit our kitchen, we opted to purchase only electric appliances. It was our goal to avoid using propane from the start, so we designed our electrical system to be able to handle the increase in the power draw.
Our fridge is 2.2 cubic feet, similar to a bar fridge. We bought it used, for CAD $700. It’s meant to be used in a motorhome so it can handle all the bumps of the road.
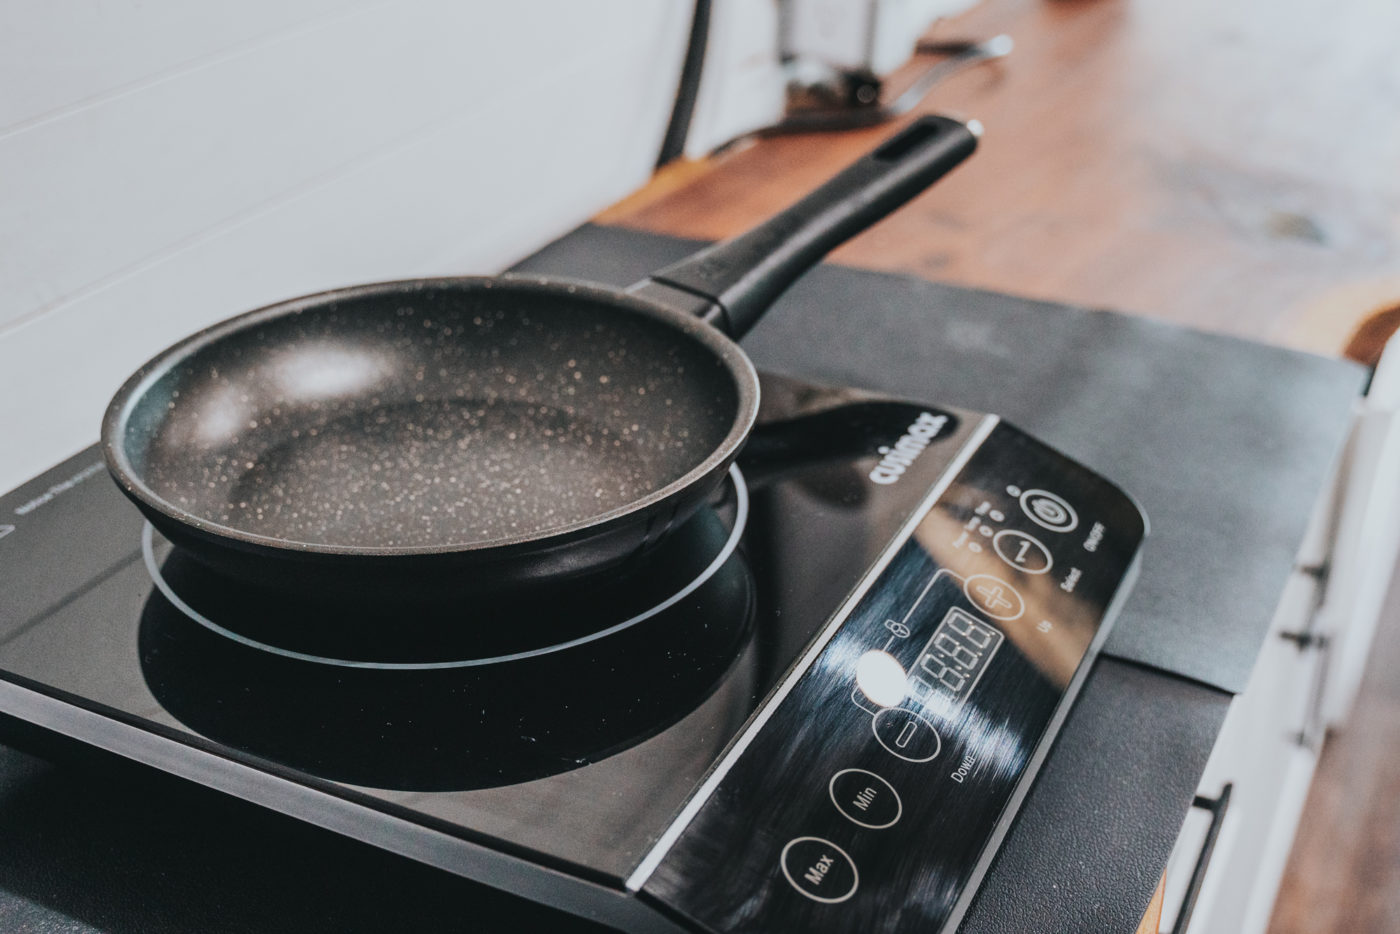
For our stove, we use a single burner induction cooktop. It’s great because we can tuck it away when we’re not using it and it’s energy-efficient. It was CAD $80 and works much better for us than a camp stove.
Finally, the crown jewel of our kitchen is the De’Longhi Nespresso Essenza Plus Machine. It’s great not only because of its barista-style coffee, but it can also boil water in under 30 seconds. The machine was pricey at CAD $262, but we use it daily for our tea, coffee and even some cooking needs!
Total spent: $1,170.44 (USD $920)
Kitchen Supplies
To make sure that all the materials in our build were van-proof, we switched to unbreakable kitchen supplies. Plates and bowls made of wheat straw are durable and can hold up to any bumpy roads we cross. They were CAD $54 and make a cute, eco-friendly addition to our kitchen. We also invested in a good quality chef’s knife and van-sized garbage and compost bins for CAD $55.
Total spent: $673.87 (USD $530)

Total Cost of Van Conversion
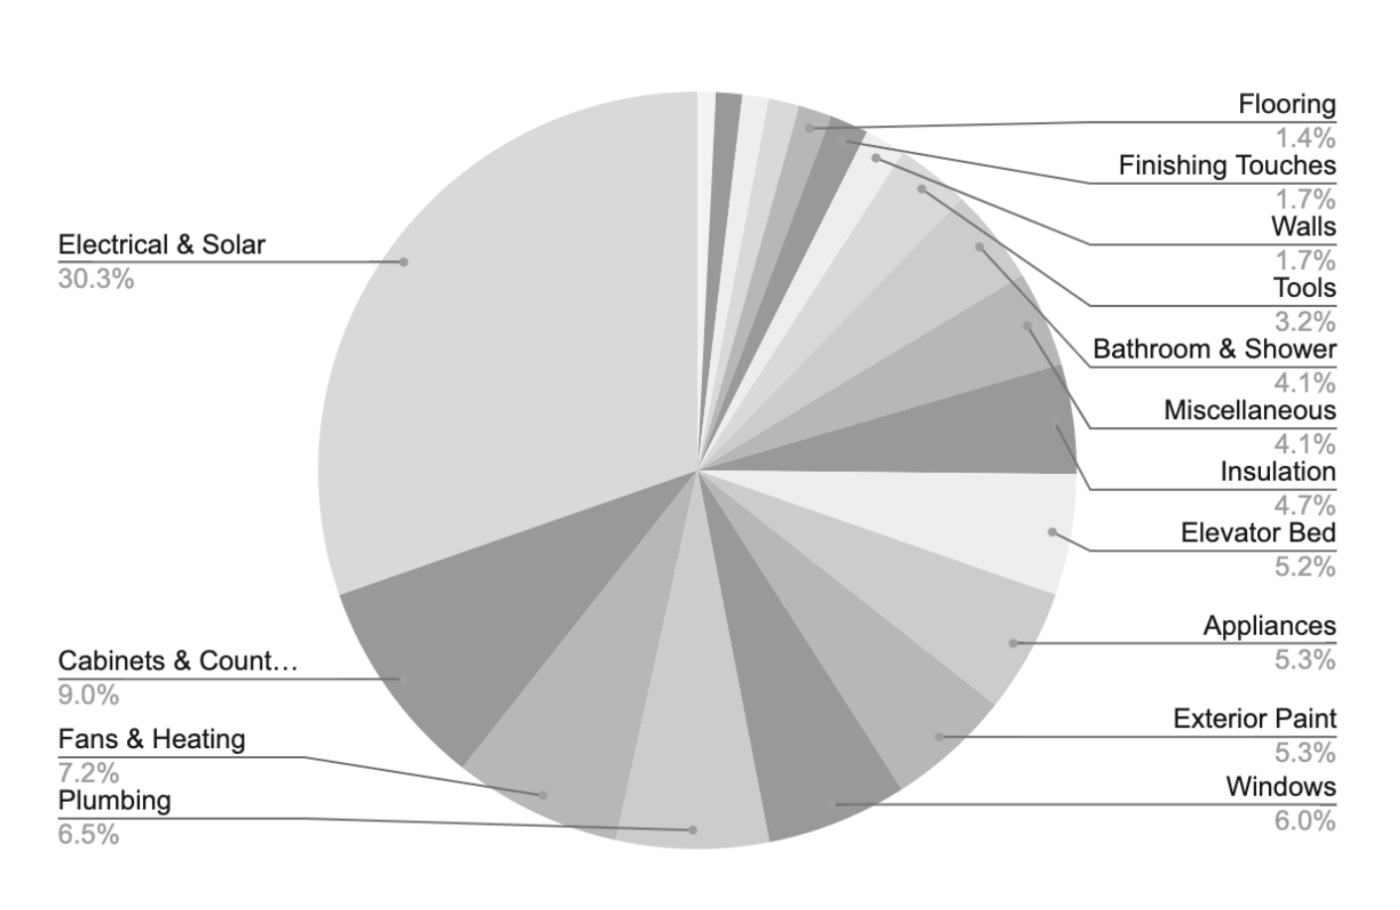
In total, we spent CAD $15,500 on our van purchase and another CAD $22,080 on our van build. This brings our final Dodge Sprinter van conversion cost to CAD $37,580 (USD $29,236). Below is the percentage breakdown.
Final Thoughts
The cost to convert a base vehicle into a camper van can vary so much based on your preferences, your ability to price shop, and the ultimate design of your van conversion.
Whether you start with a Mercedes Sprinter or a VW bus, your build can be super minimal or super luxurious. Figuring out what features you want and doing the research to estimate the costs is the best way to start your budget. We did a ton of research on campervan conversion cost before starting our build.
Ultimately, we were able to spend more on our finishes because we saved so much in labour doing the build ourselves. It was a fun learning experience and makes us appreciate our van even more!

Hello!
You have the most beautiful van conversion I have ever seen! Your eye for details and the finishes selected are just amazing! Would you please share the interior dimensions (length x width) of your living space?
Thank you so very much!
Happy travels!