This post was first published in 2017 but has been updated in 2019 with the most recent information on the Torres del Paine W Trek.
Torres del Paine National Park is, without a doubt, the star attraction of the beautiful Chilean Patagonia region. The famous 5-day Torres del Paine W Trek and the longer 9-day Full Circle Trek draw in avid hikers, adventure enthusiasts, and outdoor lovers from all over the world.
*This post may contain affiliate links, as a result, we may receive a small commission (at no extra cost to you) on any bookings/purchases you make through the links in this post. As an Amazon Associate, we earn from qualifying purchases. Read our full disclosure
Traveling Soon? Here is a list of our favourite travel providers and accessories to help get you ready for your upcoming trip!
There is no set way to experience the park or just one way to do a Torres del Paine hike. Some choose the rough and rugged DIY camping experience, some prefer to hike light and enjoy the comforts of the refugios (hostels inside the park), and others opt to sleep in the comforts of a luxury ersponsible hotel and explore the park on full day Torres del Paine trips.
The truth is, there is no right or wrong way to see the park. The beauty is that each unique itinerary is the right one for those that undertake it, giving every Torres del Paine trek-ker a chance to experience the park on their own terms.
The Full Circuit (a.k.a. the “O”)
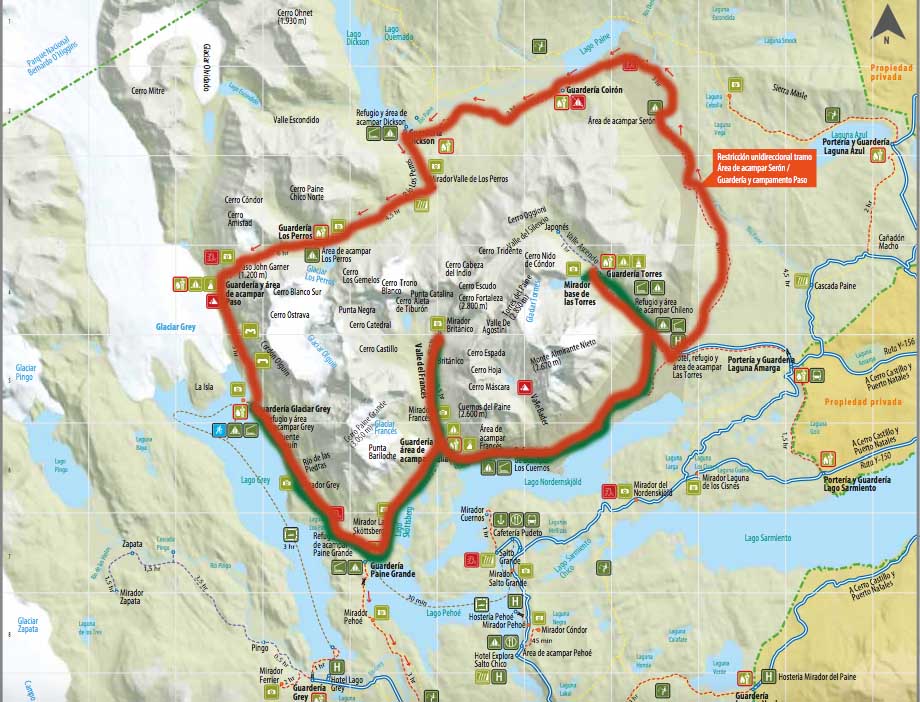
The full circuit Torres del Paine trek is the most comprehensive and the most challenging way to experience the park. The route follows a counterclockwise direction and takes you along the W, then loops around the backside of the Cordillera del Paine allowing you to explore the spectacular views of the Patagonia terrain that few others get to see.
The permits for the O are limited, as only 80 people are allowed on the backside of Torres del Paine per day (there are no limits on the W). That also means that the O is significantly less busy than the W, which likely adds to a more enjoyable experience on the trail.
One of the biggest differences between the O and the W (other than the views, of course), is that to experience the O, you need to carry your own gear and your own food, as accommodation on the backside is limited to camping only. The challenge of this route doesn’t necessarily come from the trail itself, but rather from the weight that you have to carry on your shoulders and the lack of amenities (hot showers, warm beds, etc) along the way.
But those that brave the ruggedness of the Full Circuit, rave about the beauty of the backside of Torres del Paine and the amazing experience they had hiking this route.
The W Trek
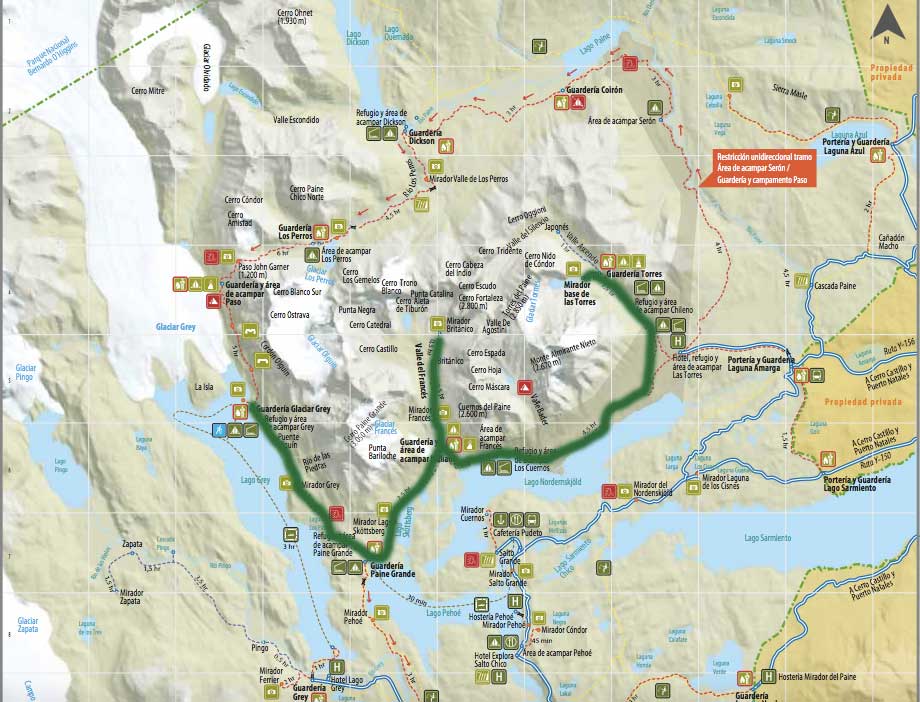
The W Trek is by far the most popular way to experience Torres del Paine Chile. It’s challenging, adventurous, breathtakingly beautiful, but at the same time, completely doable even for someone with an average fitness level.
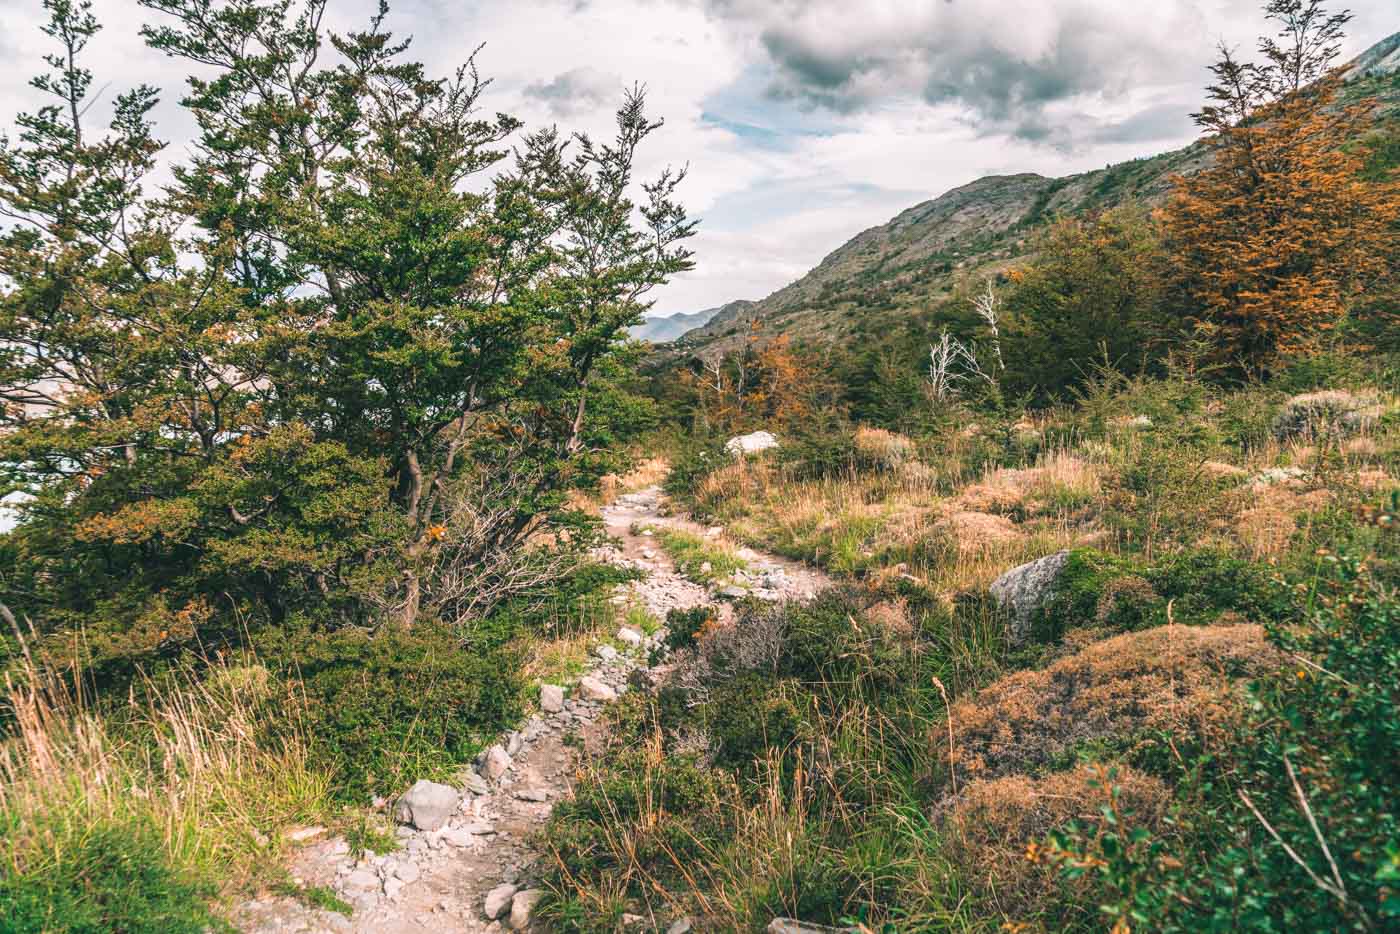
The trekking route runs through Torres del Paine National Park and earns its name from the W shape created by its trails up and down the mountain valleys. The trail extends for 71kms through 3 main valleys, Valle del Ascencio (towards El Chileno and Base of the Towers), Valle del Francés, and Glacier Grey and has a maximum elevation change of 900m. Hikers make their way along the trail spending nights in designated camping areas or refugios (hostels). The trek is typically completed in 4-6 days.
There are a variety of ways to experience the W, from the rugged DIY camping Torres del Paine experience to comfortable full board accommodation. We met a number of people on our trek, each one had their own way or “doing the W”, so we’ve compiled all the different alternatives below for your consideration.
Self Guided DIY W Trek: Camping + Cooking
Rough Costs: $8-10/pp/night + cost of pre-purchased food and any rentals in Puerto Natales
This is the cheapest and most basic way to experience the Torres del Paine W trek, an option popular with backpackers, those on a tight budget, and camping enthusiasts. In this option, hikers sleep in designated Torres del Paine camping areas along the W, cook their meals in designated cooking areas at each campsite, and carry all of their supplies (tent, mats, sleeping bags, cooking equipment, and food in their backpacks).
This type of experience requires prior multi-day hike experience and thorough preparation, as opportunities to stock up are very limited along the Torres del Paine W trek. For camping and cooking hikers, the weight of their bag will essentially determine the difficulty of the trek.
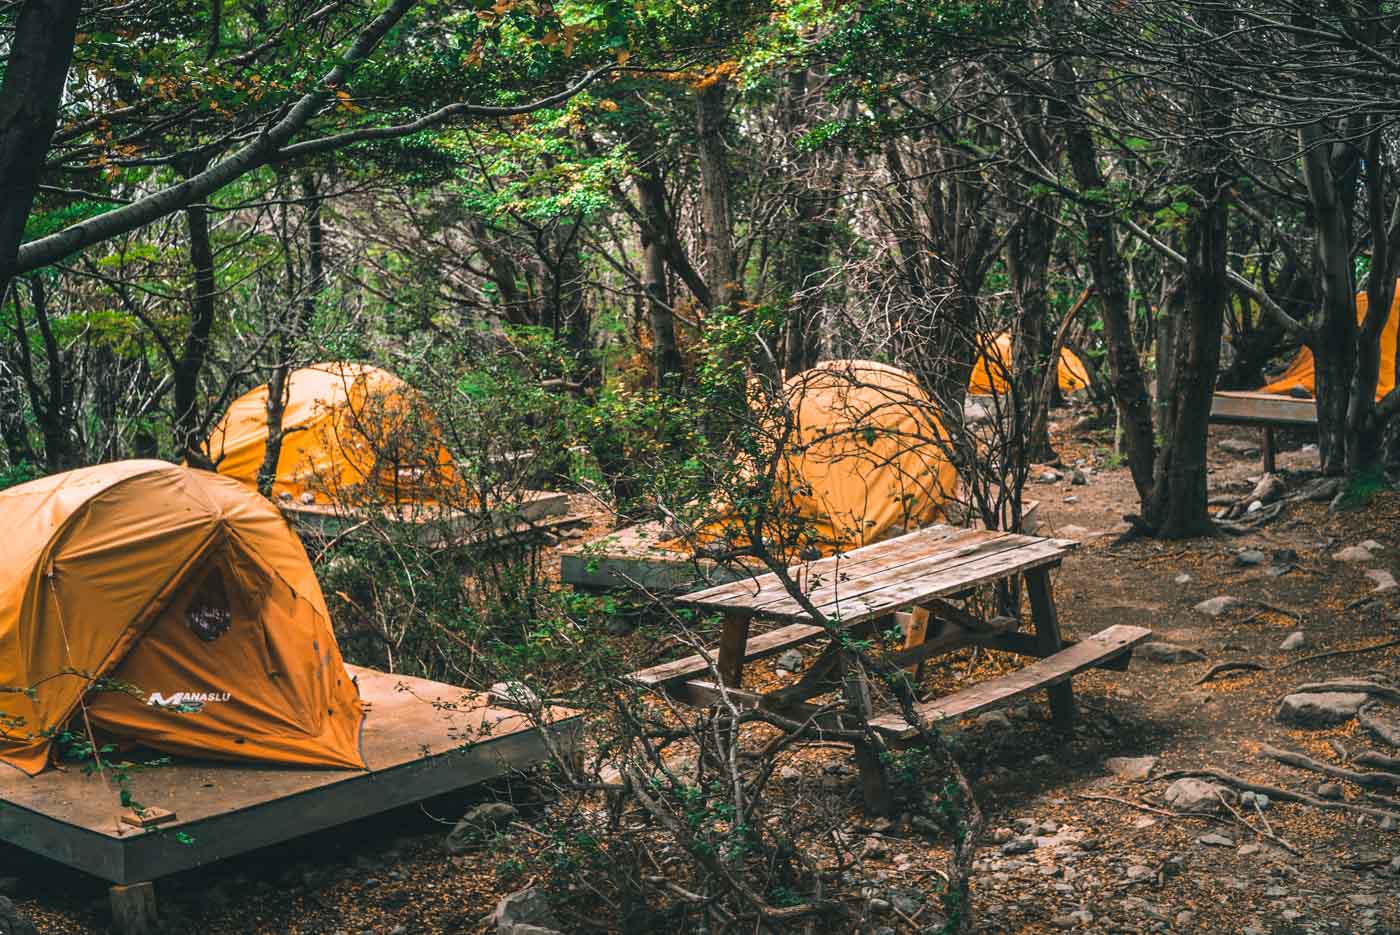
Supplies: It is recommended to bring all hiking and cooking equipment with you from home to ensure that you are familiar with the gear and are comfortable with using it at night and in bad weather. If you are traveling from afar or on a longer trip and you don’t want to carry your own hiking gear, it is possible to rent everything you need from a number of suppliers in Puerto Natales.
ADD A LITTLE COMFORT: Instead of carrying all gear on your back, you can rent your tent and mat at each campsite inside the park, reducing the weight of your bag by a few kilos. To lighten your load even further, you can also plan to indulge in 1 or more cooked meals at the refugios. (The option to rock up and buy a meal without preordering was available at some, but not all refugios on the Torres del Paine W trek). See rates in the accommodation section below.
Self Guided W Trek: Camping + Full Board
Rough Costs: $50-90/pp/night + any cost of sleeping bag rentals in Puerto Natales
If you enjoy camping, but don’t want to carry a huge backpack with supplies while hiking for 8-10 hours a day, you can opt for a more comfortable full board camping option, available at all Vertice and Fantastico Sur campsites. Full board dining plans include hot breakfast, boxed lunch (with snacks), and a 3-course dinner at the refugios.
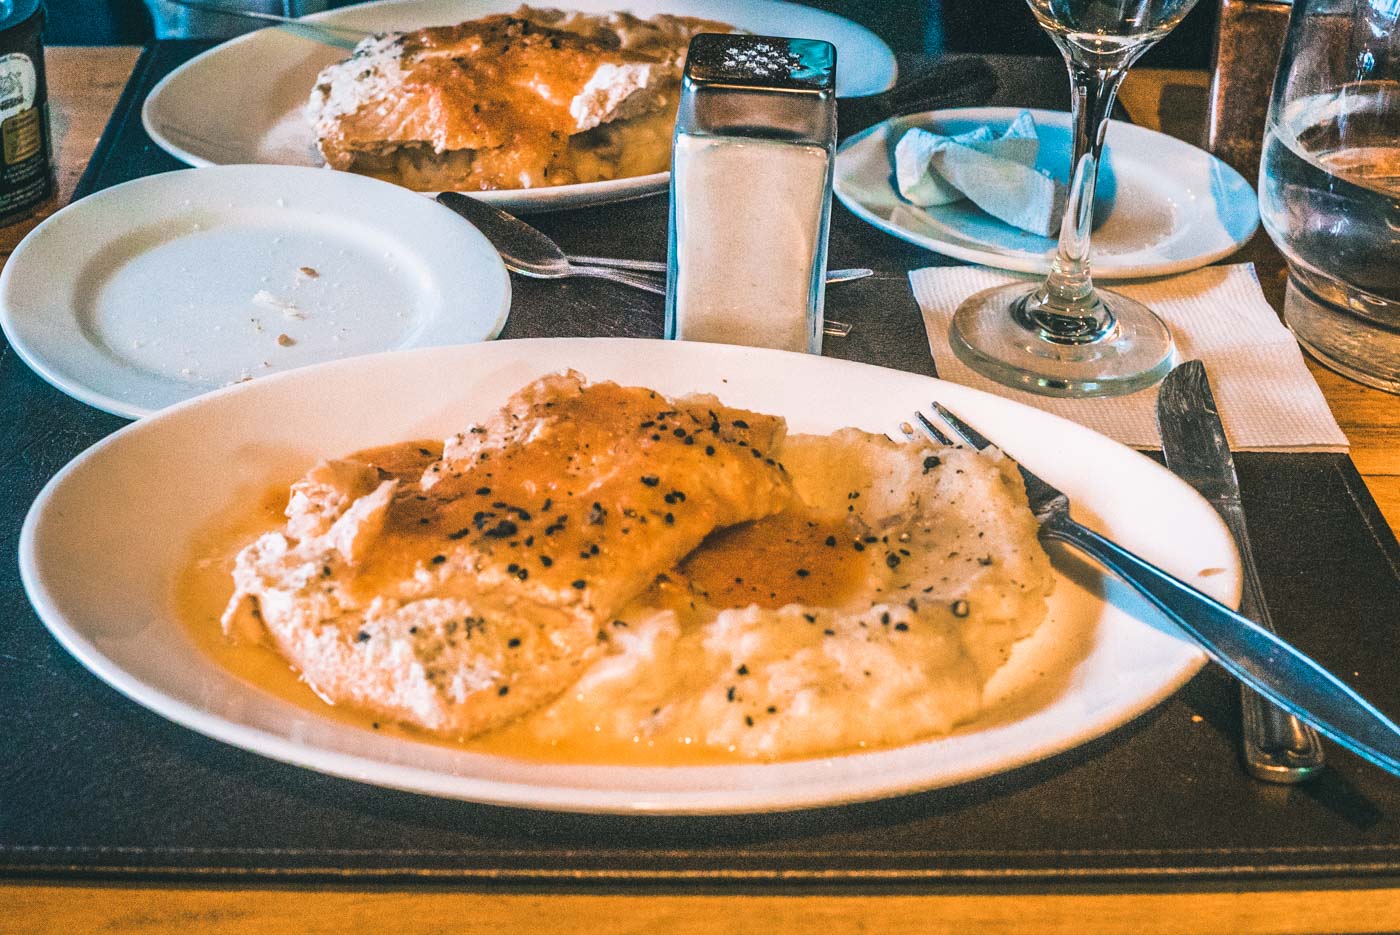

This option allows you to just carry your personal belongings (clothing, toiletries, etc) and rent everything else (tents, sleeping bags, mats) from the refugios.
ADD A LITTLE COMFORT: Renting camping equipment at refugios is VERY expensive. By the time you add up the cost of tent, mats, and sleeping bags, you are looking at paying $35-$40 in rental fees. For that much money, you might as well upgrade to a basic bed with bedding and enjoy the full service of the refugios. If you want the camping Torres del Paine experience, but want to save some money, bring your own sleeping bag and you can save $17 per person per night.
Self Guided W Trek: Refugios + Cooking
Rough Costs: $60-$100 + cost of groceries and cooking supplies
Those that want the comforts of a warm bed, but don’t want to pay the high price of a full board at the refugios, should consider the bed + cook your own meals alternative. This option will allow you to save on the full board option, which ranges from $40-$60/day.
However, by carrying supplies necessary to cook your own meals, you will be adding significant weight to your backpack and adding to the discomfort of your experience on the trail.
ADD A LITTLE COMFORT: If you are going to cook your own meals on the trail, consider purchasing dehydrated meals (we recommend Backpacker Pantry). Not only do dehydrated meals taste delicious, but they weigh very little compared to the usual supply of salami, rice, pasta, and cans of tuna that most people bring on the trek. So you can enjoy good meals and the luxury of a light (well, somewhat light) bag.
But there is MORE! It is prohibited to cook your own food in the refugios. There are designated cooking areas available near all the campsites (often outside) where you are asked to do all your cooking, even if you are staying at the refugios. It sucks having to go out and cook your meals elsewhere. BUT! If you are making dehydrated meals, you actually don’t need to do ANY cooking at all. Every refugio on the Torres del Paine W trek had a 24 hour supply of hot water that we were able to use to make our dehydrated meals right in the refugios dining hall. It was fast, simple, and VERY CONVENIENT!
Self Guided W Trek: Refugios + Full Board
Rough Costs: $100-$160/pp/night
This is the most comfortable and most luxurious self-guided option to experience the Torres del Paine W trek. It allows you to carry just your personal clothing and toiletries, making it much easier for you to enjoy your days hiking in the park.
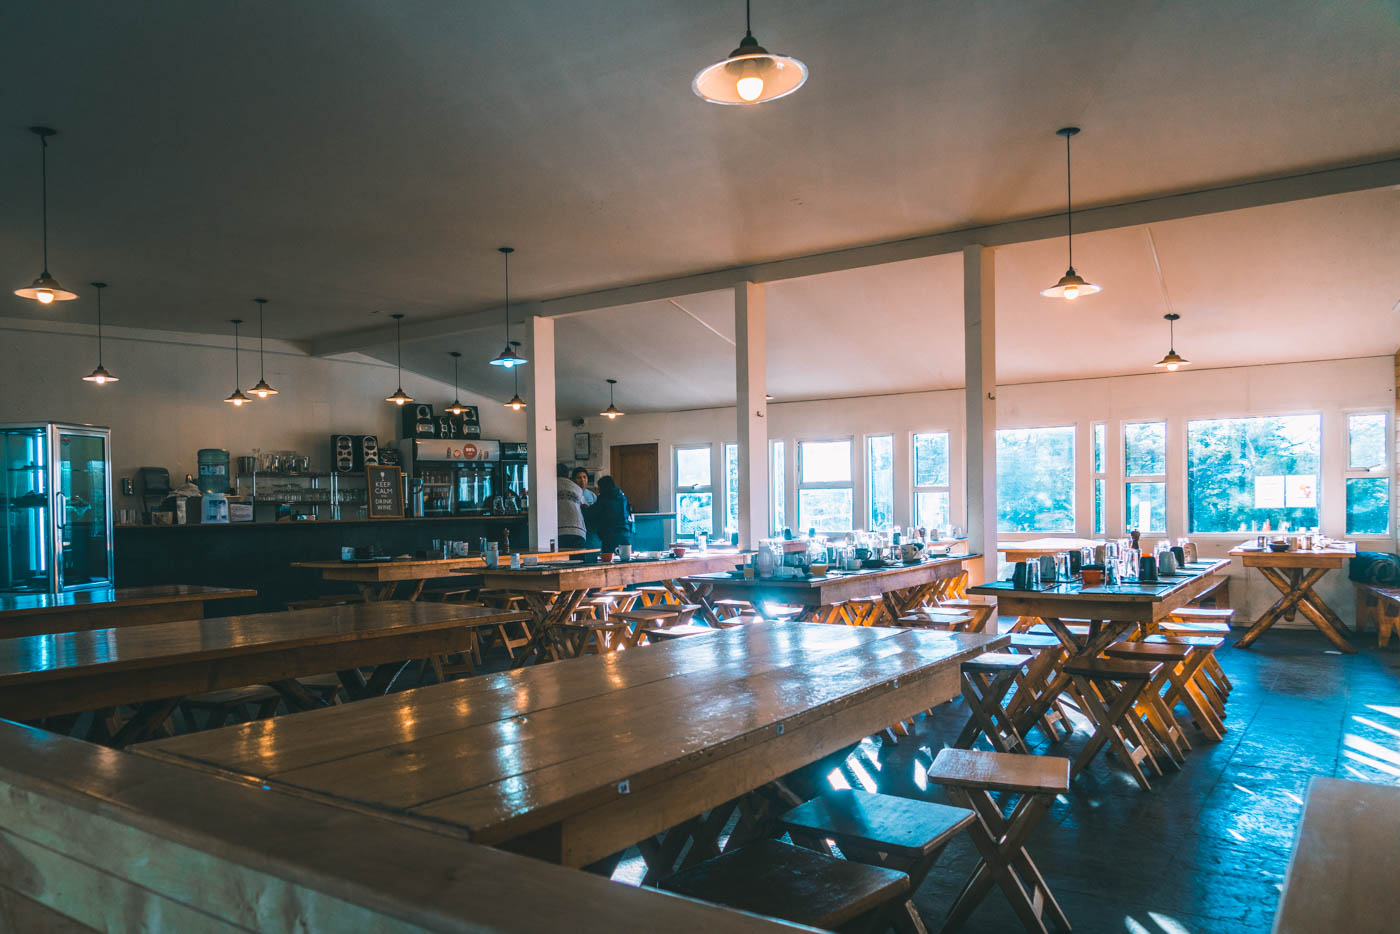
Dining hall at Refugio CentralADD A LITTLE COMFORT: If you want to add even more luxury to your already very comfortable stay, we recommend spending the night before your trek and the night after your trek (or even longer) at the Las Torres Hotel. The hotel is located inside the Torres del Paine National Park, costs just a bit more than a refugio at Central and is an absolutely amazing place to eat, drink and be merry before or after your trek.
The comforts of Las Torres Hotel, Torres del Paine
READ NEXT: Our Stay at the Las Torres Hotel
Guided Torres del Paine W Trek Tour
While you really don’t need a guide or a group to lead you along the W trail, W trek Torres del Paine tours are a VERY popular alternative for those that just don’t want to worry about any details of their trek. A number of companies in Puerto Natales offer guided treks with accommodation in refugios and a number of hotels inside Torres del Paine offer the alternative of experiencing the W Trek from the comfort of your hotel (see this example of the W in Comfort at Las Torres Hotel).
Most sections of the Torres del Paine W trek are accessible and easily doable as a day hike from one of the hotels inside the park, with the exception of the French Valley (Valle del Frances). With that said, we did meet a few people during our hike that managed to visit the French Valley while staying at Las Torres Hotel. It made for a VERY long (25-30kms) and difficult full-day Torres del Paine hiking, but they proved that it was doable.
W Trek Accommodation Options
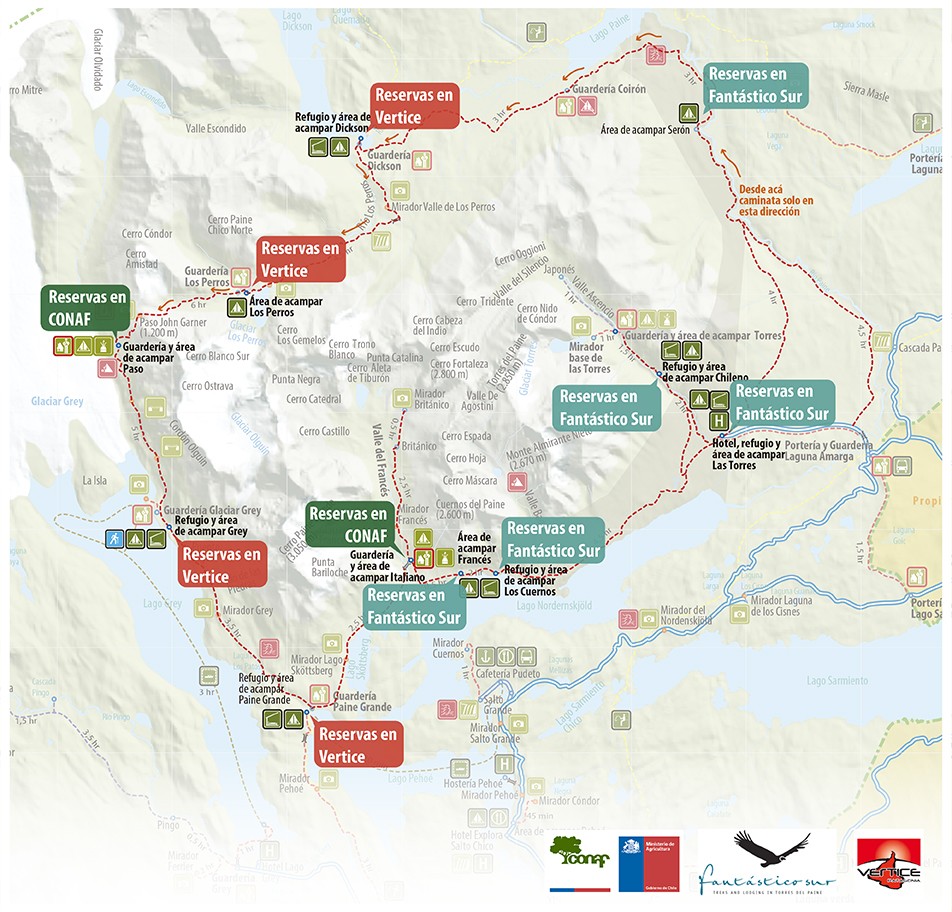
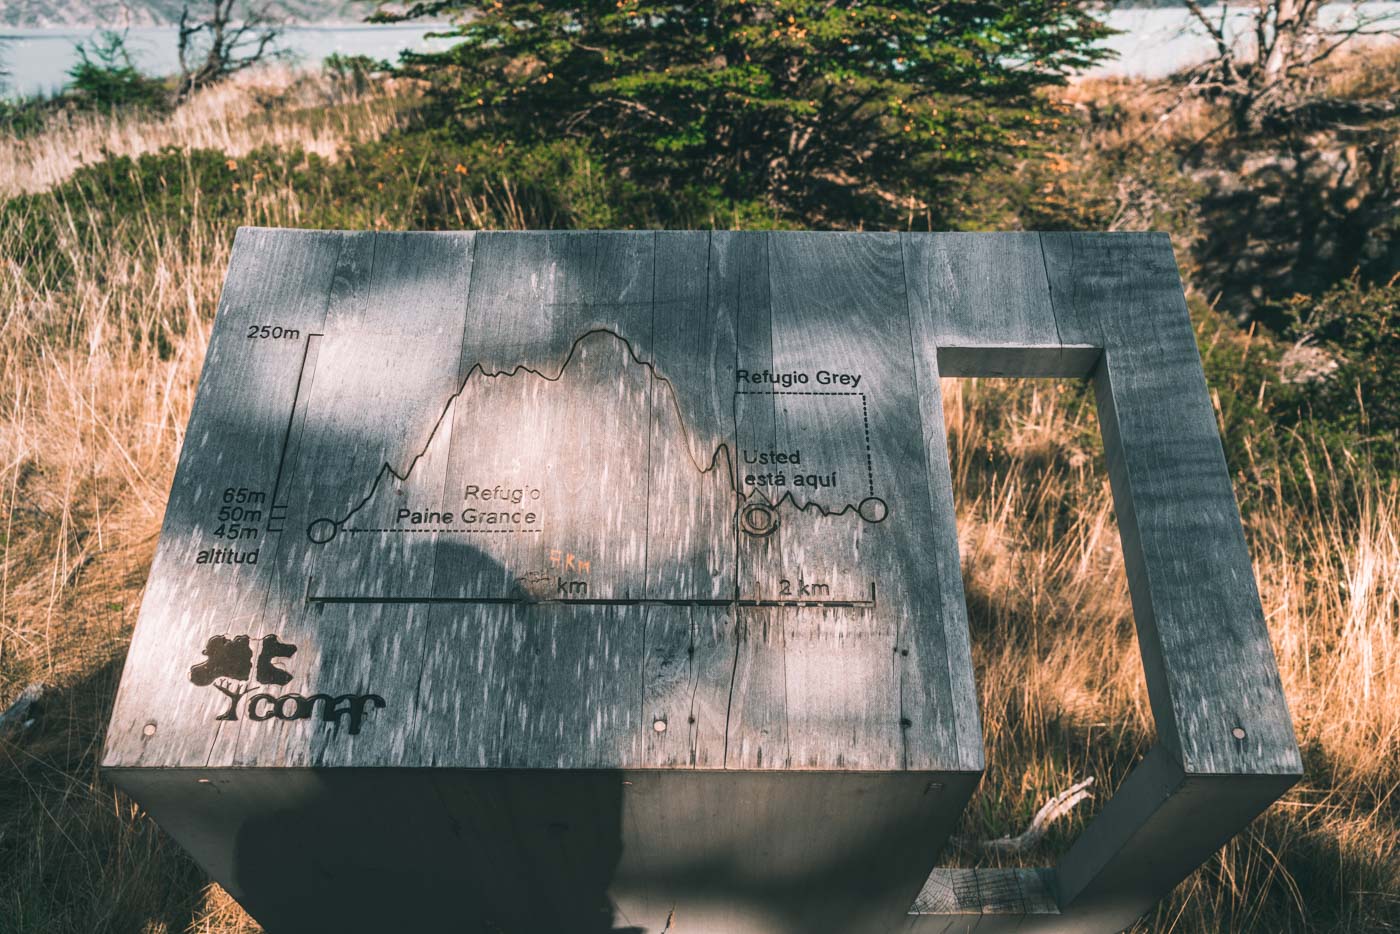
As mentioned already, W trek accommodation options range from basic camping to comfortable and even luxurious refugios, cabanas, and hotels. We have segmented all options based on their location along the trail and added a handy map, (courtesy of CONAF) for visual reference to help you decide where to stay in Torres del Paine.
Lago Grey
- Vertice Grey Camping – Camping ($8.5), breakfast ($12), lunch ($15), dinner ($20), full board ($40). Full board stay (with own gear) – $48.5
- Vertice Grey Shelter – Basic bed ($30), bedding ($30), breakfast ($12), lunch ($15), dinner ($20), full board ($40). Full board stay (without own gear) – $100
Paine Grande
- Vertice Paine Grande Camping– Camping ($10.2), breakfast ($12), lunch ($15), dinner ($20), full board ($40). Full board stay (with own gear) – $50.2
- Vertice Paine Grande Shelter – Basic bed ($30), bedding ($30), breakfast ($12), lunch ($15), dinner ($20), full board ($40). Full board stay (without own gear) – $100
Valle del Frances
- CONAF’s Camp Italiano – FREE, No rentals. No meals.
- Fantastico Sur’s Camping Francés – Camping ($14-$16). Rentals available. No meals.
- Fantastico Sur’s Domos Frances – Bed+ sleeping bag ($95-$105), Bed + sleeping bag + Full board ($153-$169)
Los Cuernos
- Fantastico Sur’s Camping Los Cuernos – camping with full board ($84-$94). Cooking not allowed.
- Fantastic Sur’s Refugio Los Cuernos – Simple Bed ($55-$61), Simple Bed + Full Board ($113-$125), Bed + sleeping bag ($66-$73), Bed + sleeping bag + Full Board ($124-$137).
- Fantastico Sur’s Cabañas Los Cuernos – Cabin (1 or 2 people) $187-206, Cabin + Full Board (1 person) $245-270, Cabin + 2 Full Boards (2 people) $303-$334
Central
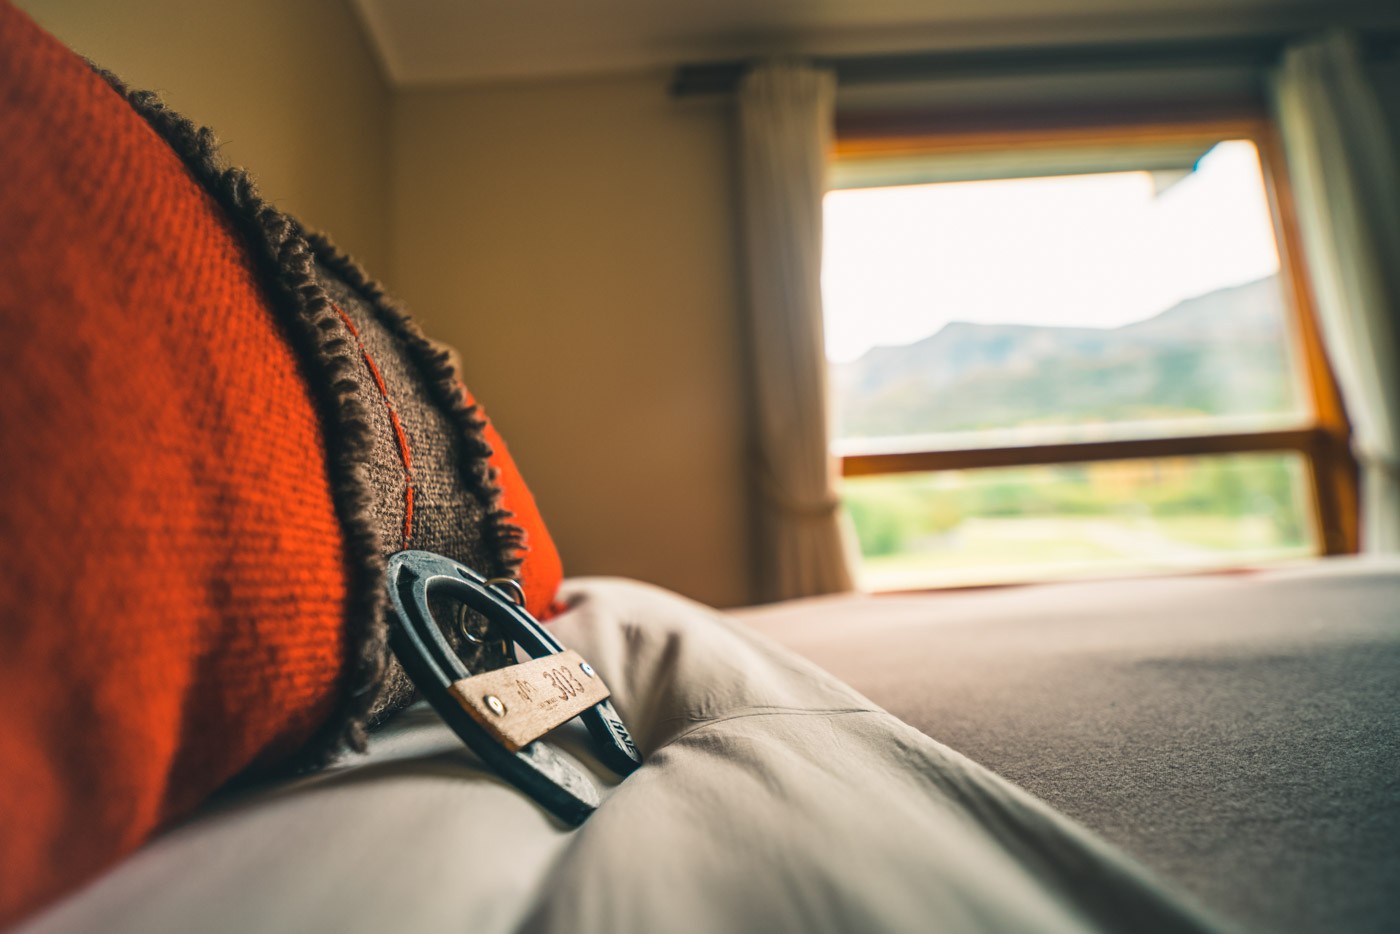
- Fantastico Sur’s Refugio Torre Central – Made Up Bed ($86-95), Made Up Bed + Full Board ($144-$159)
- Fantastico Sur’s Camping Central – Camping ($14-$16). Rentals available. No meals.
- Las Torres Hotel – $304+. Full board (including alcoholic beverages and excursions) available starting at $600/pp/night.
Our Experience on the W Trek, Torres del Paine, Chile
We choose to combine a number of various ways to trek the W. We did a self-guided 4-day Torres del Paine trek and did one leg of the W with a guide from Las Torres Hotel. We stayed in Refugios (3 nights), Camped (1 night) and enjoyed the luxury of Las Torres Hotel (4 nights) during our time in the park.
While on the W trek, we carried our own sleeping bags and some of our own food (mostly snacks and dehydrated meals), but we did also try 1 day of full-boarding. Here is a day by day rundown of our time on the Torres del Paine W Trek.
Day 1: Las Torres Hotel to Los Cuernos
Trekking time: 4.5 hrs
Difficulty: Mostly flat and easy
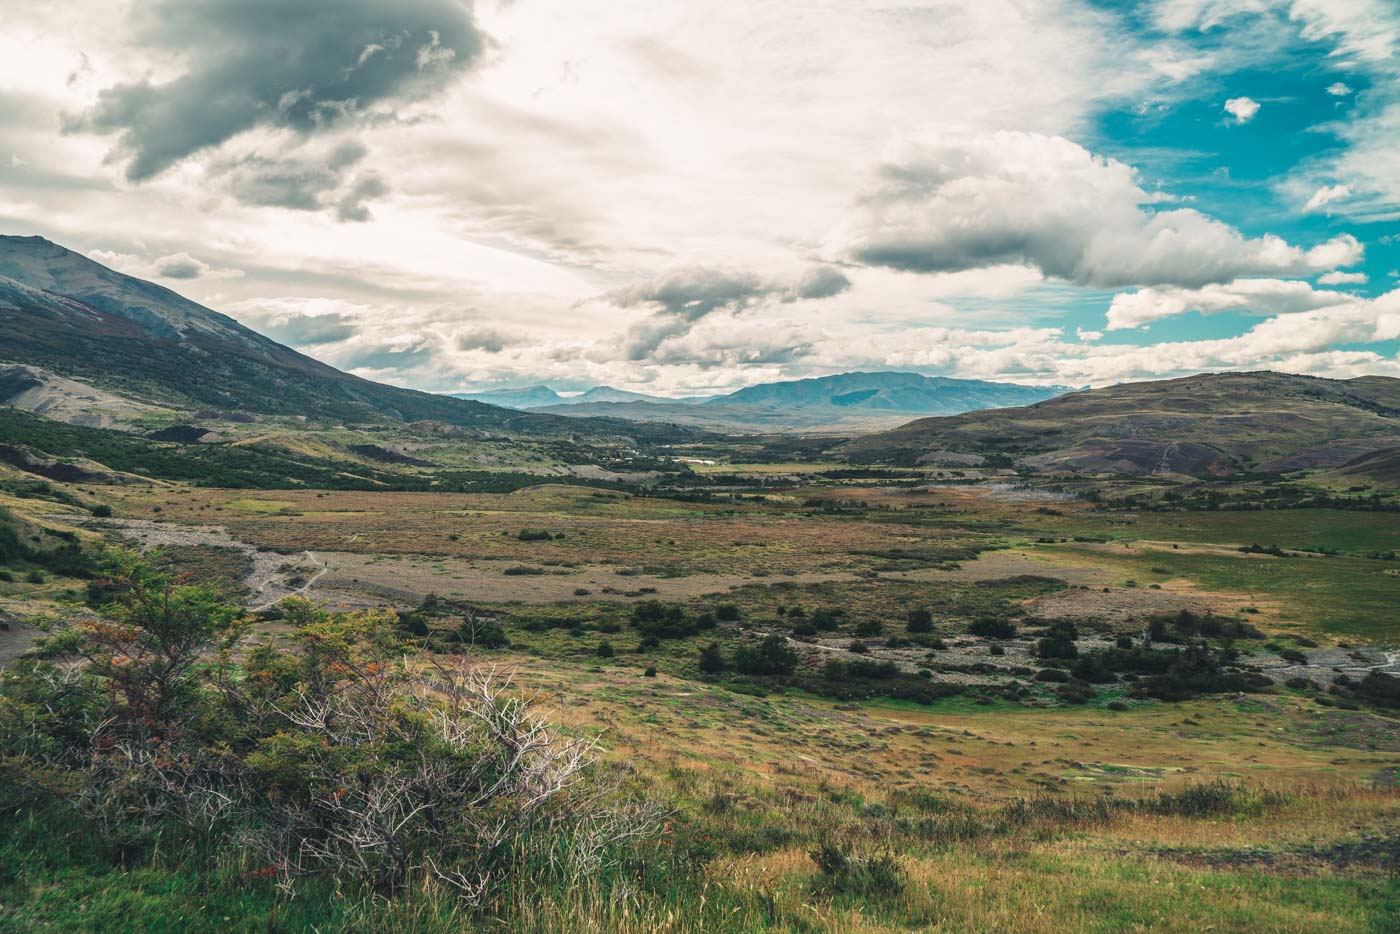
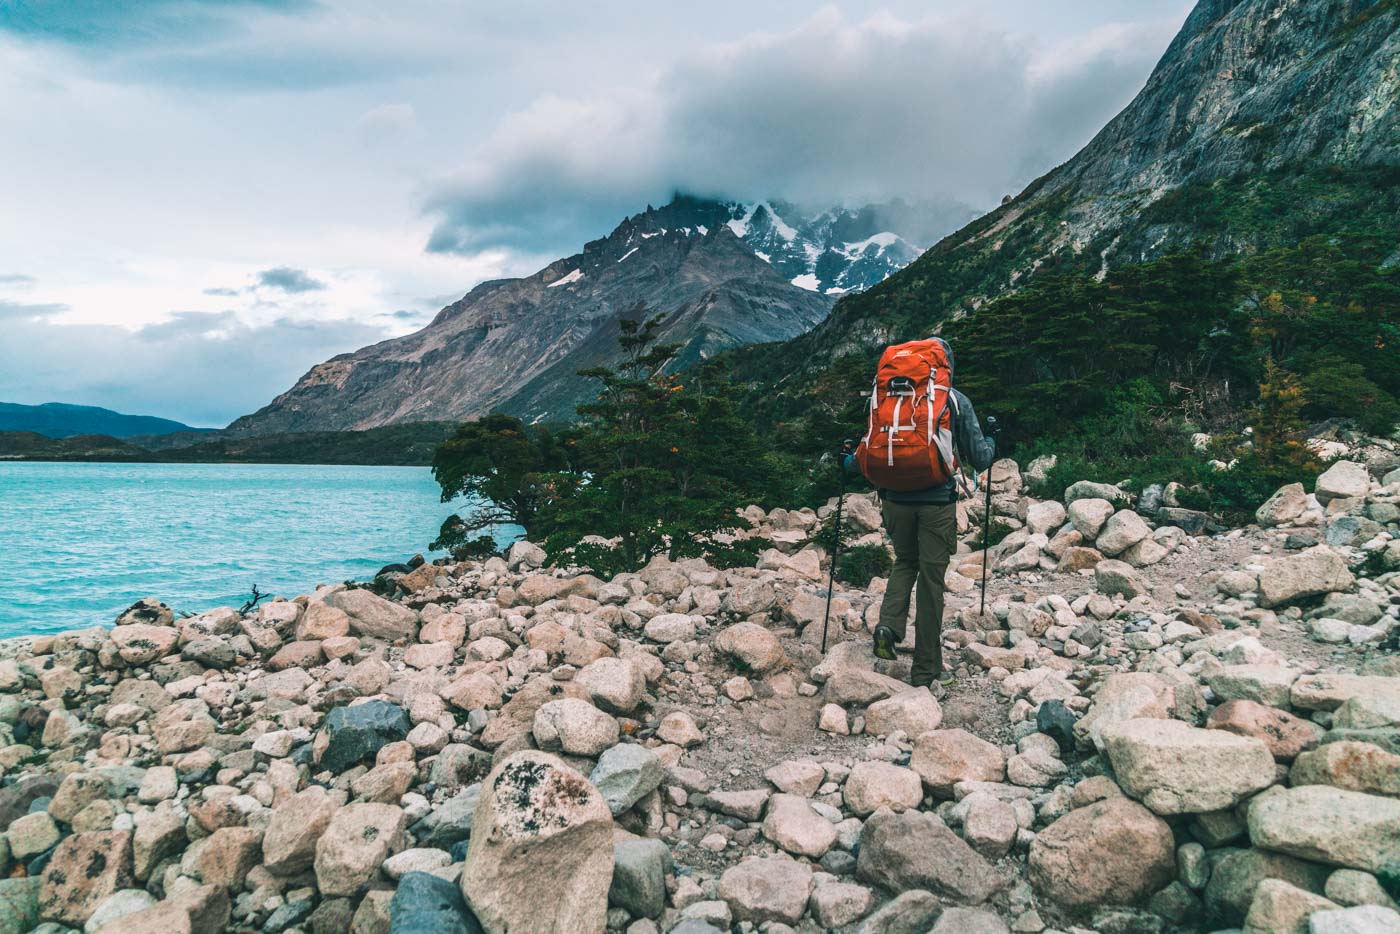
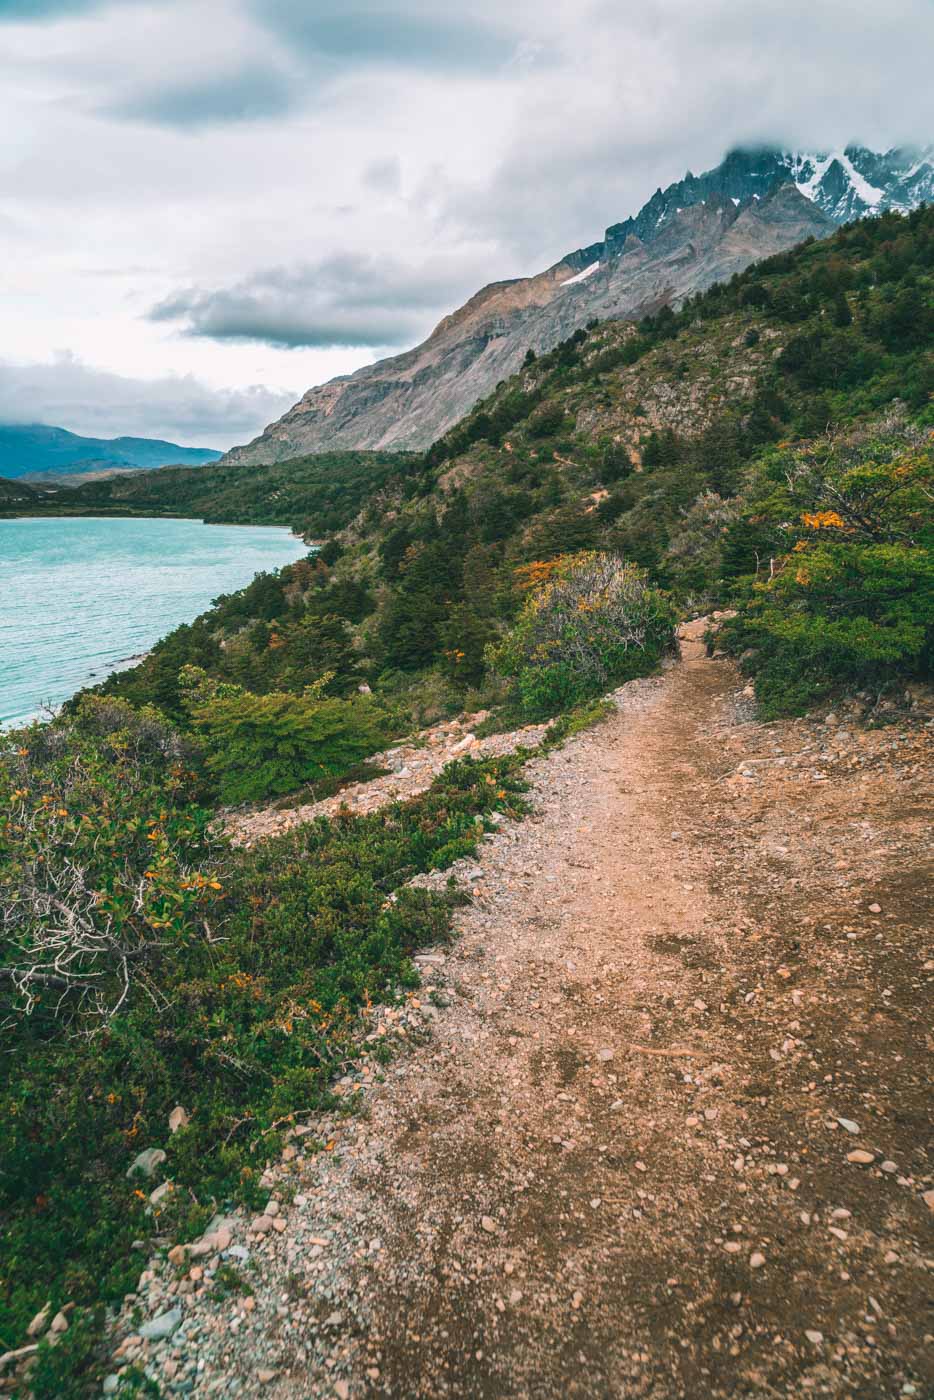
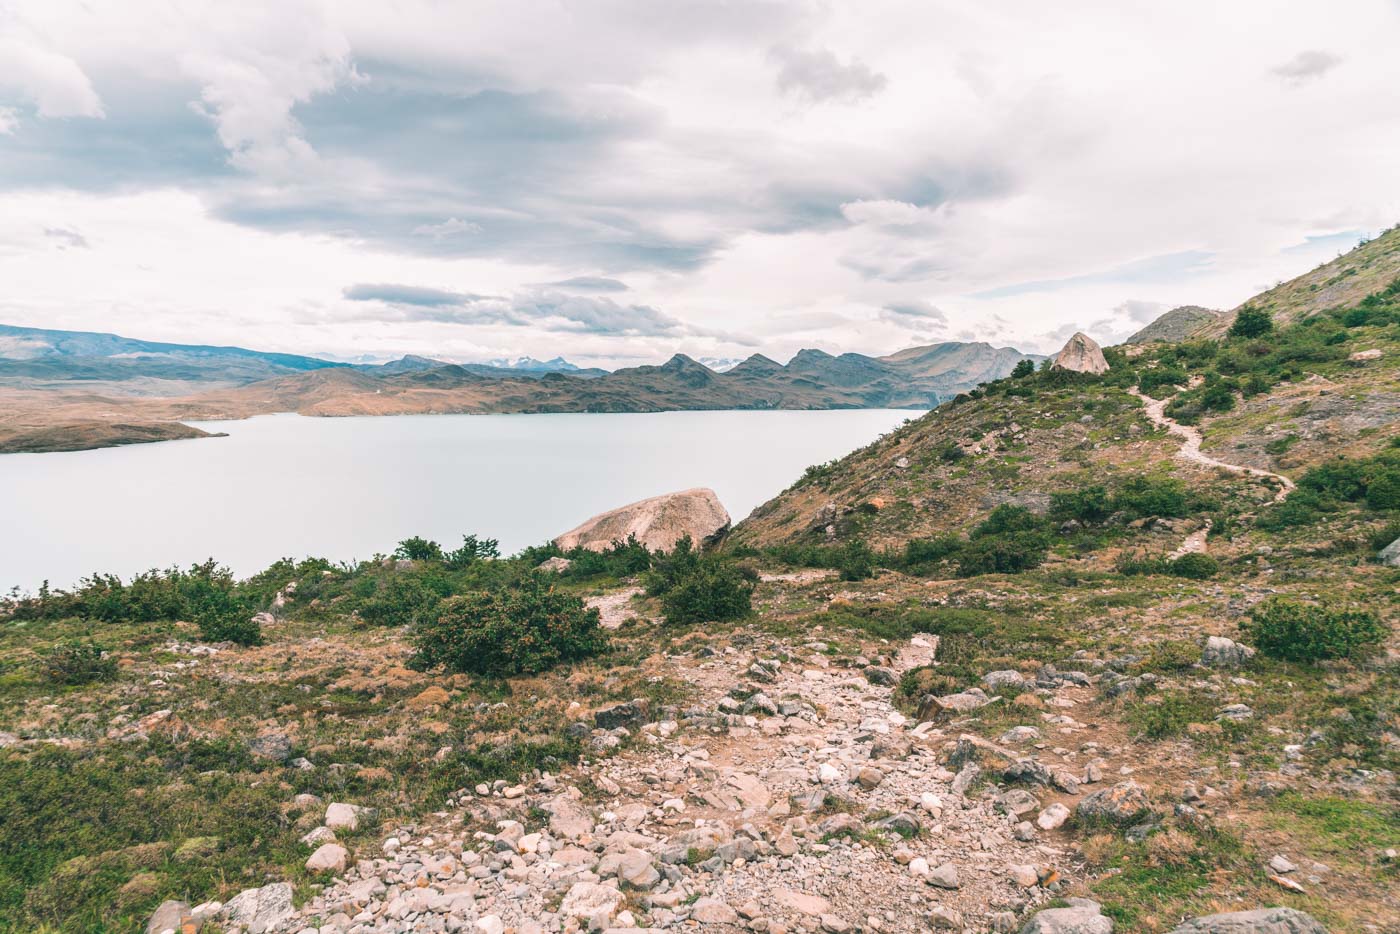
The most common way to trek the W, is to start the hike to the base of the towers (Torres del Paine Mirador) on day 1, but after hearing stories about the difficulty of that leg of the trek, we decided to leave it for last. We built our Torres del Paine trek in a way that would allow us to start off with a rather easy leg to get us warmed up and into the hiking rhythm. And the easy 13km (8 miles) trail to Cuernos was exactly that. The trail ran alongside Los Cuernos passing through a valley. We stopped to take photos and admire the views multiple times along the trail, as we had lots of time on our hands.
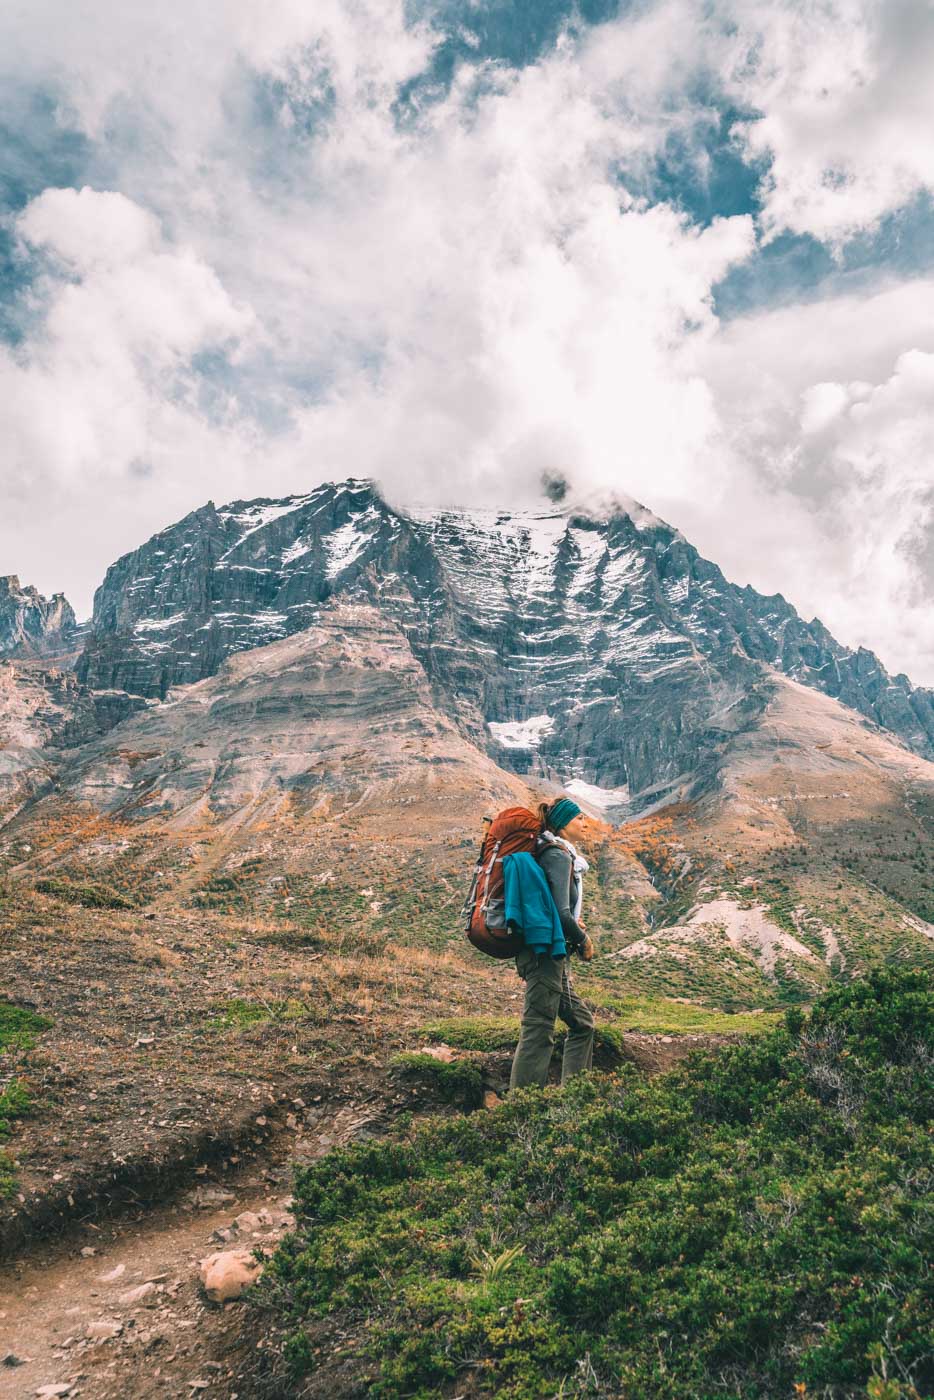
That night we camped at Los Cuernos, not because we wanted to, but because we left our bookings to very last-minute and all the Refugio beds had already been sold out.
Despite the rather chilly weather (it went down to zero degrees), it wasn’t the cold that got us that night, but the incredibly thin mats which we rented from the campsite. We may as well have been sleeping on the ground.
Accommodation: Fantastico Sur’s Camping Los Cuernos
Meals: Full board
Day 2: Los Cuernos to Paine Grande via Valle de Francis
Trekking time: 9 hrs
Difficulty: Steep ascends, long day, challenging
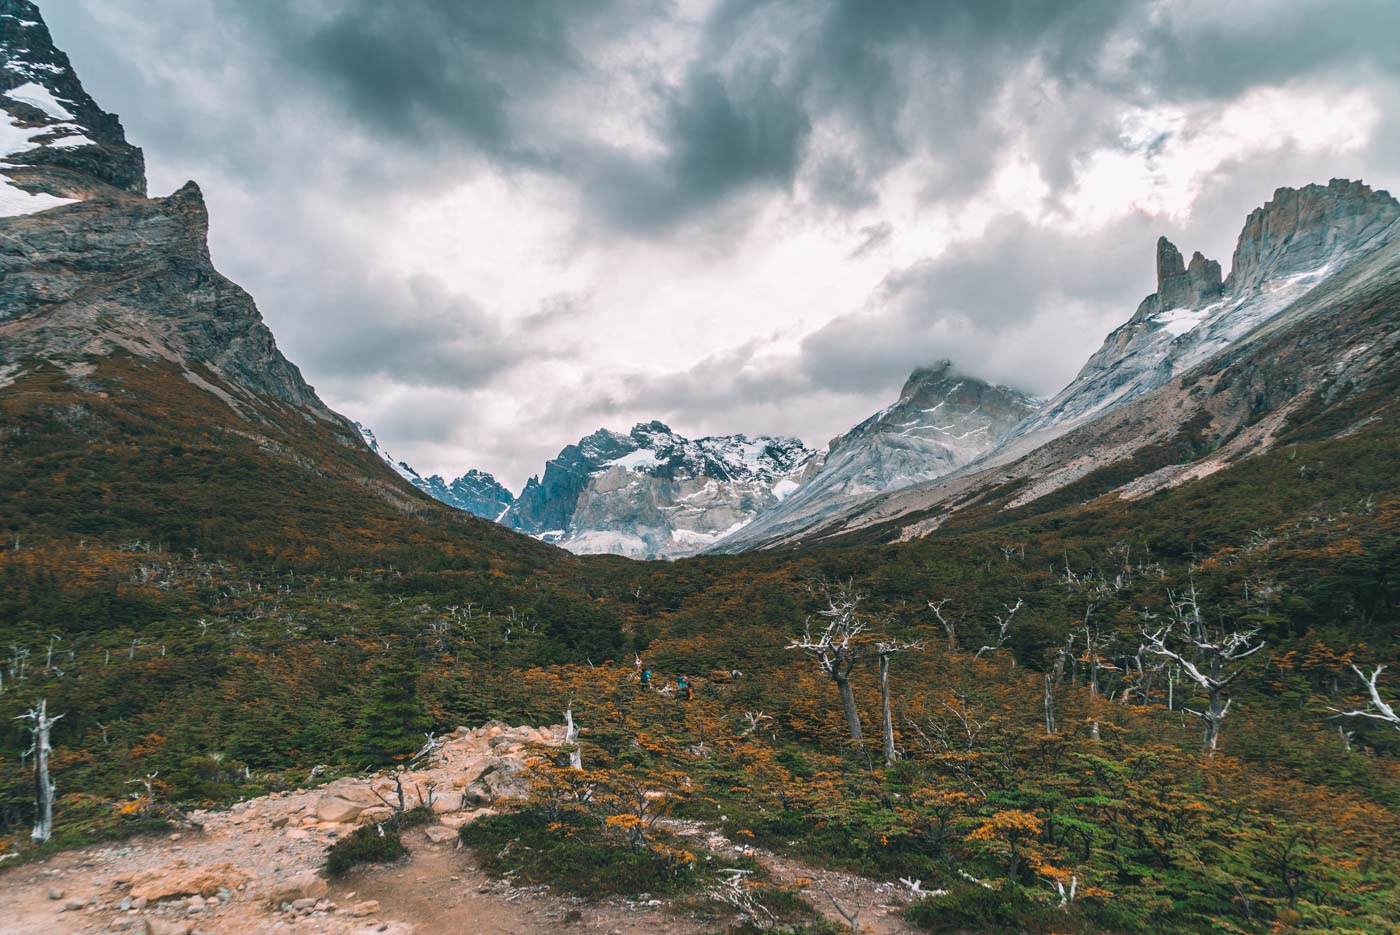
Despite being sore from sleeping on those thin mats, we started the second leg of our Torres del Paine hike in good spirits, making it to our first checkpoint, Italiano Campsite in under 3 hours. We left our heavy packs at the ranger station and took only our camera gear and lunch bags up to the Frances Lookout. It took another 1.5 hours to hike up 2 kms (1.2 miles and +400m of elevation) to the top of Valle de Francis. The path was very rocky, poorly marked, and mostly steep. The higher we went the windier it got and by the time we reached the lookout we were both wearing our base layer, our hoodies, windbreakers, gloves, and scarves.
A crowd had gathered at the mirador, so we joined others for some quick lunch and a few pics. It was just around noon, the clouds were starting to roll in and we debated whether there was any point in continuing on to Británico Lookout. Many people did, but in the end, we decided against it, giving ourselves more time for photos at the mirador and on the way down.
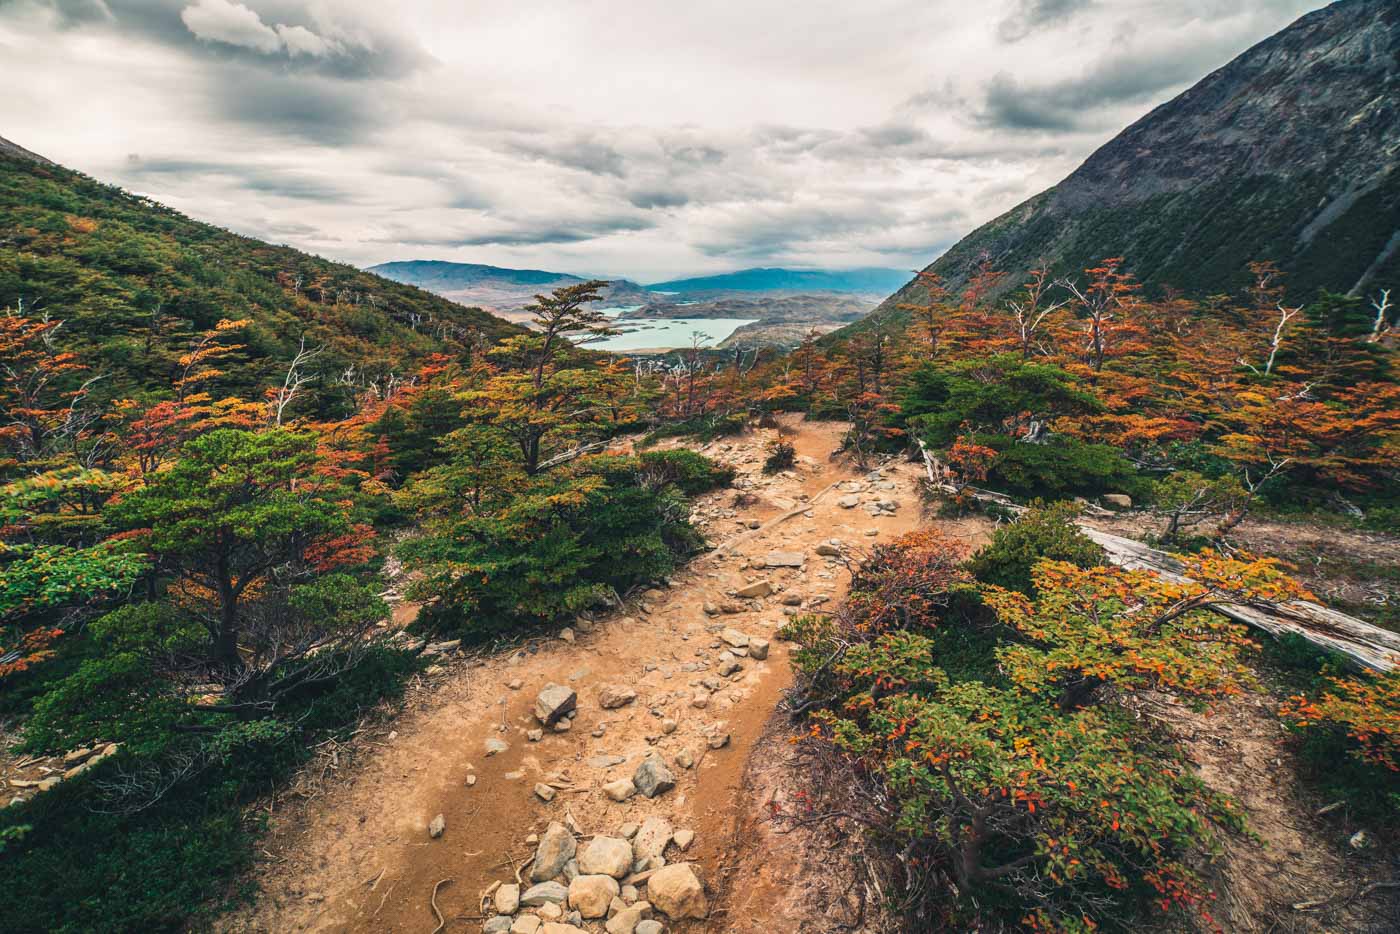
We have no idea what we missed (a few friends that we had made on the trail attempted to go further but got lost before reaching Británica), but we don’t regret the choice. We got some spectacular views at Valley de Francis and were able to hike back down and over to Paine Grande before nightfall. The last leg, from Italiano to Paine Grande was mostly flat, but with our 20-30lbs bags back on our backs it was anything but a walk in the park.
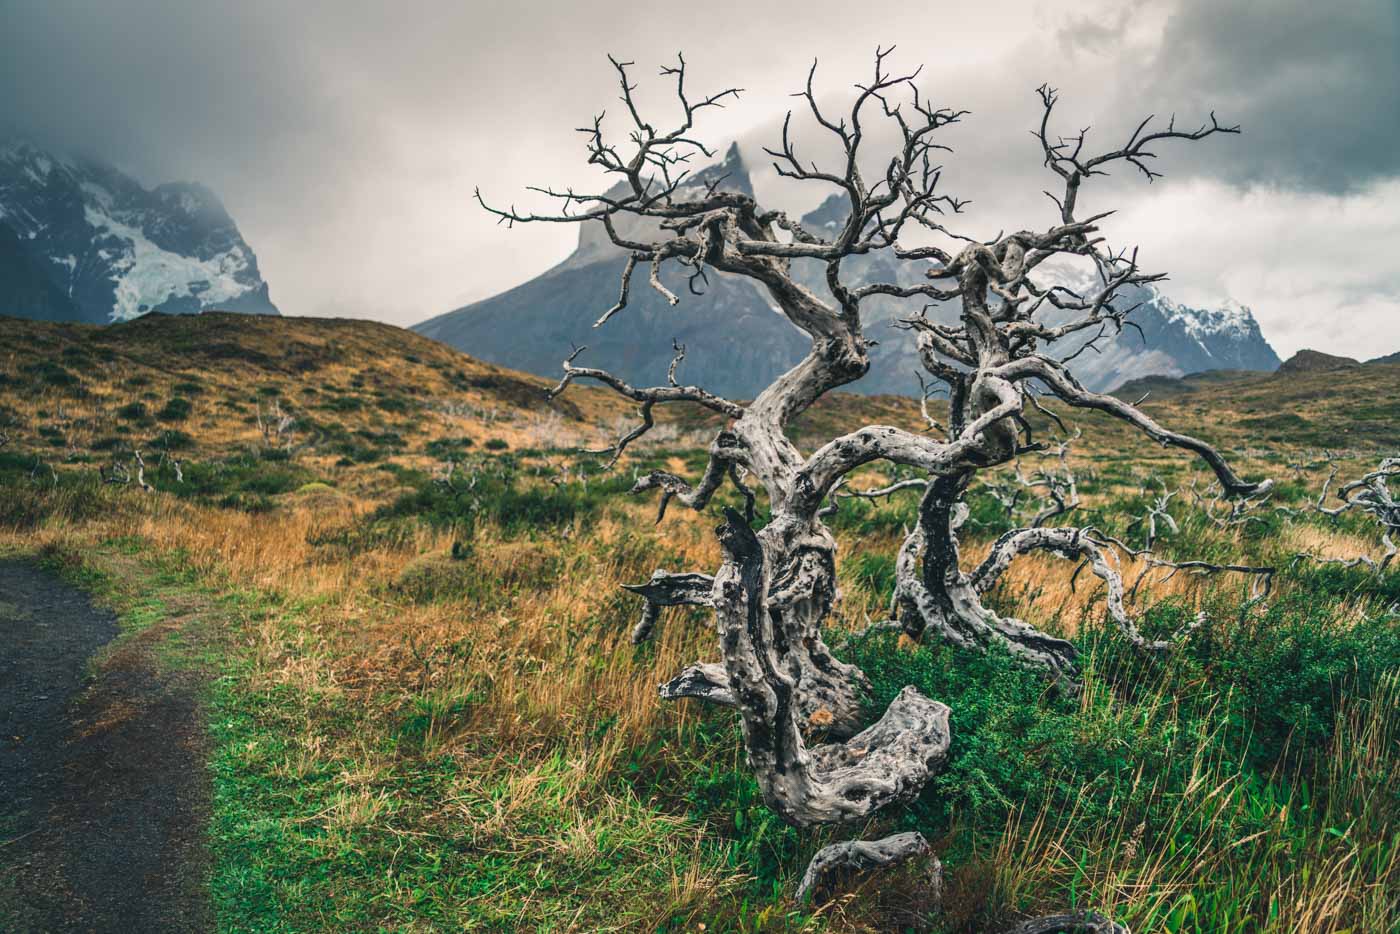
This was the part of the park and trail that saw the most damage from the 2011 fire so half of the way back we hiked through a surreal desolate setting with bare trees swaying and cracking in the wind, a gruesome reminder of the damage done caused by a careless tourist.
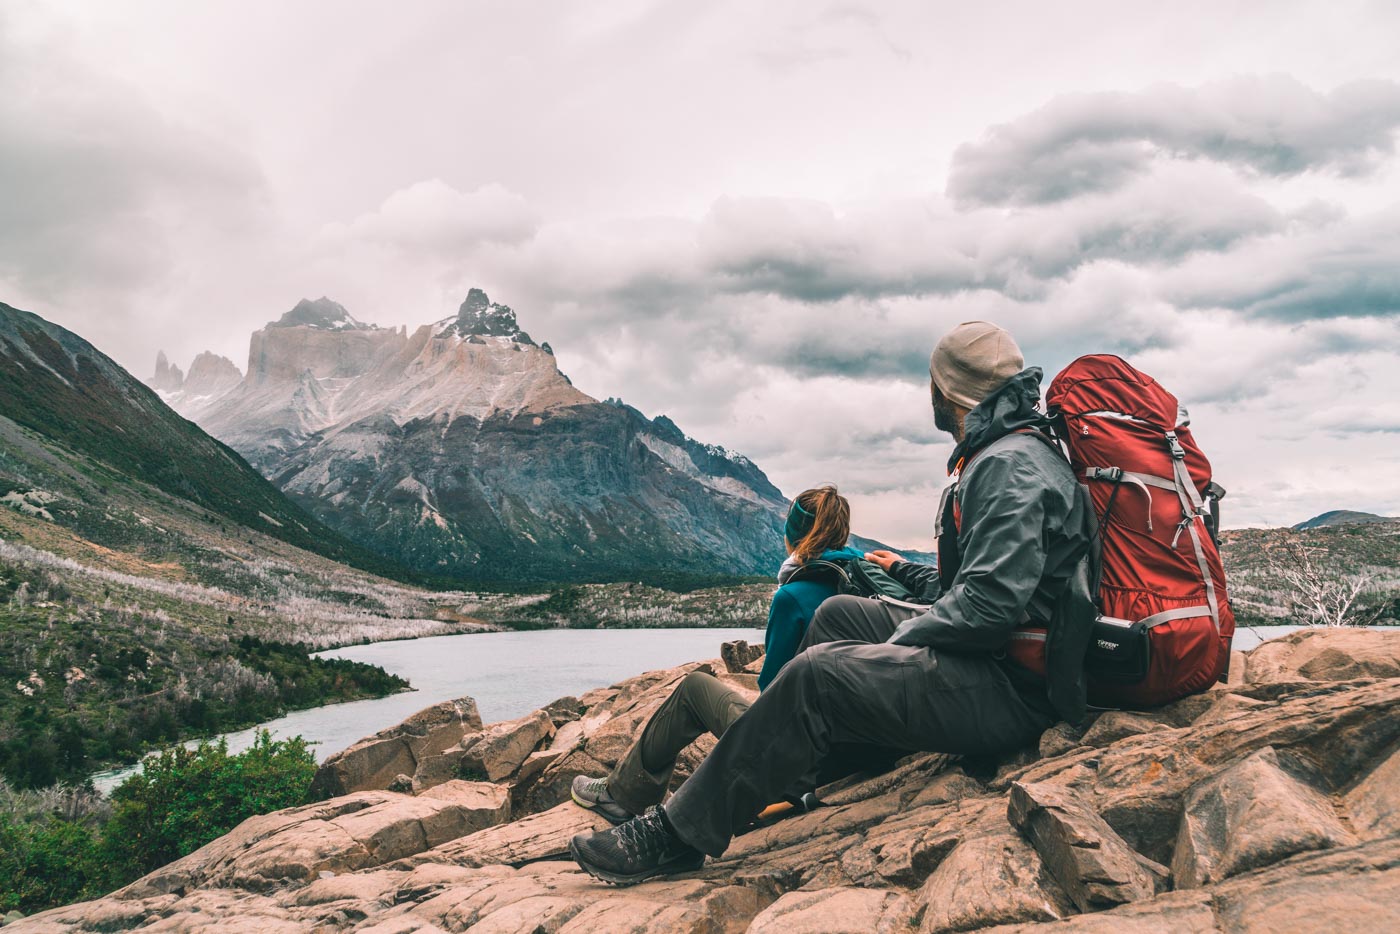
We arrived at Paine Grande just as the rain started to pick up. Exhausted from a long 9 hour day, we made our dehydrated dinners, had a cup of tea, and happily hit the sack by 9pm.
Accommodation: Vertice Paine Grande Shelter
Meals: Boxed lunch, dehydrated dinner
Day 3: Paine Grande to Lago Grey
Trekking time: 3-4 hrs
Difficulty: Ups and downs, medium difficulty
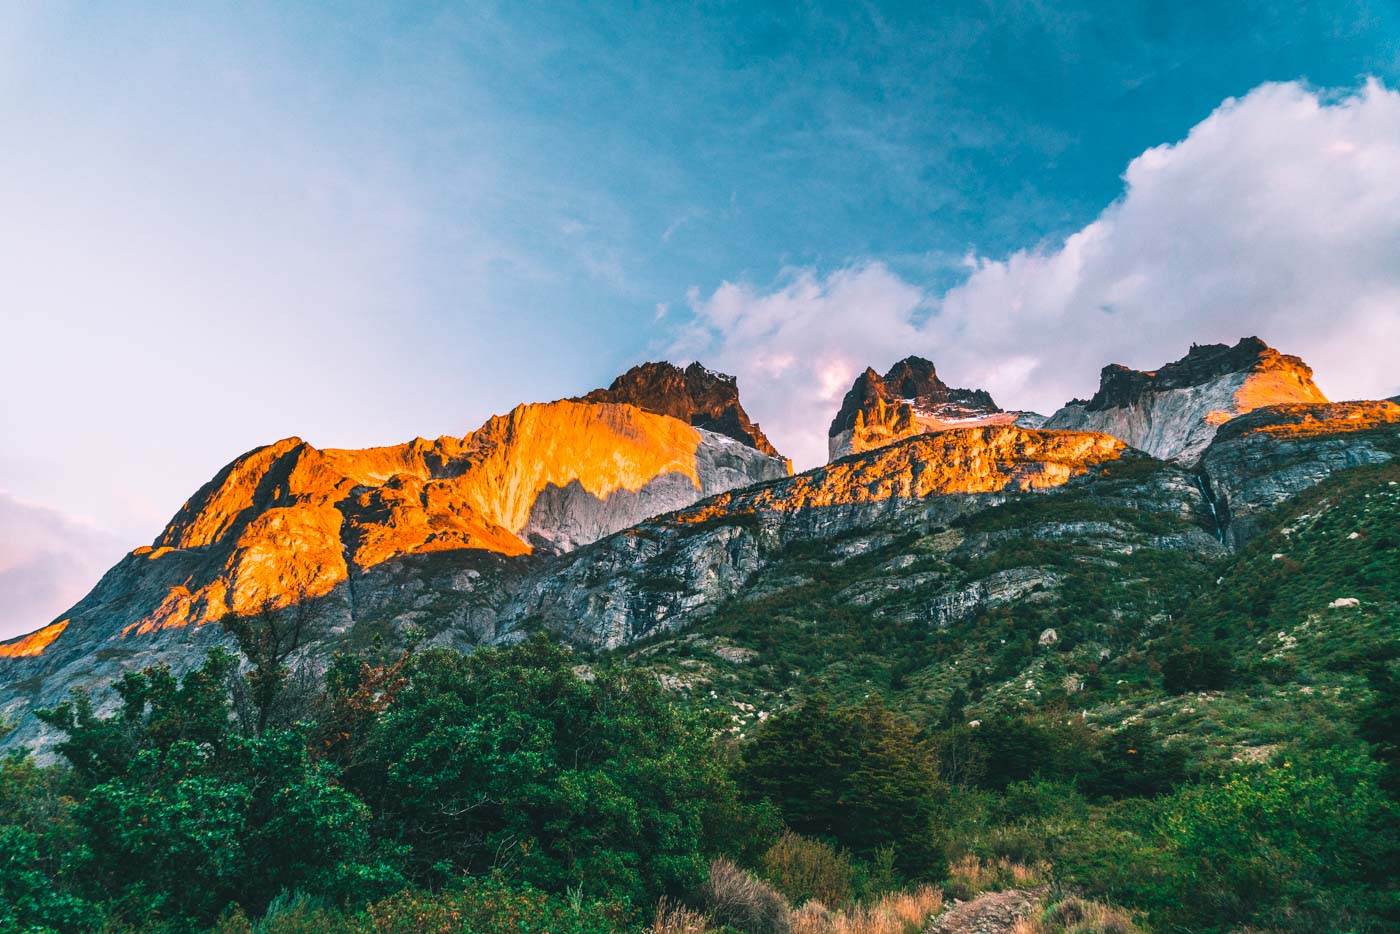
Our 3rd day of the trek was a breeze compared to yesterday’s long 9-hour hike. Knowing that we only had 11kms or 3-4 hours of hiking ahead of us, we took our time getting ready in the morning. We sipped on our teas and enjoyed our porridge with a beautiful view of the sunrise on the side. We slowly packed our bags and set off for Lago Grey around 10am. Majority of the other trekkers were ahead of us so aside from the people going in the opposite direction, we had the trail to ourselves.
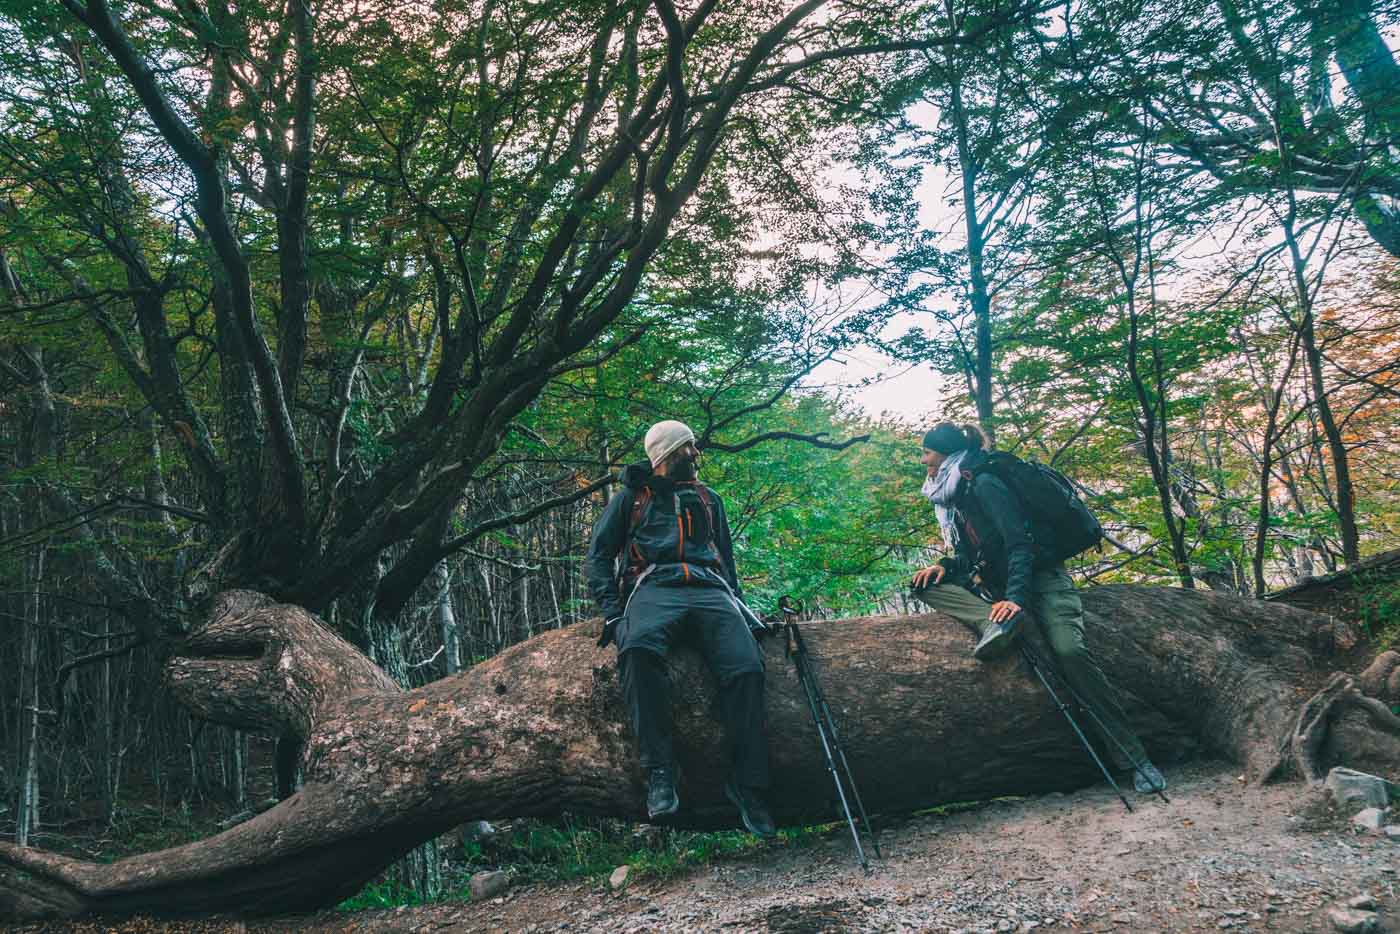
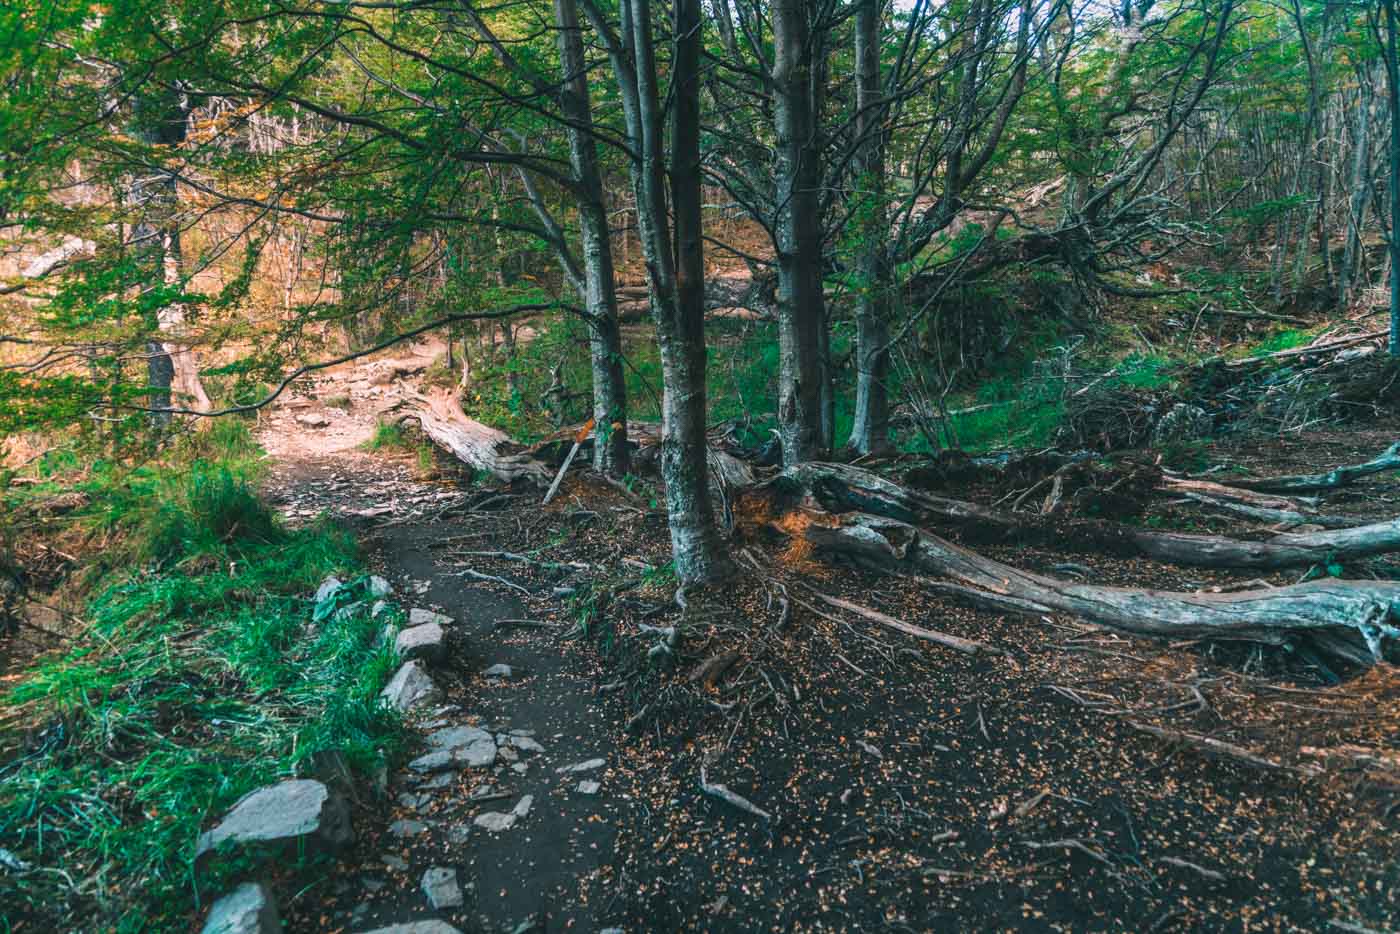
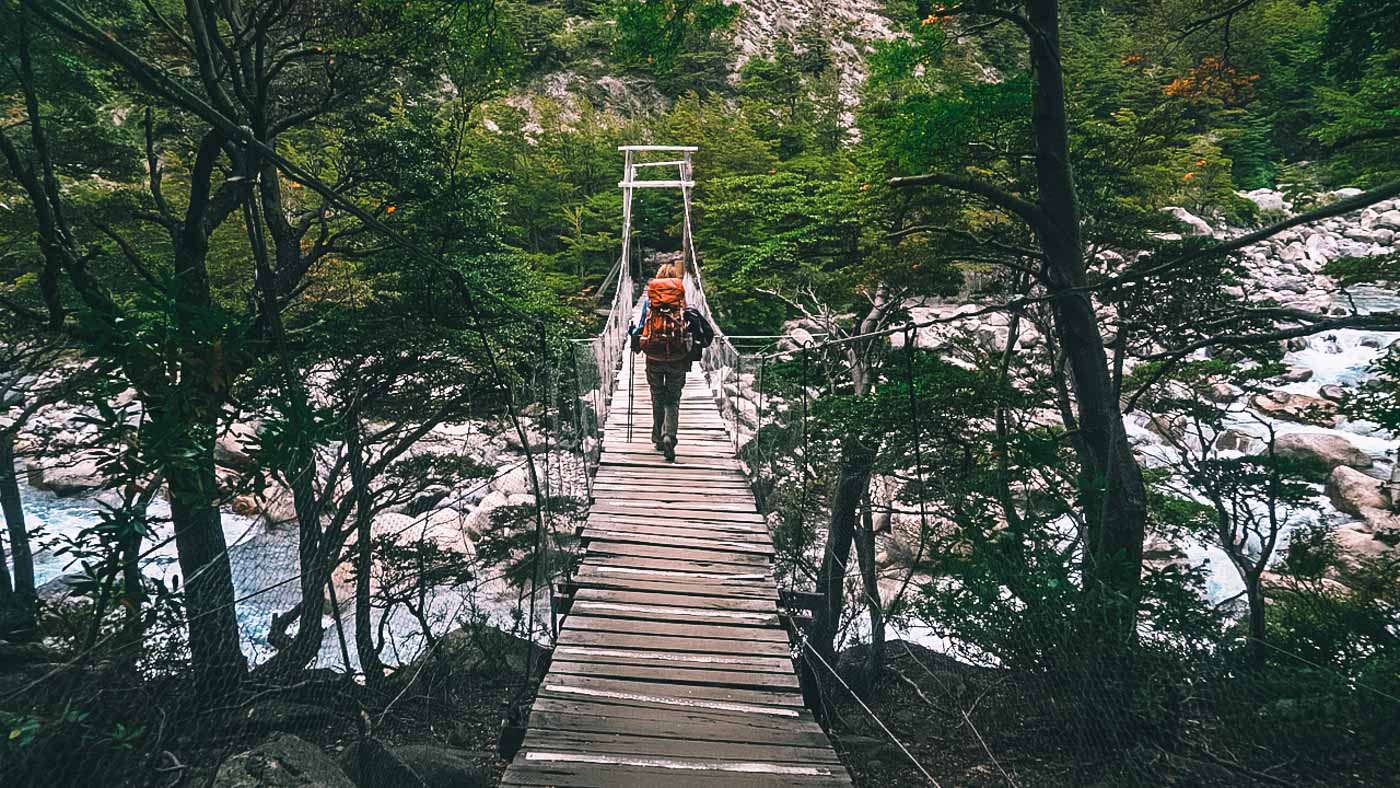
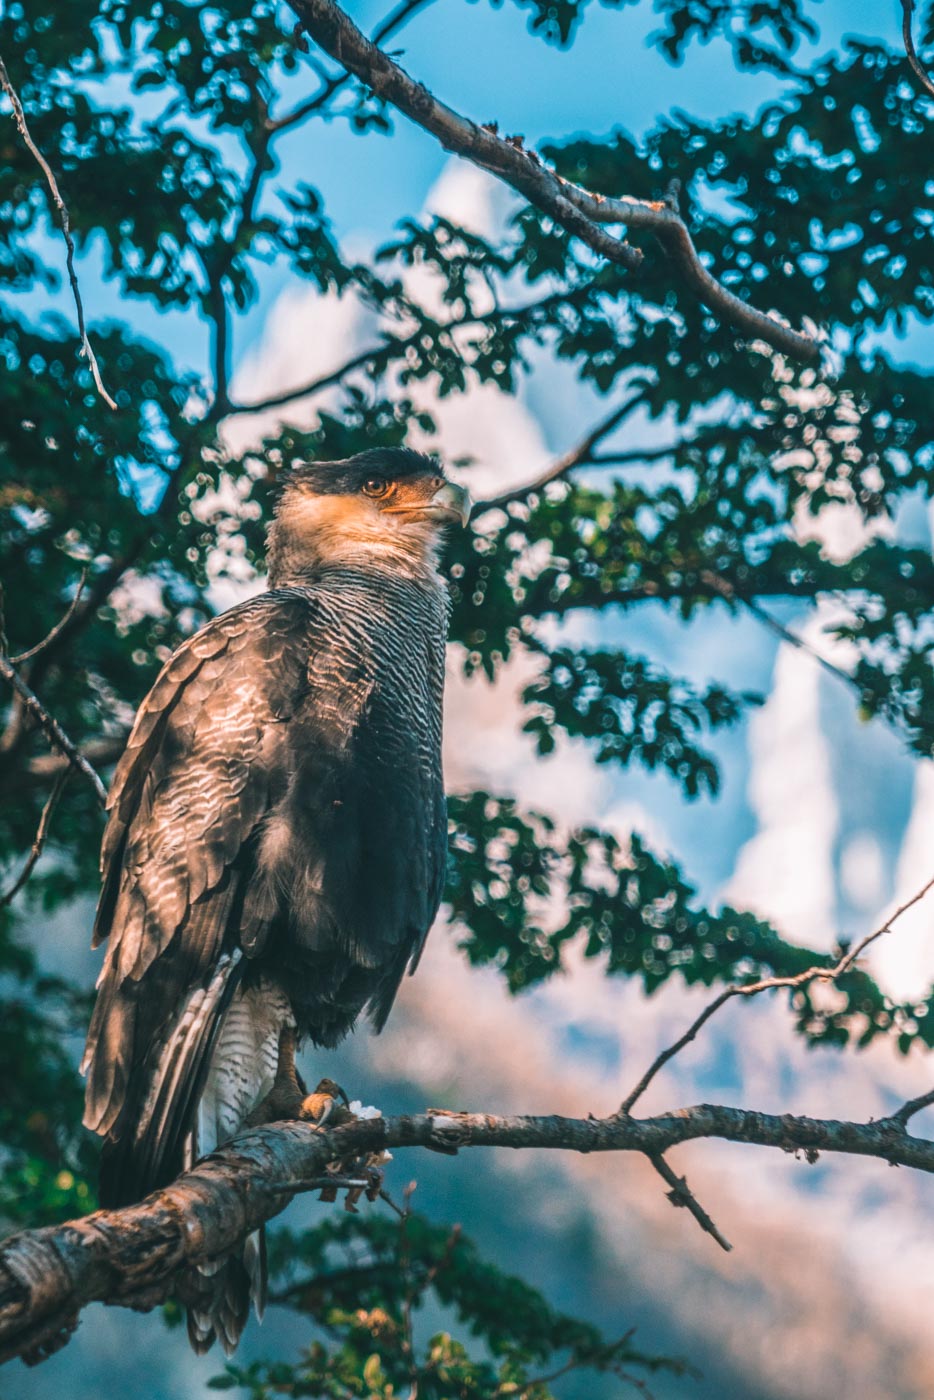
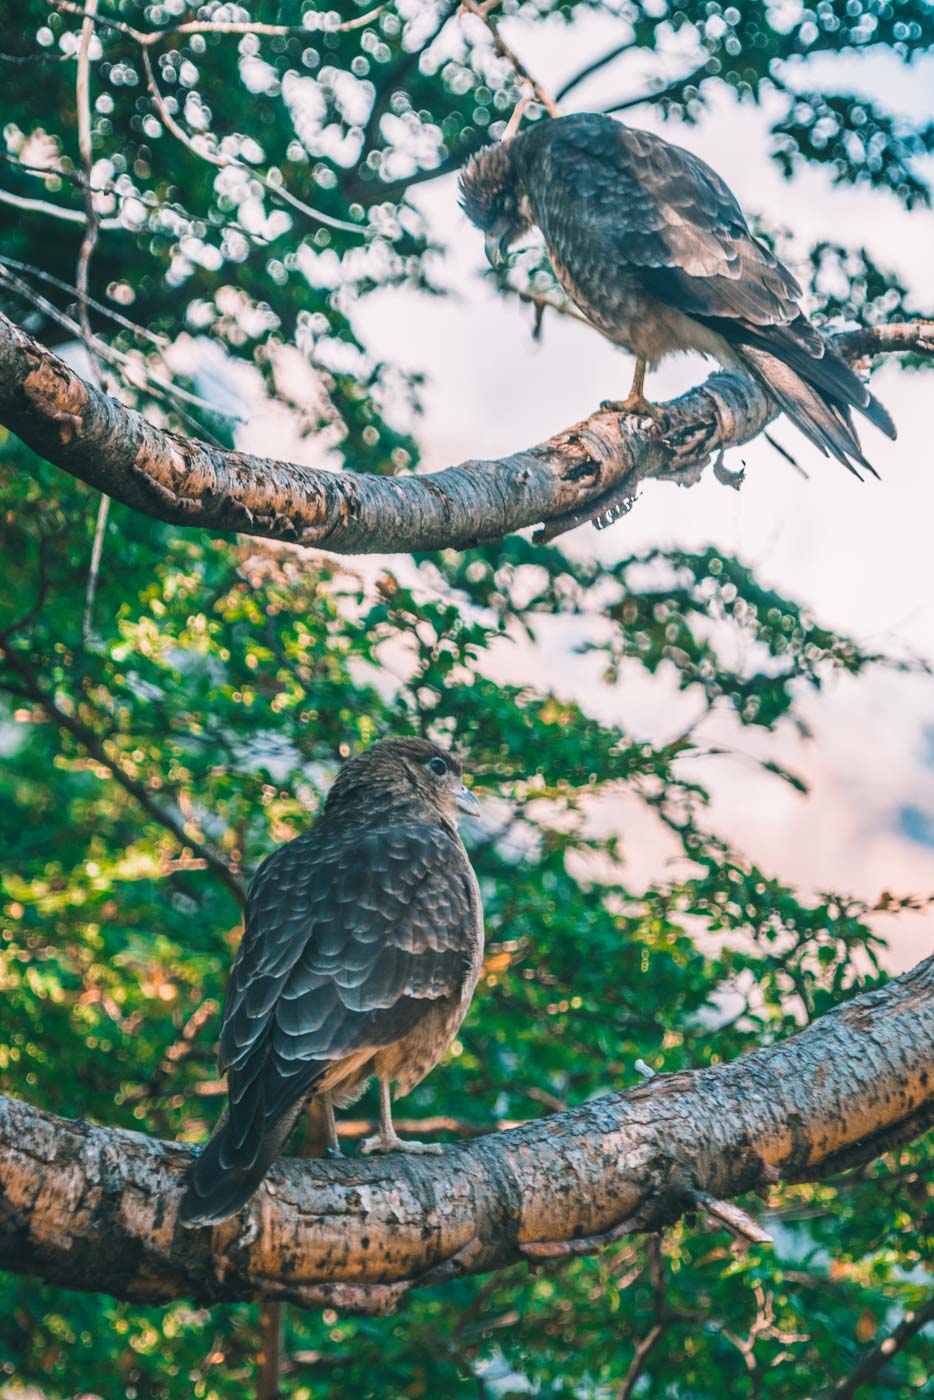
The wind hit us hard right out of the gate, sending chills down our bodies for the first 2-3 kms along the trail. Around 11:30, the sun finally peeked out from the mountains, casting a warm glow over us as we continued to make our way towards Refugio Grey. The scenery varied dramatically on the route today. Steep rocky passes turned into deep forests complete with streams, birds, and diverse greenery. It was a clear day but we didn’t take off our windbreakers once, as the gusts of wind kept us on our toes for the entire 4 hours. This was the muddiest trail in the park.
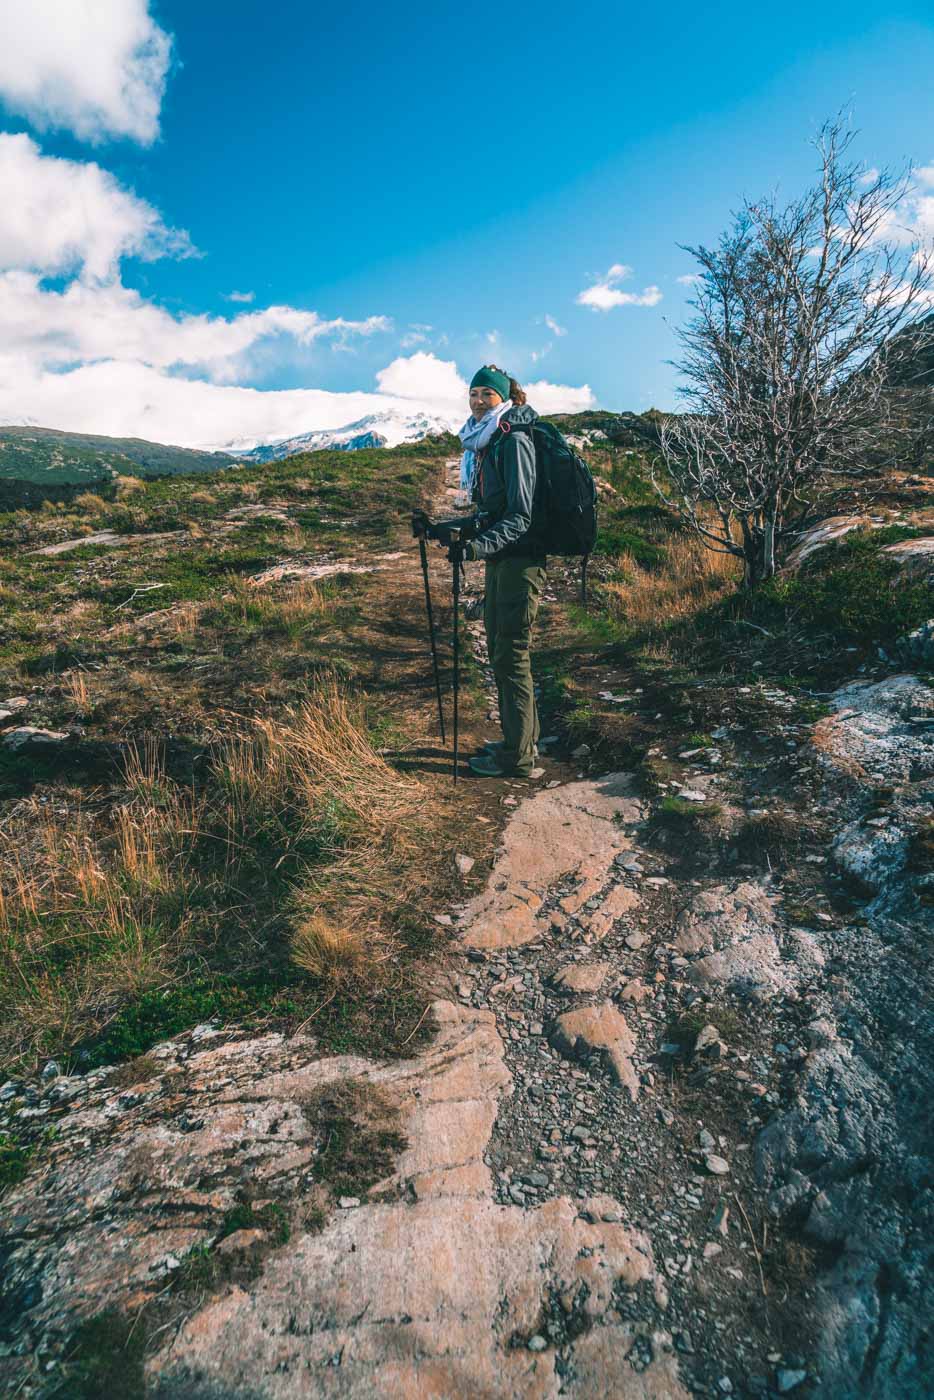
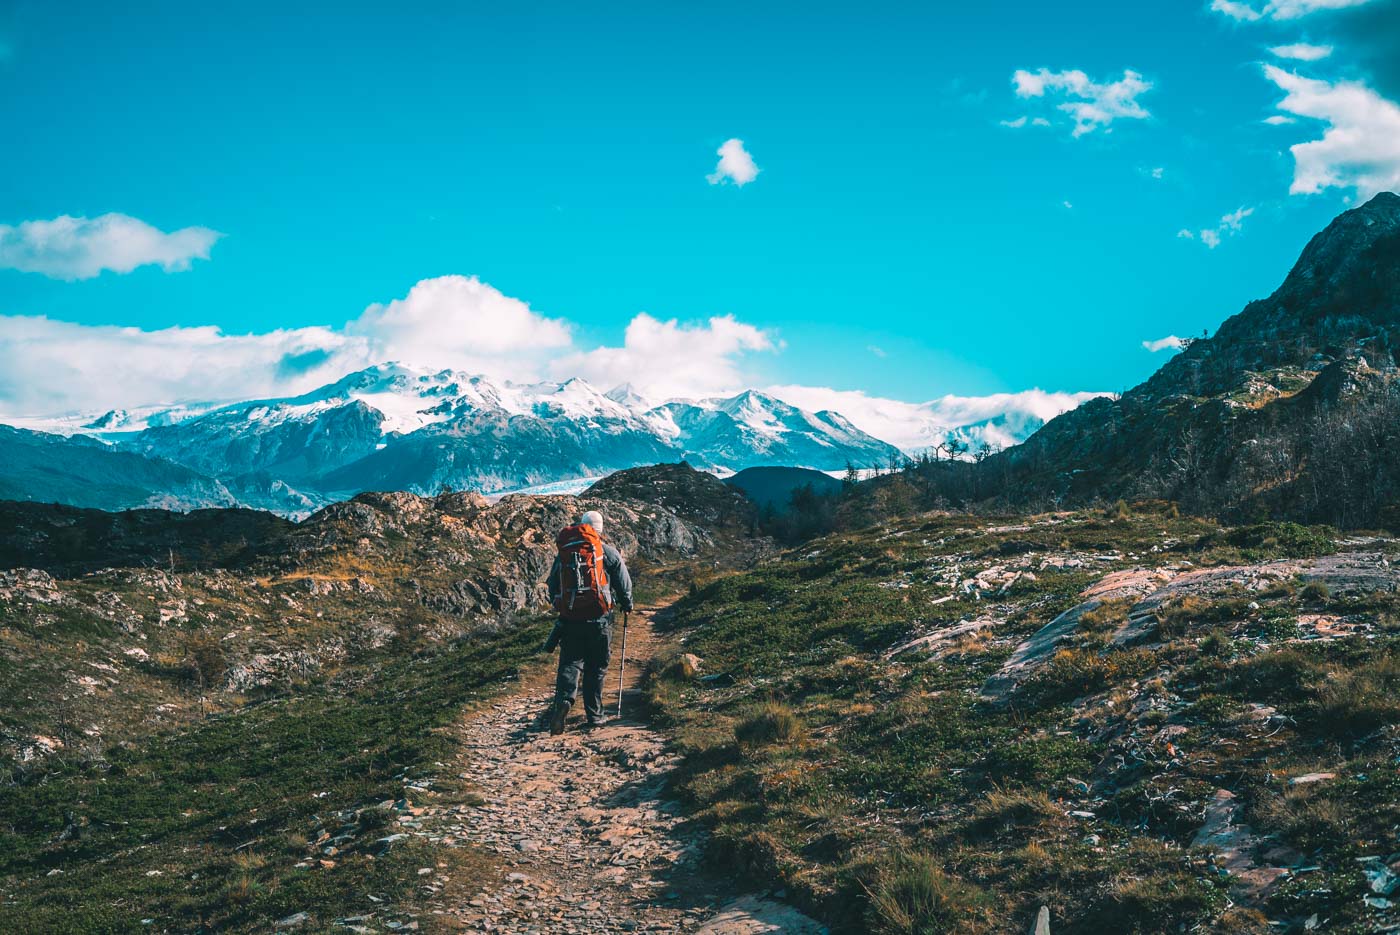
We made it to the Refugio by about 2-3pm, with plenty of time to spare before sundown. We had originally planned to do kayaking by the glacier at 5pm but that particular Torres del Paine tour was pushed back to the following day due to a staffing change.
With the rest of the day to spare, we made a hot lunch, took a nap, went for a hike to the mirador to take in the beautify of the glacier from above, had dinner and even managed to watch an episode of a TV show which we had preloaded onto Max’s phone before the trek.
Accommodation: Vertice Grey Shelter
Meals: snacks for lunch, dehydrated dinner
Day 4: Lago Grey to Paine Grande and to Las Torres Hotel
Trekking time: 3-4 hrs
Difficulty: Ups and downs, medium difficulty
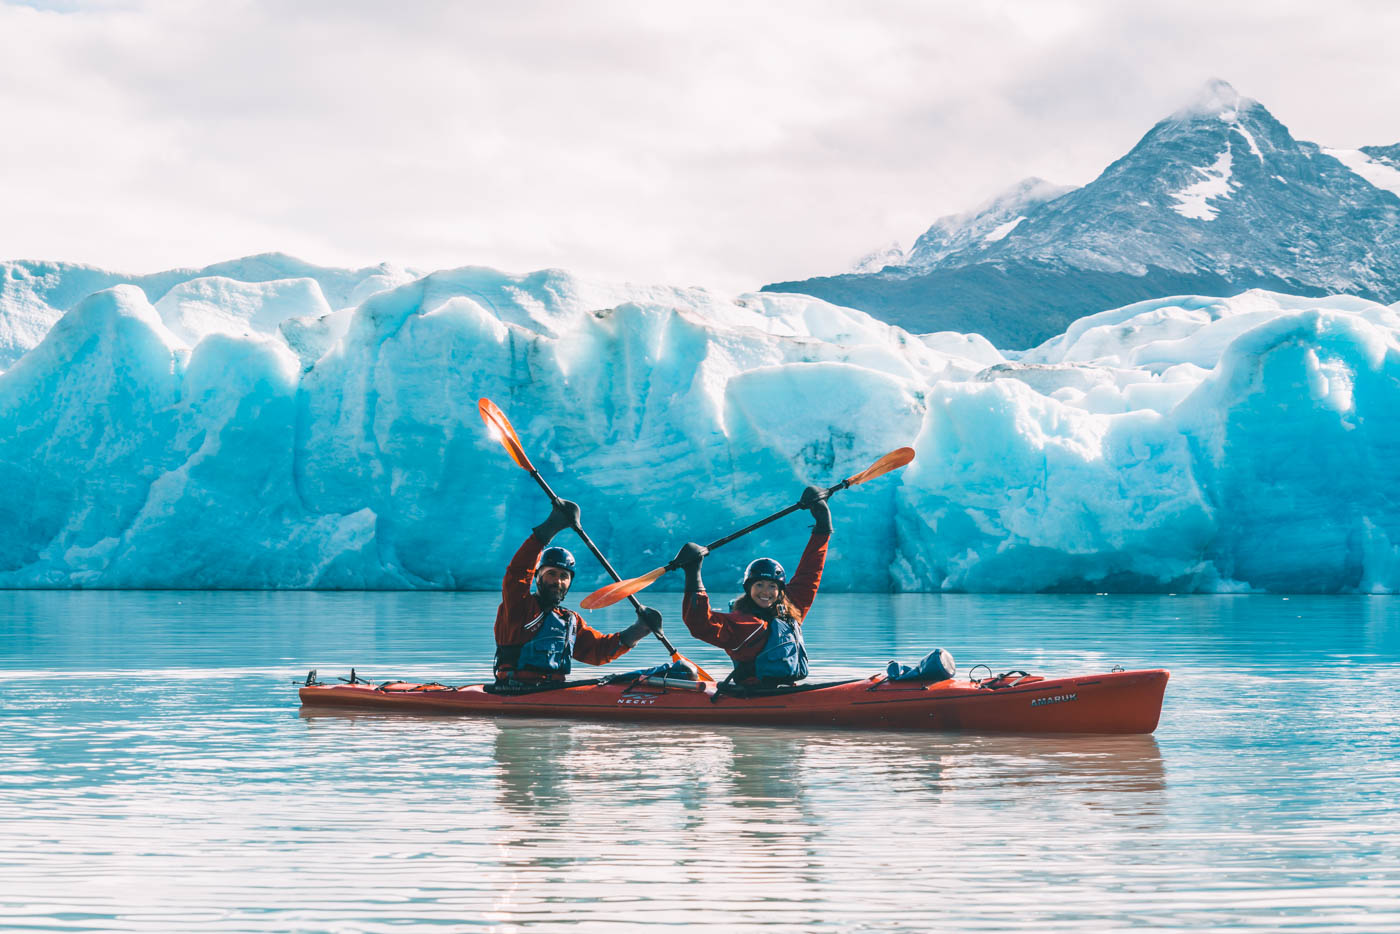
We started our day with an incredibly unique activity – kayaking at the Lago Grey Glacier (organized at the hotel via Big Foot Patagonia). It was a cold morning (the sun didn’t rise over the mountains until after we were done), but we loved being out in the water paddling among the gigantic erratic rocks and getting close to the Glacier.
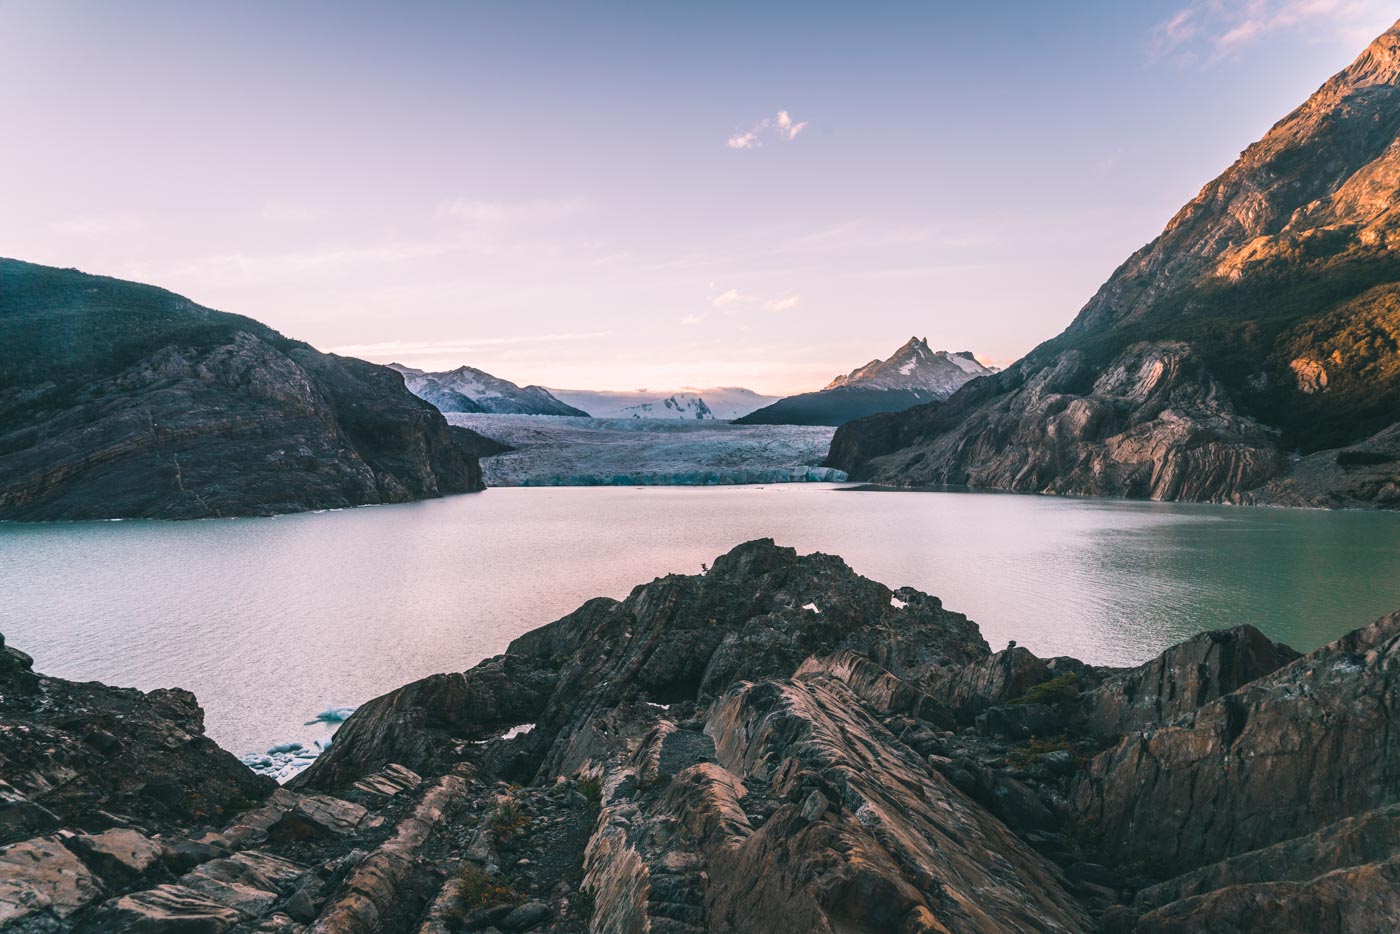
We got back from kayaking at around noon, had a quick lunch (another dehydrated meal), grabbed our bags and started to make our way back to Paine Grande. We followed the same trail that we took to get to Lago Grey, making a few extra stops for any last-minute photos. We arrived at Paine Grande around 4:30pm, with just enough time to spare to have a snack and get ready to board our 5pm catamaran that would take us from Paine Grande to Pudeto Town on Lago Pehoe.
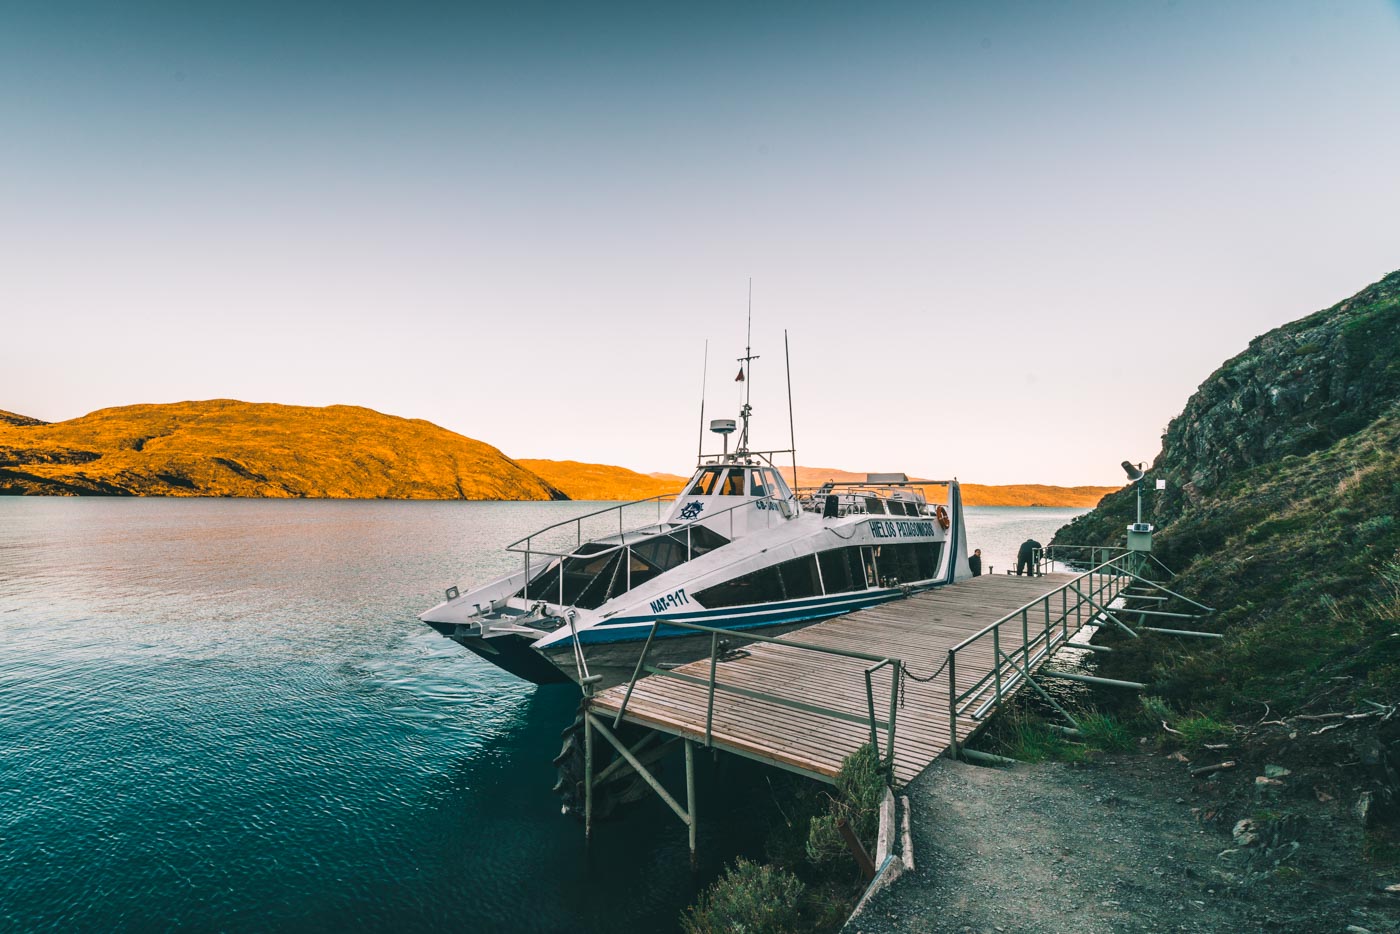
From there, we caught the 6pm bus to the entrance of the park, where most travelers chose to end their journey. But instead of saying goodbye to Torres del Paine, we hopped on a shuttle bus and made our way back to Central (because we weren’t quite done with the park just yet!)
Accommodation: Fantastico Sur’s Refugio Torre Central
Meals: dehydrated lunch and dinner
*It’s worth noting that we originally booked a campsite for our night in Central, but after a long day of kayaking, hiking and hours spent getting back to central we arrived after dark and were very discouraged by the look of the Central Campsite (no communal space, no cooking area, and the campsite attendant was on an extended dinner break). We walked straight over to the refugio and upgraded our stay to a warm heated room in the refugio. Totally worth the extra money!
Day 5: Las Torres Hotel to Cerro Paine
Trekking time: 4 hrs
Difficulty: Challenging
After 4 days of the trail, we were back to Central and had only one part of the W left – the base of the towers. We contemplated doing the hike to the towers from Las Torres but opted for something a little bit different. Las Torres Hotel offers an exclusive excursion to their guests which follows a private trail to the top of Cerro Paine (the mountain that overlooks the Base of the Towers). We jumped at the opportunity to experience a view that most trekking Torres del Paine Chile don’t and signed up for a full day horseback riding/trekking trip to the top of Cerro Paine.
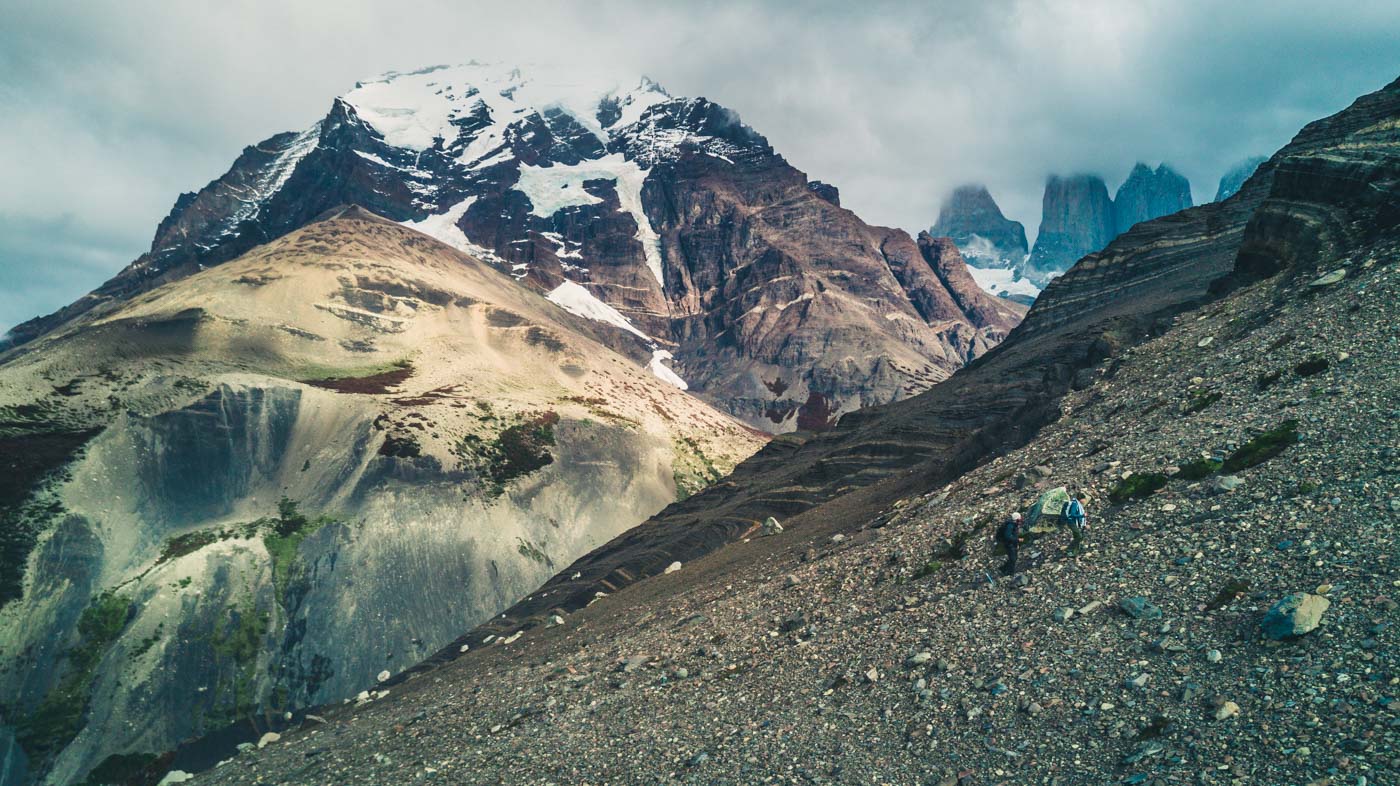
We spent the first 2 hours of our day on horseback, making our way through the beautiful lenga forest. Upon reaching the top of the horse trail we left the horses behind and proceeded to hike to the top on our own two feet. The trail to the top of the mountain was steep and rocking, but the views kept getting better with every step. Soon, we could see the other Torres del Paine hikers on the usual route to the towers. They looked like tiny ants from our vantage point.
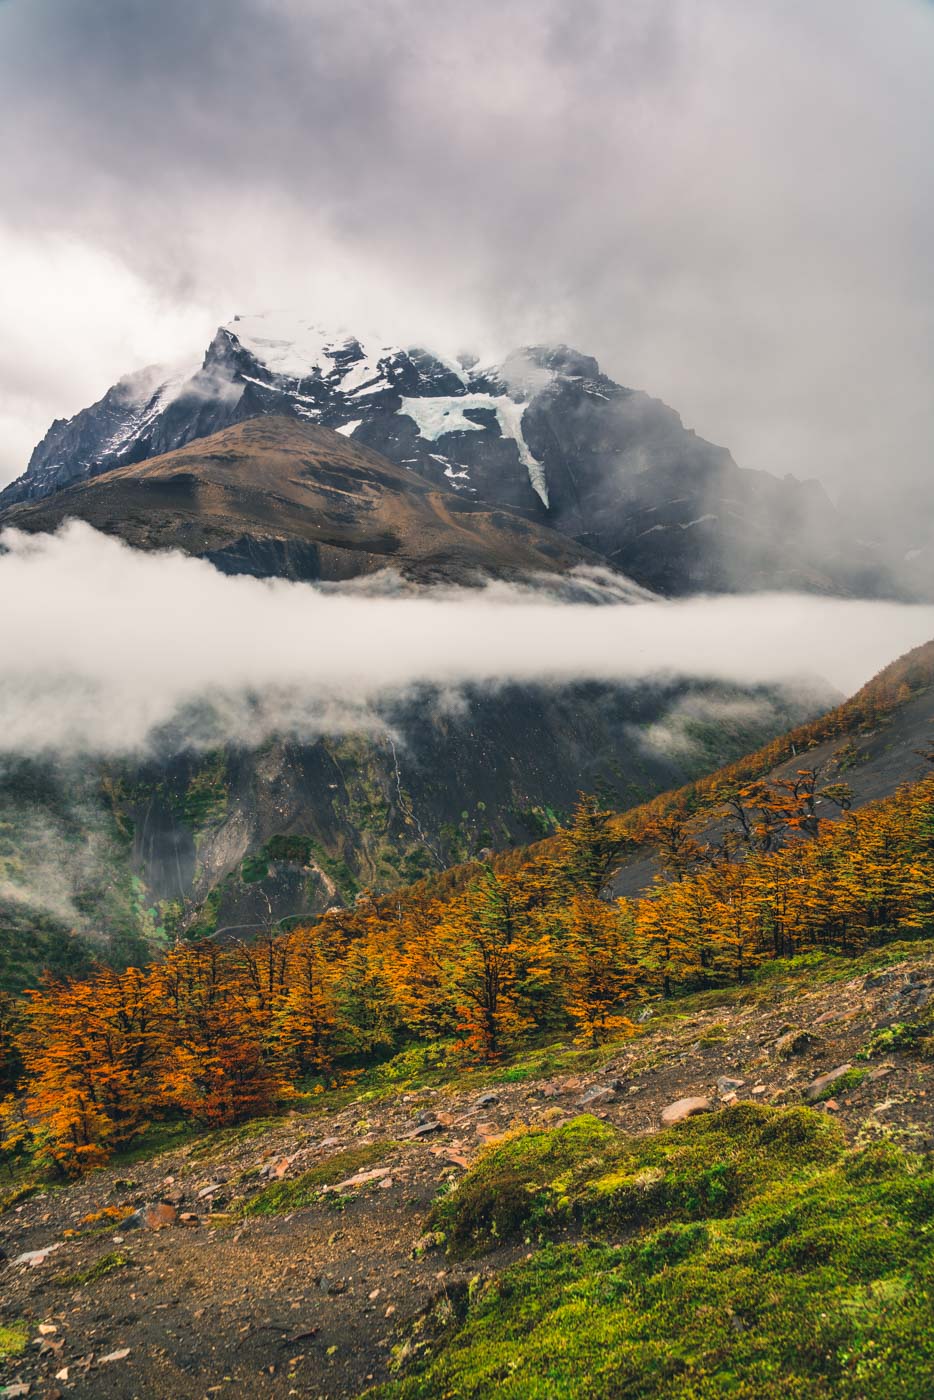
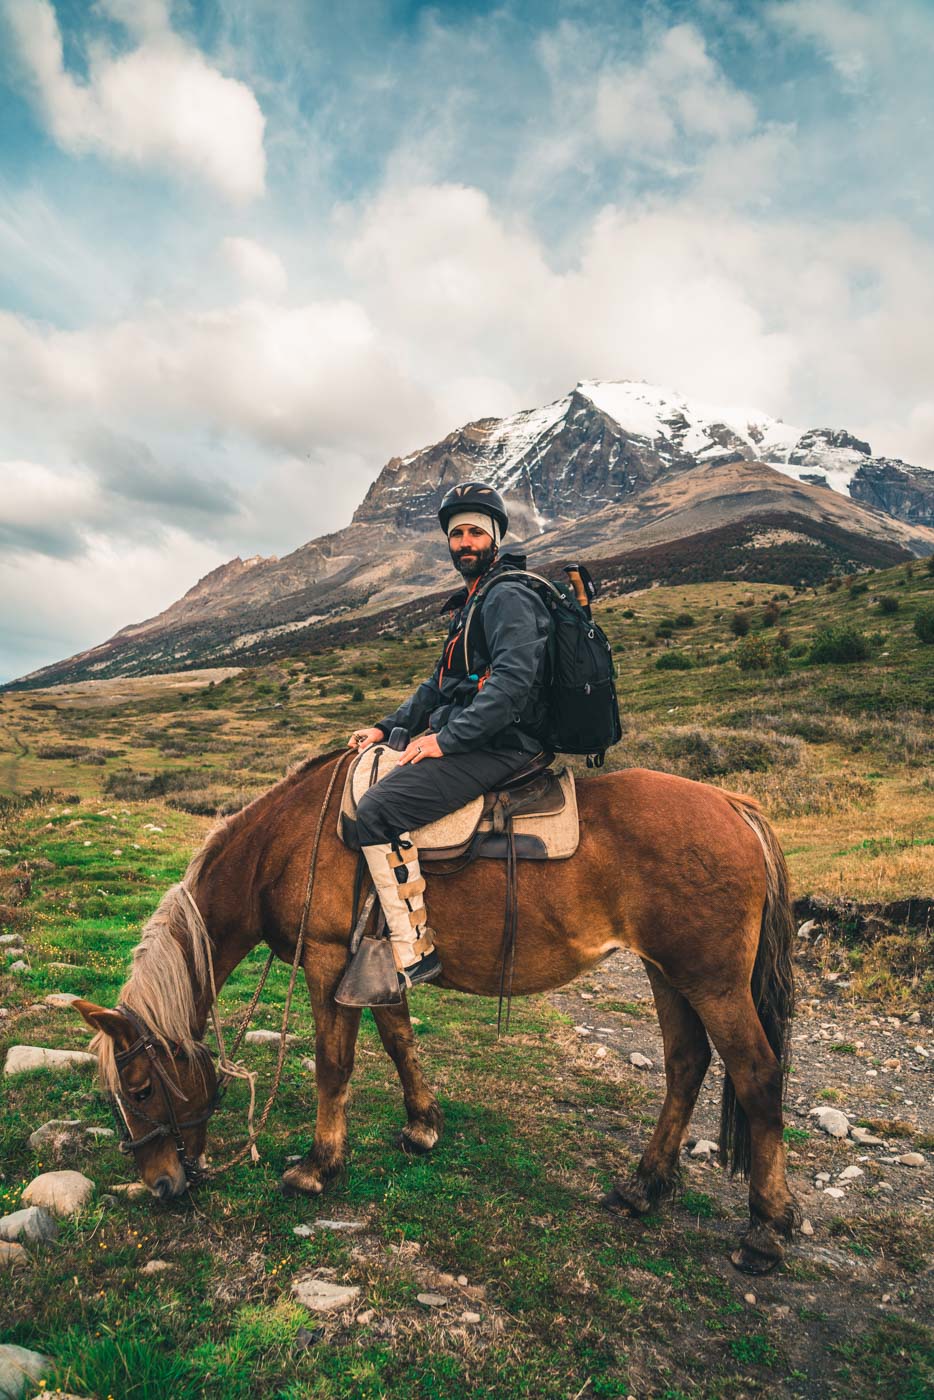
About 2 hours into the hike, the weather turned for the worse. Wind picked up and the rain started plummeting down. The clouds covered the towers in thick cloud and the beautiful views disappeared in front of our eyes. There was no point to stay at the top for much longer.
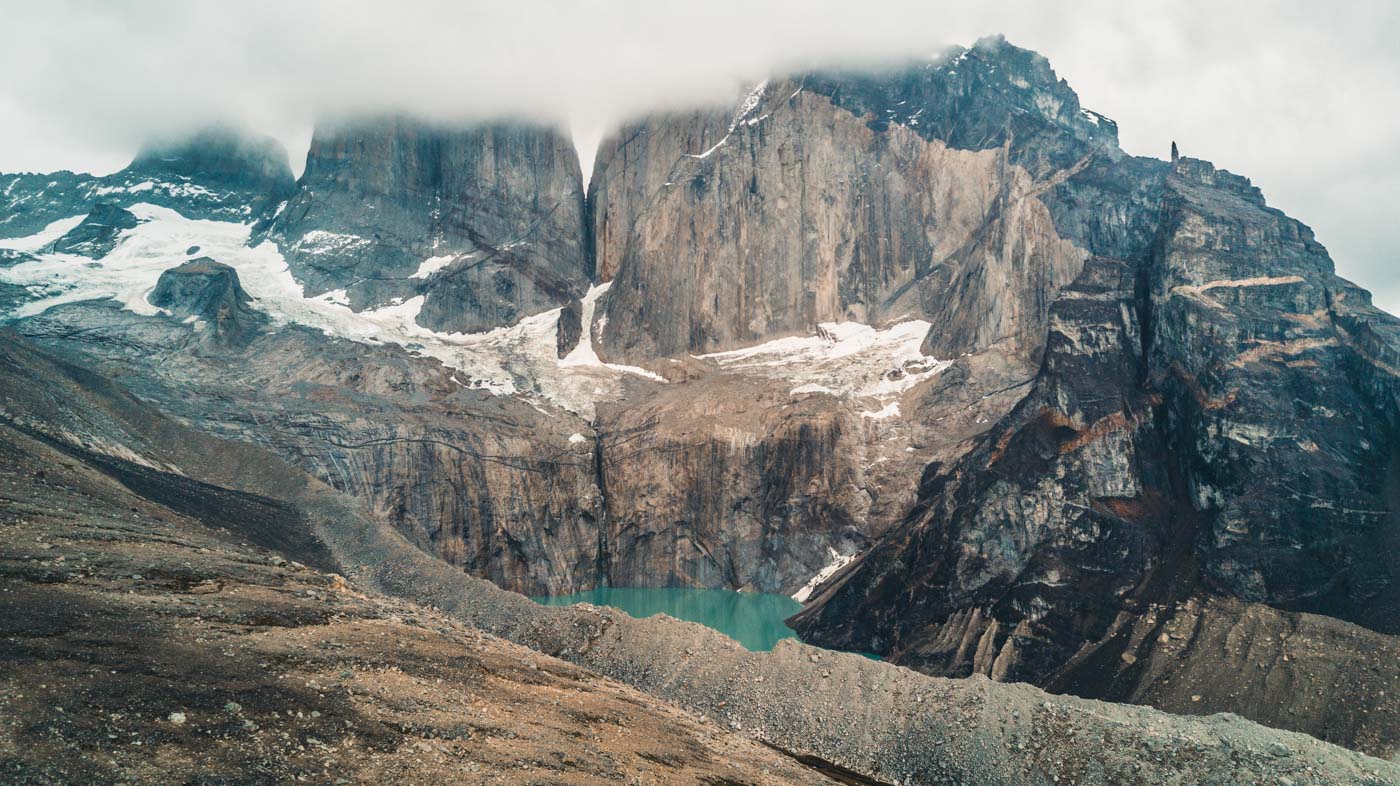
We arrived back at Las Torres around 4pm, hungry, wet, and a bit disappointed that the weather stopped us from getting the best viewpoint in the park. But that’s Torres del Paine for you. Unpredictable weather is one thing to expect here.
Things to Know and Extra Tips: Torres del Paine
Book early. No matter how you plan on trekking Torres del Paine, Chile, make your accommodation reservations early, so you can ensure that you get the accommodation you want. Free campsite reservations go fast, especially in the high season (Dec – Feb), same goes for refugios.
The easiest way to get into the park is by bus. Torres del Paine National Park is located about 2 hours away from Puerto Natales and 4.5 hours from Punta Arenas. Most people, fly into Punta Arenas, take a bus up to Puerto Natales and from there make their way into the park.
From Puerto Natales, daily busses (7:30am and 2:30pm) depart for Laguna Amarga entrance of the park. The bus costs $12. Once at the entrance, you’ll pay your park entrance fee ($30 USD) and hop on another shuttle towards Central Station, where many trekkers start their multi-day Torres del Paine hike.
The other option is to start the hike from Paine Grande. To get there, you’ll want to take the bus to Pudeto (inside the park) and then a catamaran to Refugio Paine Grande. For updated bus schedule visit Torres del Paine’s official website.
Wifi in the park is slow, but available. Cell phone coverage is not. Surprisingly, wifi is available at every refugio along the W trail. It’s expensive ($4 USD/hour) and slow, but if you need to keep family updates or need to check those urgent emails, it is possible, although not advisable. Plan to unplug and enjoy! Cell phone service is nil.
You can drink water from the streams. It is absolutely safe! Carry a refillable water bottle (we recommend HydroFlask) and enjoy ice-cold water along the way. Keep in mind that it’s always best to fill up where water is moving rather than standing still. We also suggest doing this away from the campsites.
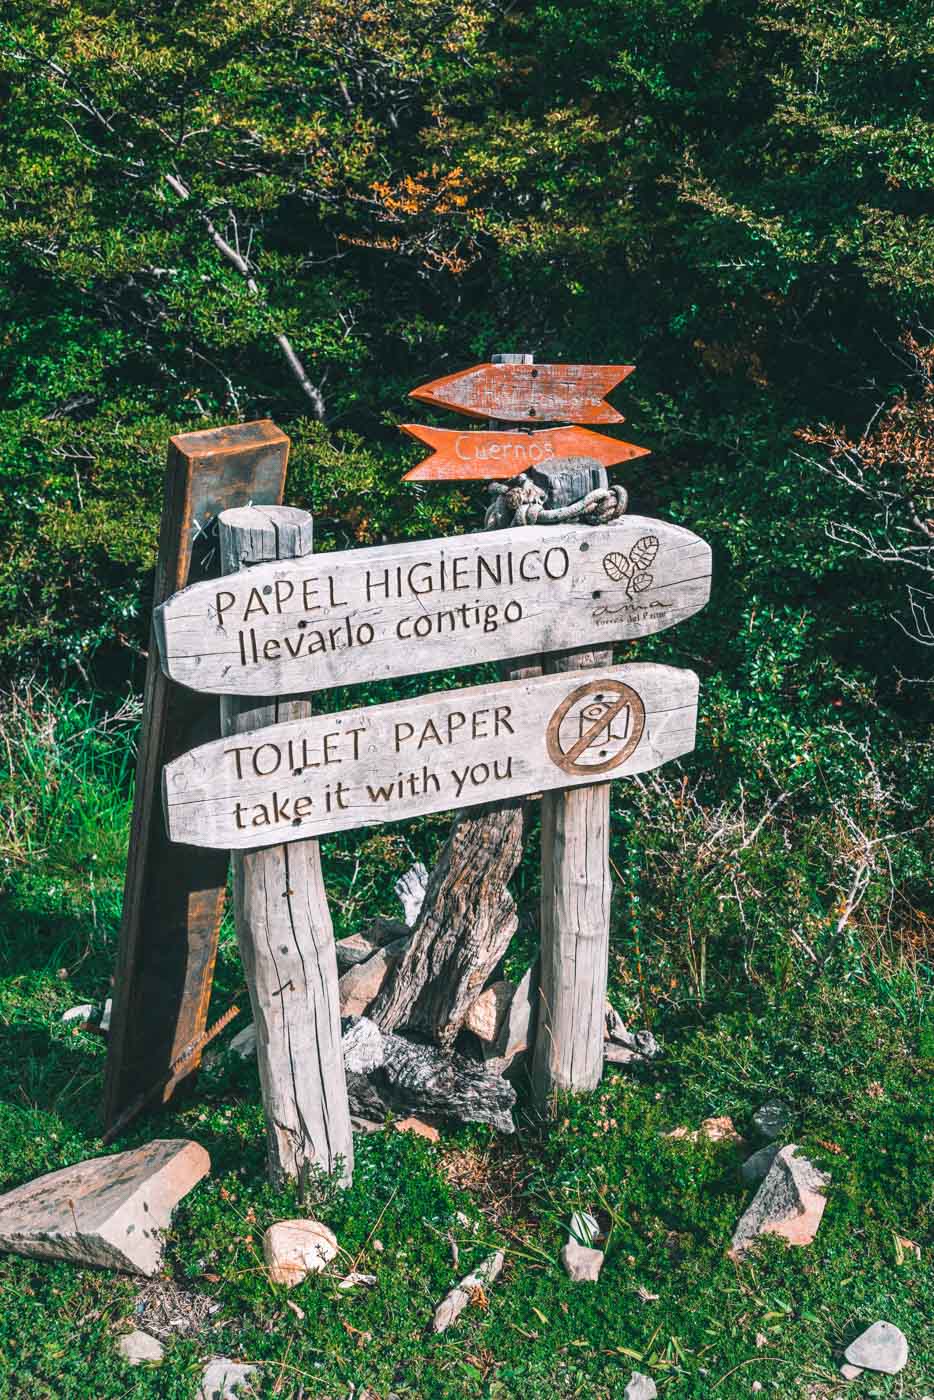
Be a Responsible Traveler. Leave nothing but footprints, take nothing but photographs. Respect the environment. Don’t litter. Stay on the trail at all times. And most importantly, don’t cook anywhere but the designated cooking areas at the campsites. Careless cooking is what lead to a massive fire that engulfed a huge portion of the park in 2012.
Want more insight into trekking the W in Torres del Paine National Park? Check out our highlights video below!


Thanks for sharing all of your experiences with this trek! My wife and I are planning a trip for next March and will likely follow your itinerary almost exactly. I’m having some trouble finding details on the catamaran back to get to Hotel Los Torres, though. Is this something that should be booked in advance?
We did not book the catamaran in advance, just hopped on the next available boat when we arrived.
Hi! Thanks so much for the info. Wondering what time of year you went? My husband and I are planning to do the W if January. Also wondering how you found navigating the trail without a guide- any issues getting lost or all ok? Thanks again!